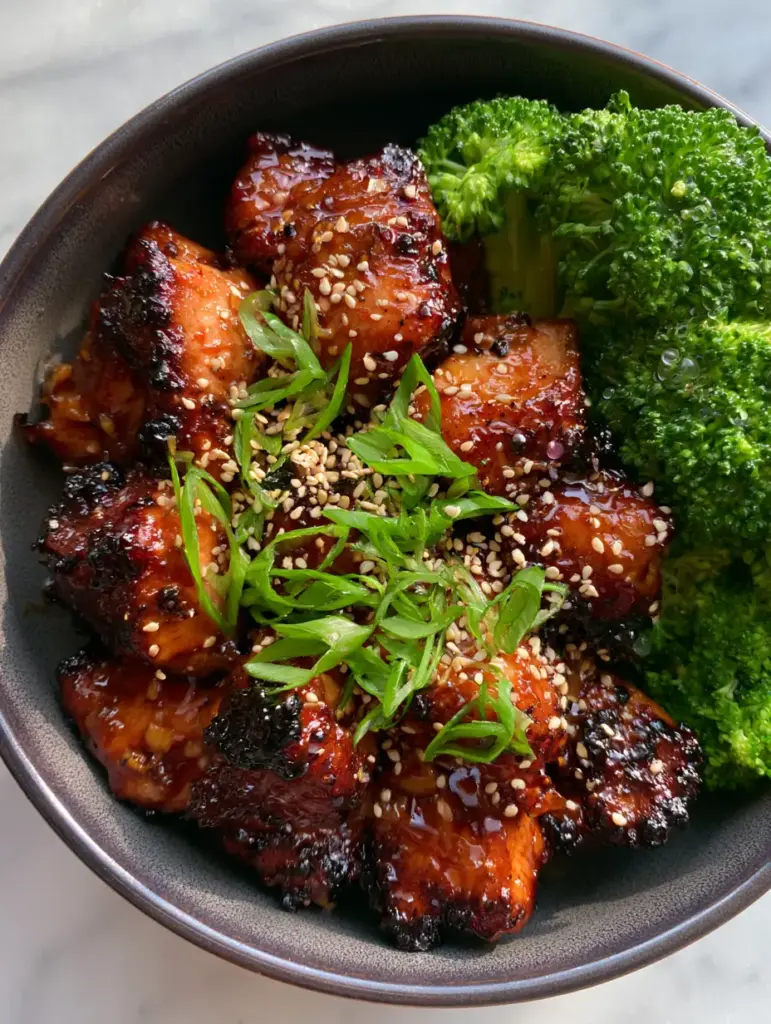
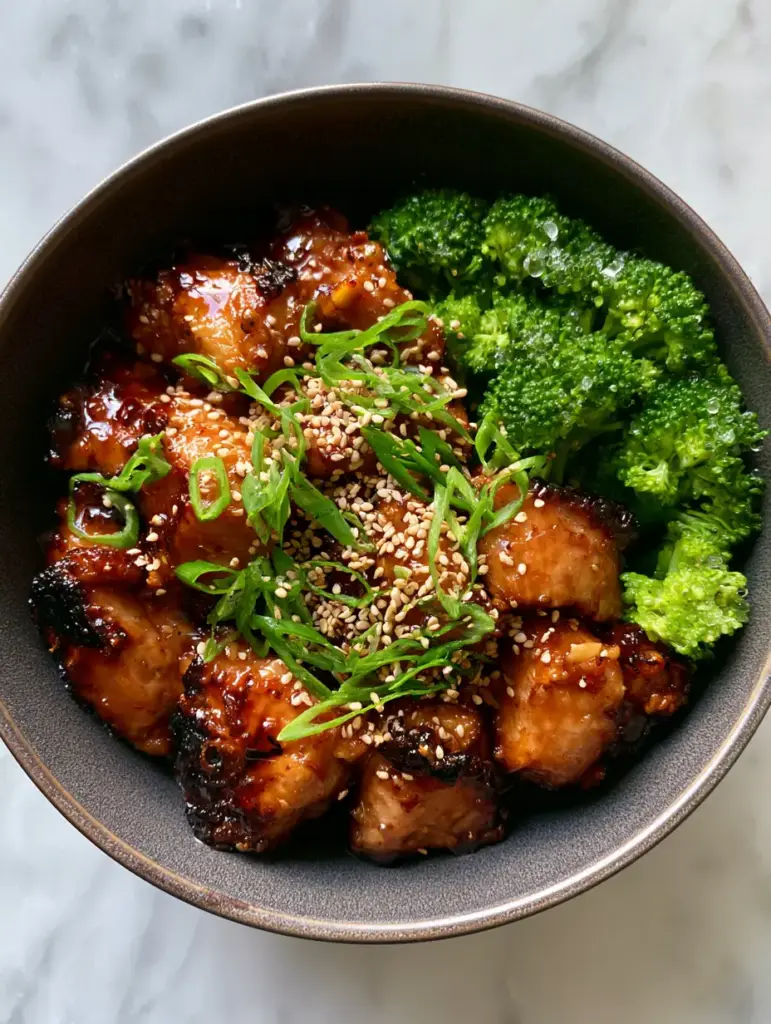
There is a specific kind of magic that happens when high heat meets a well-marinated protein, and this Paleo Chicken Teriyaki is the ultimate proof. Imagine a modern dark stoneware bowl filled to the brim with succulent chicken thigh pieces, each one boasting perfectly seared, charred, crispy edges that give way to a tender interior. These golden nuggets are drenched in an incredibly thick, translucent, dark amber glossy glaze that reflects soft window light with high-shine highlights.
Unlike standard takeout, this version is entirely grain-free and soy-free, utilizing the deep umami of coconut aminos to achieve that signature savory-sweet balance. As you look closer, you will see visible ginger bits and tiny bubbles in the sauce, signaling a fresh reduction that has reached peak stickiness. It is a dish that looks just as good as it tastes, resting on a fluffy cauliflower rice base and flanked by vibrant, crisp-tender steamed broccoli florets still glistening with tiny water droplets.
Whether you are a seasoned Paleo veteran or just looking for healthy dinner ideas that do not sacrifice flavor, this recipe delivers a restaurant-quality experience in under 30 minutes. Let’s dive into the culinary science of achieving that perfect glaze and the forensic details that make this dish a visual and sensory masterpiece.
Why This Sticky Paleo Chicken Teriyaki Works
- The Maillard Reaction: By using tender boneless skinless chicken thighs and high-heat searing, we create a caramelized crust that provides a smoky contrast to the sweet glaze.
- Glossy Architecture: We replace cornstarch with arrowroot powder to create a translucent, high-shine finish that clings to every crevice of the chicken.
- Aromatics Forward: Freshly grated ginger and minced garlic are not just for flavor; they provide the “visible bits” in the sauce that signify a homemade, artisanal quality.
- Vibrant Contrast: The bright green of the bias-cut scallions and the deep green of the broccoli provide a visual “pop” against the dark amber tones of the teriyaki.
The Secret Ingredients for a Glistening Soy-Free Glaze
Boneless Skinless Chicken Thighs: 1.5 lbs (680g). Thighs are essential here for their higher fat content, which allows the edges to char and crisp without the meat drying out.
Coconut Aminos: 3/4 cup (180ml). This is the lifeblood of Paleo teriyaki, providing a soy-free, salty, and slightly sweet base that mimics traditional shoyu.
Raw Honey or Maple Syrup: 3 tbsp (45ml). This natural sweetener provides the sugars necessary for the sauce to bubble and reduce into a thick, sticky syrup.
Fresh Ginger Root: 1 tbsp (6g), finely grated. This adds a spicy zing and ensures those beautiful visible ginger flecks seen in professional culinary photography.
Fresh Garlic: 3 cloves (9g), minced. Garlic provides the foundational savoriness that balances the sweetness of the honey and aminos.
Arrowroot Starch: 1 tsp (3g). This is the thickening agent that creates the “translucent” quality of the sauce without making it cloudy like flour would.
Avocado Oil: 2 tbsp (30ml). Chosen for its high smoke point, this oil is what allows us to get those charred, crispy edges on the chicken thighs.
Toasted Sesame Oil: 1 tsp (5ml). A finishing oil that adds a deep, nutty aroma to the final glaze.
The Garnish & Base: You will need 2 cups (300g) of cauliflower rice, 1 large head of broccoli cut into florets, toasted white sesame seeds, and 3 scallions sliced paper-thin on a bias.
Essential Tools for the Perfect Sear
To achieve the “crispy-charred” look from our visual blueprint, a heavy-bottomed skillet is non-negotiable. A cast-iron pan or a high-quality stainless steel skillet is preferred over non-stick, as the latter prevents the formation of the “fond” (the brown bits) that adds flavor and color to the sauce.
You will also need a fine-mesh grater (like a Microplane) for the ginger to ensure it integrates into the sauce as tiny bits rather than large chunks. A steamer basket is ideal for the broccoli to keep it “vibrant and crisp-tender” with those characteristic water droplets rather than becoming mushy and grey.
Mastering the Pan-Sear and Glaze Reduction
Step 1: Preparing the Chicken for Maximum Surface Area
Pat your chicken thighs bone-dry with paper towels; moisture is the enemy of the sear. Cut the chicken into uniform 1-inch (2.5cm) pieces. This ensures they cook evenly and creates more surface area for the sticky glaze to cling to.
Step 2: The High-Heat Sear for Charred Edges
Heat the avocado oil in your skillet over medium-high heat until it shimmers. Add the chicken in a single layer, making sure not to overcrowd the pan (work in batches if necessary). Let the chicken sit undisturbed for 3-4 minutes until a deep golden-brown, charred crust forms on the bottom.
Flip the pieces and cook for another 2-3 minutes. Look for those “crispy edges” mentioned in our visual prompt. Remove the chicken from the pan and set it aside on a plate; it will finish cooking in the sauce later.
Step 3: Reducing the Amber Glaze
In the same pan, lower the heat to medium and add the garlic and ginger. Sauté for 30 seconds until fragrant—watch for the garlic to turn golden but not brown. Pour in the coconut aminos, honey, and sesame oil. Whisk in the arrowroot starch (dissolved in a tiny bit of water first) to prevent clumping.
Bring the mixture to a simmer. You will see “tiny bubbles” forming as the sauce begins to thicken and turn into a dark amber color. This is the reduction phase where the flavors concentrate into a powerful umami punch.
Step 4: The Final Toss and Glaze Coating
Add the chicken and any accumulated juices back into the pan. Toss the chicken pieces vigorously. The sauce should transition from a liquid to an “incredibly thick, translucent” glaze that coats every piece of chicken with a high-shine finish. Season with a generous amount of cracked black pepper.
Step 5: Steaming the Vibrant Greens
While the sauce finishes, steam your broccoli florets for just 3-4 minutes. They should be “bright green” and offer a slight snap when bitten. Remove from heat immediately to preserve the color and the delicate water droplets on the surface.
Expert Tips for Culinary Forensic Perfection
- The Gloss Factor: If your sauce isn’t shiny enough, add a tiny teaspoon of extra honey at the very end. The sugars will provide that mirror-like reflection.
- Avoid the Grey: If you cook the broccoli too long, it loses its “vibrant” hue. Shock it in ice water if you aren’t serving immediately, then flash-reheat.
- The Bias Cut: For the scallions, hold your knife at a 45-degree angle. This creates the “paper-thin bias-cut” look that elevates the dish from home-cooked to professional.
- Toasting Seeds: Always toast your sesame seeds in a dry pan for 1-2 minutes until fragrant. It changes the flavor profile from “bland” to “nutty and complex.”
How to Store and Reheat Your Paleo Teriyaki
This Paleo Chicken Teriyaki stores beautifully, making it a star for meal prep. Keep it in an airtight container in the refrigerator for up to 4 days. The glaze will thicken further as it cools.
When reheating, add a splash of water or extra coconut aminos to the pan to loosen the sauce. Avoid the microwave if possible; a quick toss in a skillet will help revive those crispy texture profiles on the edges of the chicken.
What to Serve with This Teriyaki Bowl
While cauliflower rice is the classic Paleo base, this dish is versatile enough to pair with various textures. If you’re looking for a different vibe, try serving the chicken alongside a refreshing noodle salad made with zucchini ribbons or sweet potato glass noodles.
For those who love a variety of savory bowl-style meals, you can swap the chicken for thinly sliced flank steak using the same glaze methodology. The dark stoneware bowl aesthetic works perfectly for any protein-heavy meal accompanied by steamed greens.
Frequently Asked Questions
Yes, but be careful not to overcook them. Thighs are preferred for Paleo Chicken Teriyaki because their fat content helps achieve those crispy, charred edges without the meat becoming dry.
Steam it for no more than 3-4 minutes. This ‘crisp-tender’ stage preserves the chlorophyll, keeping the color vibrant and ensuring those appetizing water droplets stay on the surface.
Both work well, but honey provides a slightly thicker, stickier ‘pull’ to the sauce. Maple syrup offers a thinner consistency with a more complex, woody sweetness.
Arrowroot powder (or tapioca starch) is the secret. It creates a translucent, high-shine finish that is much clearer and glossier than traditional flour or cornstarch thickeners.
Coconut aminos are a soy-free and gluten-free alternative derived from coconut sap. They provide the necessary umami and saltiness for a Paleo-compliant teriyaki while being naturally lower in sodium.
The Ultimate Sticky Paleo Chicken Teriyaki Recipe
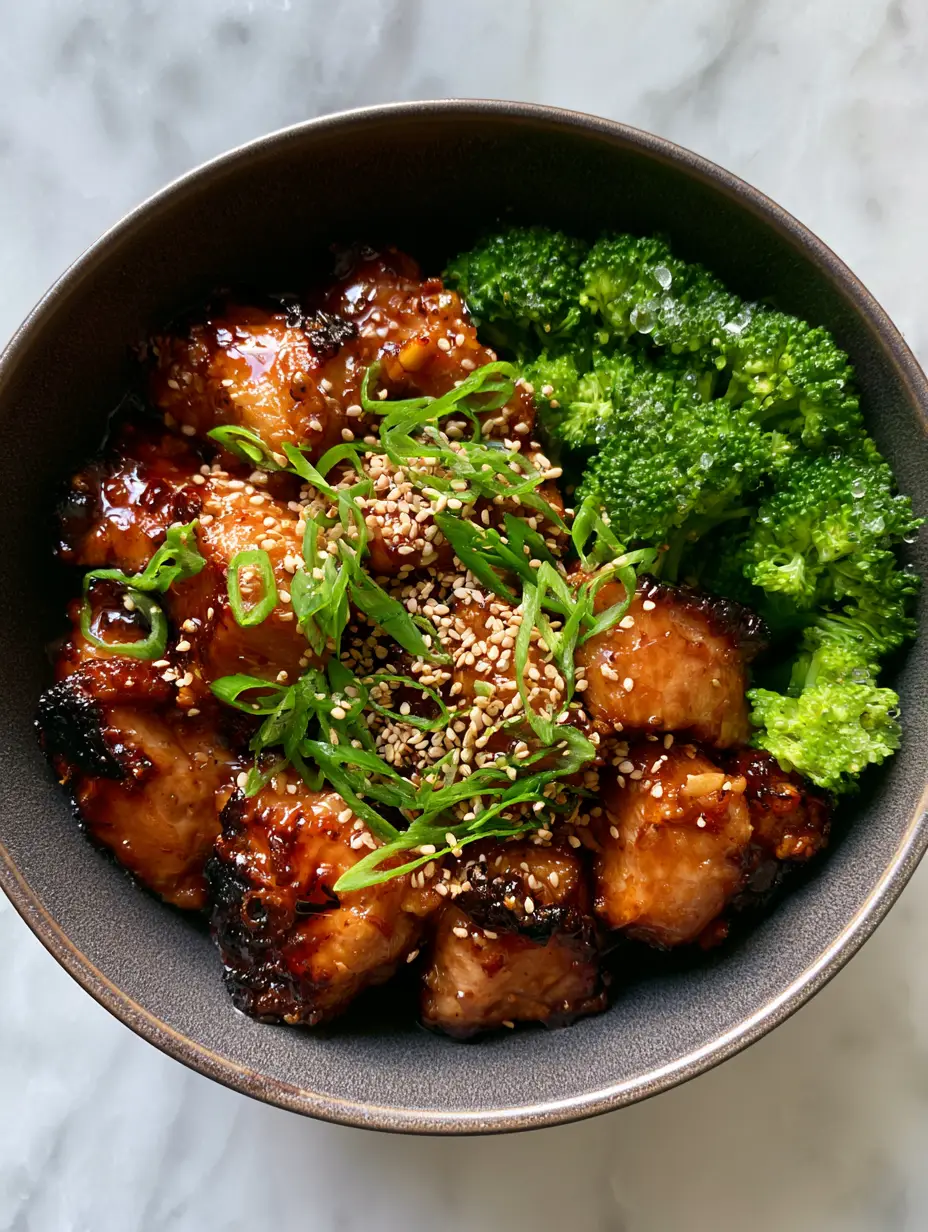
Paleo Chicken Teriyaki with Sticky Ginger-Garlic Glaze
Ingredients
Equipment
Method
- Pat chicken thighs dry and cut into uniform 1-inch pieces to ensure even cooking and maximum surface area for the glaze.
- Heat avocado oil in a large skillet over medium-high heat. Sear chicken in batches until edges are charred and crispy, about 6-8 minutes total.
- Remove chicken. Add garlic and ginger to the pan, then pour in coconut aminos, honey, and arrowroot slurry. Simmer until tiny bubbles form and sauce is dark amber.
- Toss chicken back into the sauce until thickly coated and glossy. Serve over cauliflower rice with steamed broccoli.
Notes
Whisk arrowroot with a teaspoon of water before adding to prevent lumps.
Join the Taste Revolution!
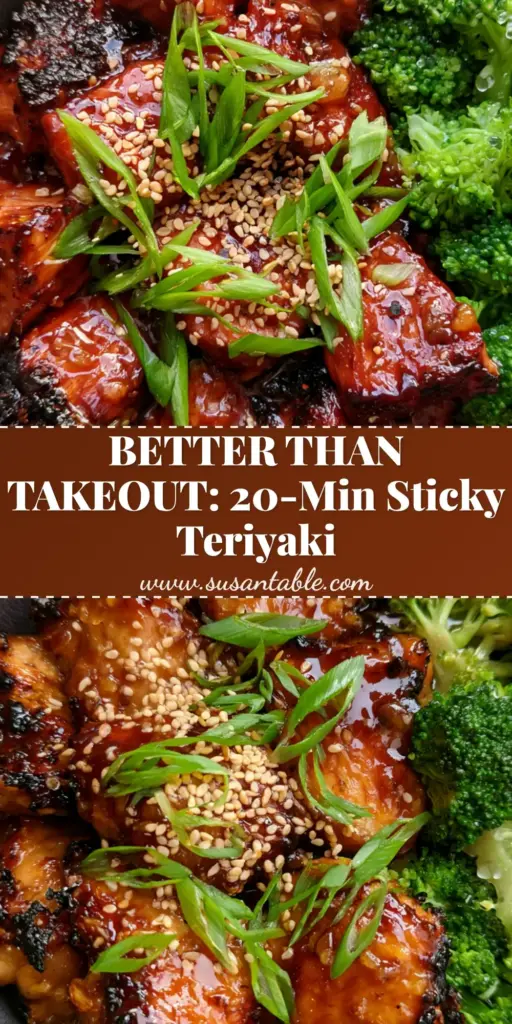
This Paleo Chicken Teriyaki is more than just a meal; it’s a sensory experience that proves “healthy” can be incredibly indulgent. If you made this dish and captured that perfect “high-shine” photo, I want to see it! Leave a comment below with your results or any substitutions you tried.
Don’t forget to sign up for our newsletter for more grain-free masterpieces and save this recipe to your favorite board on Pinterest so you never lose the secret to the perfect sticky glaze!