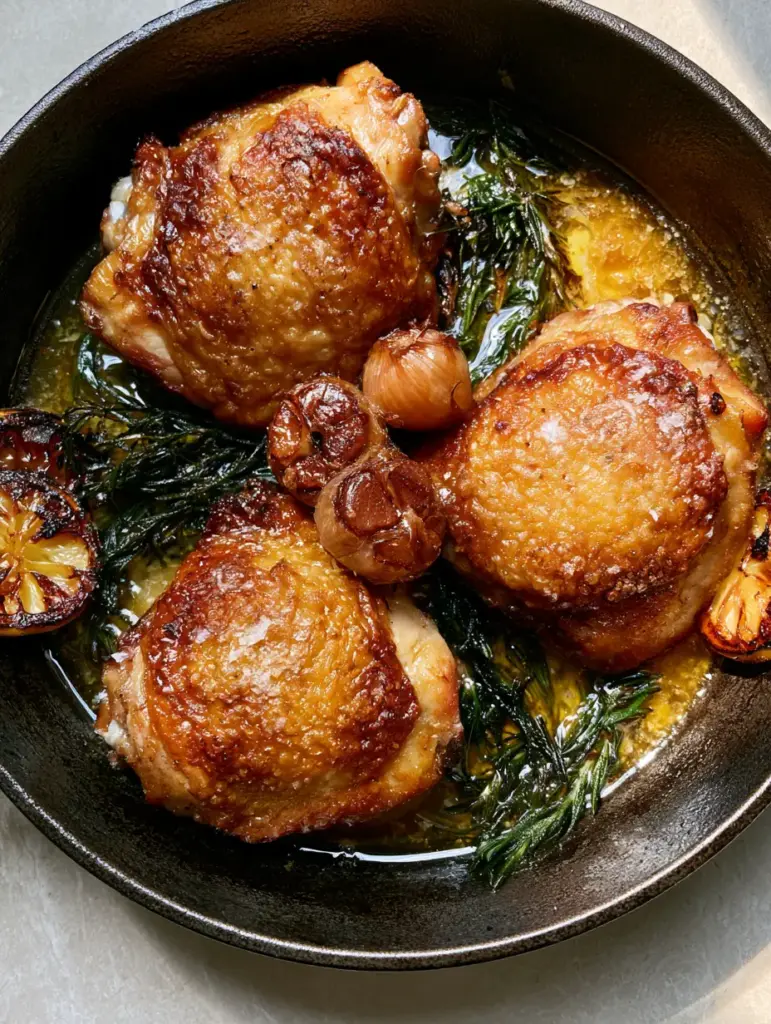
There is a specific, primal satisfaction that comes from the sound of a knife blade scraping against perfectly rendered poultry skin. When you master these chicken thighs, you aren’t just making dinner; you are performing a culinary feat that balances the succulent, dark meat of the thigh with a crust so crisp it rivals the finest crackling. This isn’t your average weeknight protein; this is a sensory experience defined by shimmering golden drippings and the heady aroma of pan-fried rosemary.
Achieving that deep, honeycomb-gold hue requires more than just heat; it requires an understanding of fat rendering and moisture control. By focusing on bone-in, skin-on cuts, we utilize the natural insulation of the bone to keep the meat juicy while the skin undergoes a total transformation in a seasoned cast iron skillet. The result is a dish that looks as professional as a high-end bistro offering but feels as comforting as a home-cooked classic.
If you have been searching for the ultimate way to elevate your poultry game, this method is the gold standard. We aren’t hiding the chicken under heavy sauces. Instead, we are highlighting the natural flavors of the meat, accented by the sharp brightness of charred lemon and the earthy, woodsy punch of fresh rosemary sprigs that have been crisped to perfection in the pan.
The Secrets to Achieving a Perfect Shatter-Crisp Result
- The Golden Skin Architecture: We focus on a slow rendering process that transforms the subcutaneous fat into a deep, honeycomb-gold crust that shatters upon impact.
- Aromatic Infusion: By caramelizing whole smashed garlic cloves and frying fresh rosemary directly in the rendered chicken fat, we create a complex flavor profile that penetrates the meat.
- Balanced Acidity: The addition of charred lemon half-moons provides a necessary phosphoric bite that cuts through the richness of the shimmering pan drippings.
- Textural Contrast: Every bite offers a symphony of textures, from the flaky sea salt crystals on the surface to the tender, melt-in-your-mouth dark meat underneath.
Essential Components for This Gourmet Skillet Supper
Bone-In, Skin-On Chicken Thighs: You need 4 large thighs (approx. 2 lbs / 900g) because the bone acts as a thermal conductor, ensuring the meat stays moist during the high-heat searing process. The skin is your canvas for flavor and texture, providing the fat necessary for the entire dish.
Avocado Oil or Grapeseed Oil: Use 2 tbsp (30ml) of a high-smoke point oil to initiate the sear without burning. While the chicken fat will eventually take over, this initial “invisible” ingredient prevents sticking and ensures even heat distribution.
Fresh Rosemary Sprigs: 4-5 large sprigs (approx. 10g) are essential for that woodsy, pine-like aroma. When fried in the hot oil, the leaves become delicate and crunchy, acting more like a garnish-vegetable than just a herb.
Whole Garlic Cloves: 6-8 large cloves (approx. 40g), smashed but left in their skins, provide a mellow, buttery sweetness once caramelized. Smashed garlic releases more oils than whole cloves but won’t burn as easily as minced garlic.
Lemon Half-Moons: 1 medium lemon (approx. 150g), sliced into thin half-moons, provides the visual and flavor “pop.” Charring them in the skillet releases their juices, creating a natural pan sauce when mixed with the chicken drippings.
Flaky Sea Salt & Cracked Black Pepper: Use 1 tsp (6g) of flaky salt for the finish and 1/2 tsp (3g) of freshly cracked pepper. The coarse texture of the salt flakes is critical for that final visual glisten and a burst of seasoning in every bite.
Must-Have Tools for the Ultimate Sear
The most important tool in your arsenal is a 12-inch (30cm) seasoned black cast iron skillet. Cast iron is unparalleled for its heat retention, which is the secret to getting that consistent, deep gold color without the pan temperature dropping when the cold meat hits the surface.
You will also need a pair of heavy-duty stainless steel tongs for precise flipping and a digital instant-read thermometer. To ensure food safety while maintaining maximum juiciness, we are aiming for an internal temperature of 175°F (80°C) for thighs, which allows the collagen to fully break down unlike leaner breast meat.
Mastering the Pan-Sear: A Step-by-Step Guide
Preparing the Surface for Success
Remove your chicken thighs from the refrigerator at least 20 minutes before cooking to take the chill off. Use a paper towel to pat the skin extremely dry; any residual surface moisture will create steam, which is the enemy of a crispy crust. Season the underside of the thighs with salt and pepper, but keep the skin side plain for now to avoid drawing out moisture prematurely.
The Cold-Start Rendering Technique
Place your cast iron skillet over medium-high heat and add the avocado oil (30ml). Once the oil is shimmering and just starting to wisps of smoke, place the chicken thighs skin-side down. You should hear a vigorous sizzle immediately. Press down lightly with your tongs to ensure every millimeter of skin is in contact with the hot metal. Do not move them for at least 6-8 minutes.
Infusing the Pan Aromatics
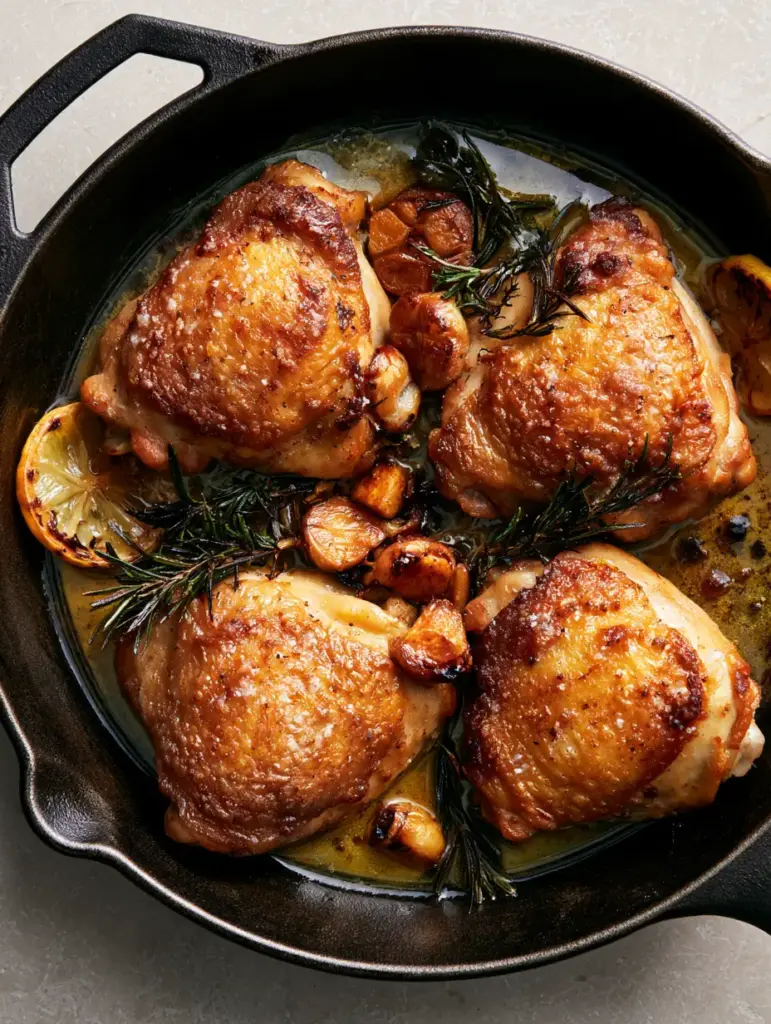
As the chicken fat renders and pools in the skillet, toss in your smashed garlic cloves (40g) and the fresh rosemary sprigs (10g). Nestle them in the gaps between the thighs so they can fry in the shimmering golden drippings. The garlic will begin to turn a rich, caramelized brown, and the rosemary will darken and become brittle. This is when the kitchen will begin to smell like a professional steakhouse.
Charring the Lemons and Finishing
Once the chicken skin is a deep honeycomb-gold and shatters when poked, flip the thighs. Immediately add the lemon half-moons to the skillet, tucking them into the corners. Cook for another 5-7 minutes. The lemons will char and caramelize, releasing their bright juices into the savory oil. Use a spoon to baste the crispy skin with the garlic-rosemary infused fat during the final two minutes of cooking.
Professional Tips for Consistent Excellence
- The “No-Touch” Rule: The biggest mistake home cooks make is moving the chicken too early. If the skin is sticking to the pan, it’s not ready to flip. The meat will naturally “release” once the crust has formed.
- Manage the Heat: If the garlic starts to look dark black rather than deep brown, move the cloves on top of the chicken thighs to stop the cooking while still allowing their flavor to permeate.
- Salt Timing: Save the flaky sea salt for the very end. Adding it just before serving ensures the crystals don’t dissolve, providing that beautiful visual glisten and a tactile crunch.
- Crowding the Pan: Never cook more than four thighs in a standard skillet. Overcrowding leads to steaming, which results in rubbery, pale skin instead of the desired golden-brown.
Preserving the Crunch: Storage and Reheating
Leftover chicken thighs can be stored in an airtight container in the refrigerator for up to 3 days. However, the refrigerator is humid, which will soften that carefully crafted skin. To revive the crunch, avoid the microwave at all costs. Instead, reheat the thighs in a 375°F (190°C) oven or air fryer for 5-8 minutes until the skin sizzles again.
For long-term storage, you can freeze these thighs for up to 2 months. Thaw them completely in the fridge overnight before using the oven-reheating method described above. This is one of those healthy dinner ideas that actually tastes better the next day as the garlic and rosemary flavors deepen.
Perfect Pairings for Your Skillet Chicken
To round out this meal, you need sides that can stand up to the richness of the pan drippings. A side of crispy potatoes roasted in the same oven can soak up any extra rosemary oil. If you are looking for a lighter option, a bright citrus noodle salad provides a refreshing contrast to the savory dark meat.
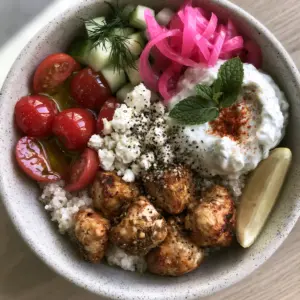
If you enjoy the flavor profile of this dish, you might also love my Greek chicken recipes which utilize similar lemon and herb notes, or for a touch of sweetness, try the spicy honey lime chicken thighs. These thighs also work beautifully shredded into burger bowls for a low-carb lunch option.
Frequently Asked Questions
While you can, boneless thighs cook much faster and are thinner, making it harder to achieve that deep gold skin without overcooking the meat. Bone-in thighs provide the thermal mass needed for a long, slow render.
No. For the best crust, leave the chicken skin-side down undisturbed for at least 80% of the cooking time. Flipping too often prevents the Maillard reaction from creating that deep honeycomb-gold color.
Absolutely! The rosemary becomes delicate and crunchy, much like a herb chip, and the smashed garlic cloves turn sweet and buttery. They are delicious when eaten alongside the chicken.
Use an oil with a high smoke point, such as avocado oil, grapeseed oil, or canola oil. Avoid extra virgin olive oil or butter for the initial sear, as they will burn at the temperatures required for crispy skin.
The most common culprit is moisture. If the skin is wet when it hits the oil, it will steam rather than fry. Always pat the thighs extremely dry with paper towels. Additionally, ensure the pan isn’t overcrowded, which also creates steam.
The Ultimate Crispy Garlic Rosemary Chicken Thighs Recipe
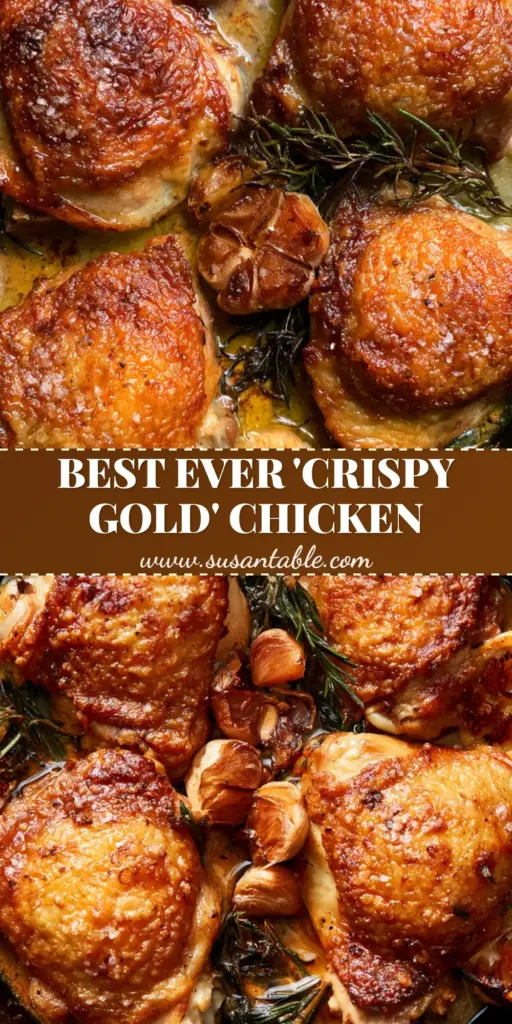
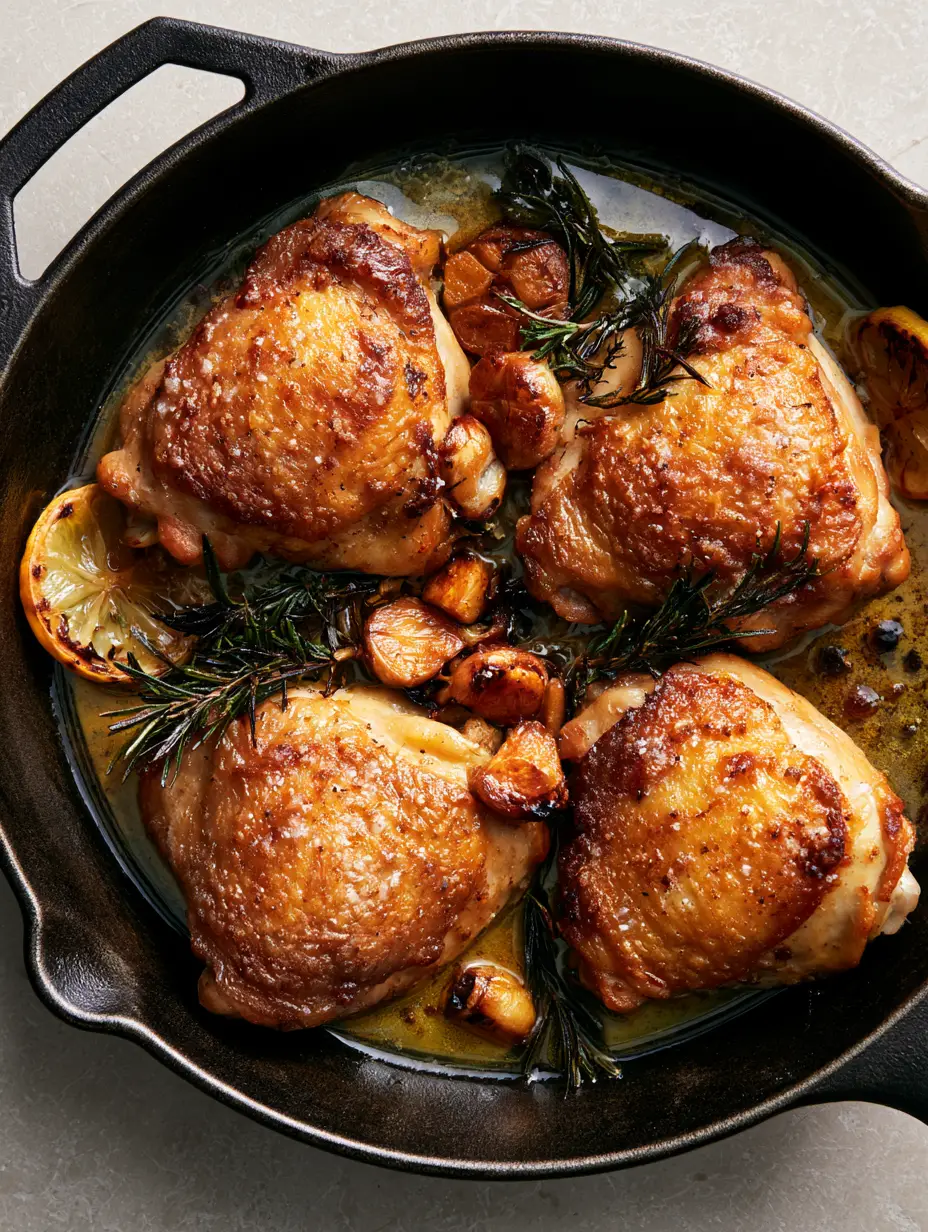
Chicken Thighs with Shatter-Crisp Skin, Rosemary, and Caramelized Garlic
Ingredients
Equipment
Method
- Pat the chicken thighs extremely dry with paper towels to remove all surface moisture. Season only the meat side with salt and pepper.
- Heat the avocado oil in a 12-inch cast iron skillet over medium-high heat until shimmering.
- Place thighs skin-side down in the hot oil. Press firmly to ensure contact. Sear undisturbed for 8 minutes until the skin is deep golden and releases easily.
- Add smashed garlic and rosemary sprigs to the pan drippings. Fry until garlic is caramelized and rosemary is crisp.
- Flip the thighs. Add lemon half-moons to the skillet. Cook for another 5-7 minutes until the internal temperature reaches 175°F (80°C).
- Remove from heat, rest for 5 minutes, and sprinkle with flaky sea salt before serving.
Notes
Use a cast iron skillet for the best heat distribution.
Bring the Bistro to Your Kitchen
There is no reason to settle for mediocre chicken when a few simple techniques can produce world-class results. These chicken thighs represent the intersection of rustic home cooking and professional culinary science. We would love to see your results! Please leave a comment below and share your crispy skin victories with us. Don’t forget to follow Pinterest and save this recipe to your favorite boards for your next dinner party or family gathering.