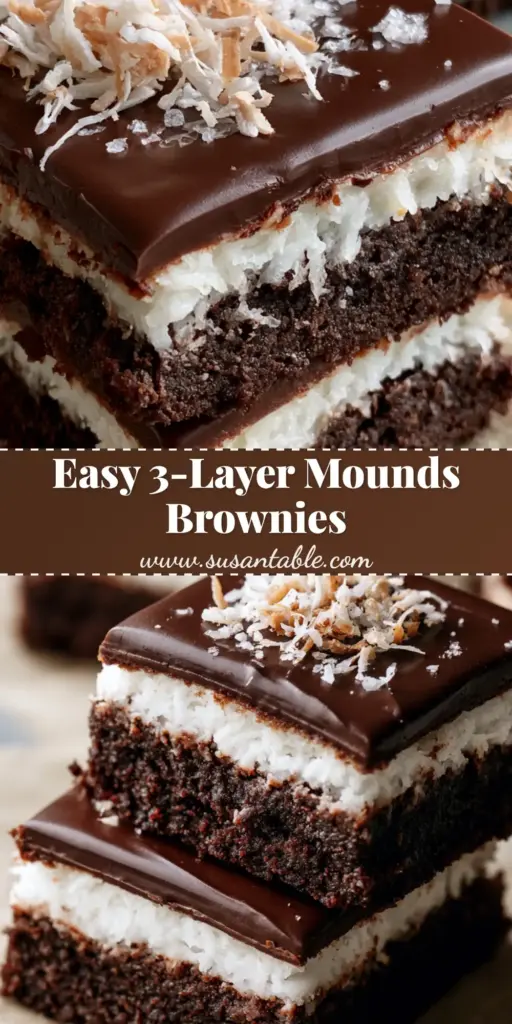
If you have been searching for the most decadent, bakery-quality dessert, these Mounds Brownies are the answer to your cravings. Combining a rich, ultra-fudgy dark chocolate brownie base with a thick, snowy-white, moist shredded coconut filling and a smooth, glossy dark chocolate ganache, this recipe is a masterclass in texture and flavor contrast. We aren’t just making a basic tray bake; we are creating a sophisticated confection that mimics the classic candy bar but elevates it with premium ingredients and a sprinkle of flaky sea salt.
The beauty of these Mounds Brownies lies in the sharp, clean edges and the distinct three-layer profile that looks stunning on a serving platter. Whether you are a fan of our classic fudgy brownies or looking for something more complex like our Samoa brownies, this recipe delivers a professional result using handheld smartphone photography techniques to capture every glossy sheen and toasted coconut shred. Let’s dive into why this specific recipe will become your new go-to for special occasions and potlucks.
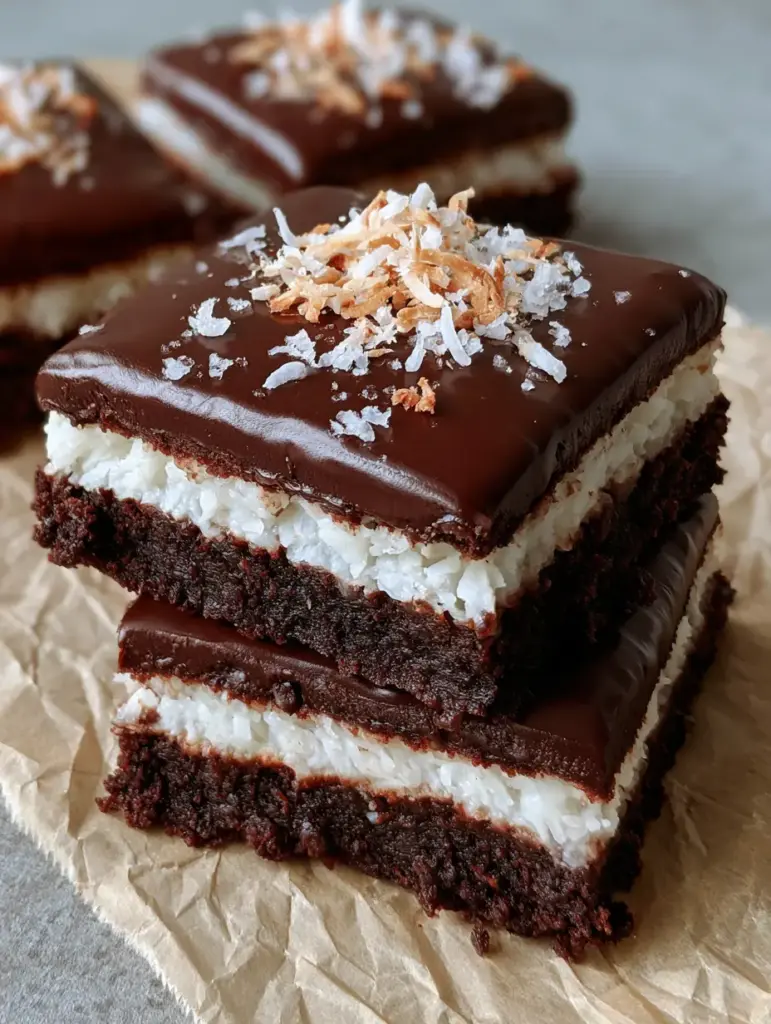
Why These Fudgy Coconut Bars Win Every Time
- Ultra-Fudgy Foundation: The base is a dense, dark chocolate brownie that provides a sturdy yet meltingly soft foundation.
- Moist Coconut Core: A thick layer of sweetened shredded coconut bound with condensed milk creates that iconic “Mounds” texture.
- Glossy Ganache Finish: A professional-grade dark chocolate ganache provides a smooth, satiny top that snaps perfectly when bitten.
- Visual Sharpness: Designed for clean, bakery-style edges that make these bars look as good as they taste.
- Balanced Sweetness: The addition of flaky sea salt and dark chocolate prevents the coconut layer from becoming cloying.
The Essential Ingredients for Perfect Mounds Brownies
To achieve the specific textures shown in our visual blueprint, each ingredient serves a scientific purpose. Using high-quality fats and chocolates is non-negotiable for that elite mouthfeel.
For the Ultra-Fudgy Dark Chocolate Base
Unsalted Butter (1/2 cup / 115g): We melt the butter to ensure a dense, fudgy crumb rather than a cakey one. Melted fat inhibits gluten development, leading to a richer texture.
Granulated Sugar (1 cup / 200g): Sugar does more than sweeten; it liquefies during baking to create that classic crackly top and chewy interior.
Large Eggs (2): These act as the primary leavening agent and binder, providing structure to the dark chocolate base.
Dutch-Processed Cocoa Powder (1/2 cup / 45g): This is essential for the “dark chocolate” look. It’s treated with alkali to reduce acidity, resulting in a deeper color and smoother flavor.
All-Purpose Flour (1/2 cup / 65g): We use a minimal amount of flour to keep the brownies dense and “ultra-fudgy” rather than bread-like.
Salt (1/4 tsp / 1.5g): Essential for brightening the chocolate notes.
For the Snowy-White Coconut Filling
Sweetened Shredded Coconut (3 cups / 265g): This provides the bulk and the chew. Ensure it is moist and not dried out for the best results.
Sweetened Condensed Milk (1 can / 14oz / 396g): This acts as the glue, creating a moist, fudge-like consistency that stays white and opaque.
Pure Vanilla Extract (1 tsp / 5ml): Enhances the floral notes of the coconut.
For the Glossy Ganache and Garnish
Dark Chocolate Chips (1 cup / 170g): Use at least 60% cacao for a sophisticated flavor profile that balances the sweet coconut.
Heavy Cream (1/2 cup / 120ml): Creates the emulsion for the ganache, keeping it soft enough to slice without cracking.
Toasted Coconut Shreds (2 tbsp / 10g): These add a nutty aroma and a crunch that contrasts with the moist filling.
Flaky Sea Salt (to taste): The final touch to cut through the richness and highlight the dark chocolate.
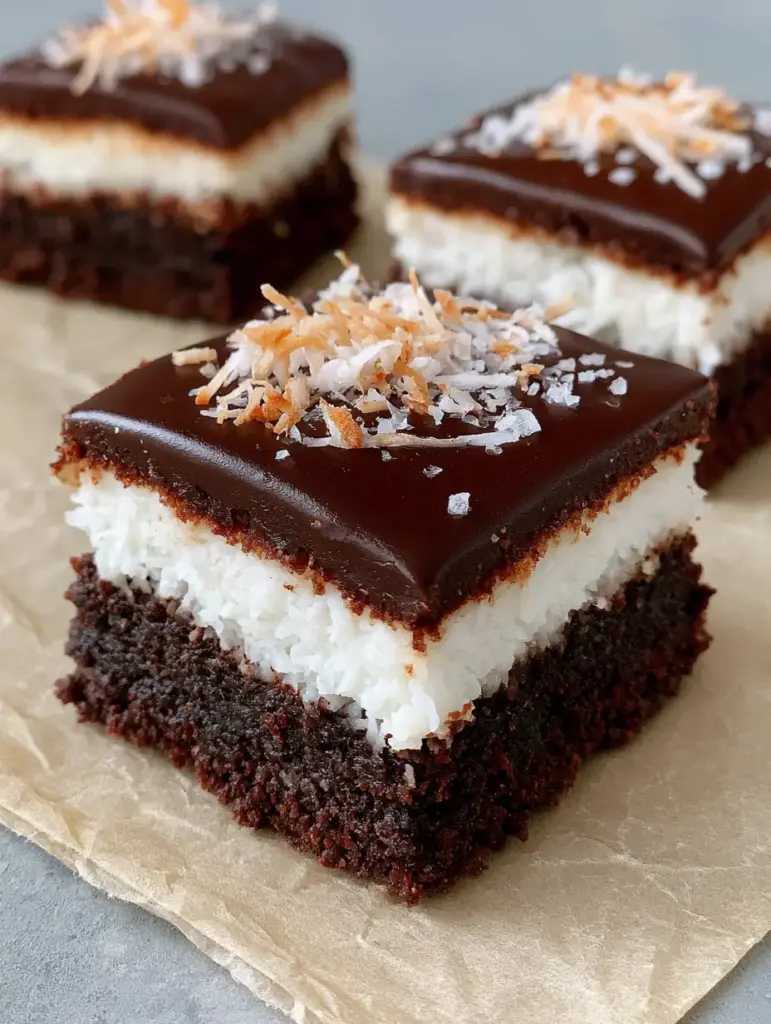
Mastering the Three-Layer Assembly: Step-by-Step
Creating these Mounds Brownies requires patience and specific temperature controls to ensure the layers don’t bleed into one another.
Preparing the Fudgy Foundation
Start by preheating your oven to 350°F (175°C). Line an 8×8 inch (20×20 cm) pan with rustic parchment paper, leaving an overhang on the sides. This is a critical step for achieving those sharp, clean edges later.
In a medium bowl, whisk the melted butter and sugar until well combined. Add the eggs one at a time, beating vigorously. You want the mixture to look slightly glossy. Fold in the cocoa powder, flour, and salt until just combined. Over-mixing at this stage will introduce too much air, ruining the dense crumb we saw in the Midjourney prompt.
Spread the batter evenly in the pan and bake for 20-22 minutes. The center should be set but still slightly soft. Visual Cue: The edges should just begin to pull away from the parchment. Cool completely before adding the next layer.
Crafting the Moist Coconut Center
While the base cools, mix the shredded coconut, sweetened condensed milk, and vanilla in a large bowl. The mixture should be thick, snowy-white, and very moist. If it feels dry, add an extra tablespoon of condensed milk.
Spread this mixture over the cooled brownie base. Use an offset spatula to press it into an even, flat layer. The contrast between the dark base and the bright white filling is what makes these Mounds Brownies so visually striking. Chill in the refrigerator for 30 minutes to set this layer before adding the ganache.
Achieving the Perfect Glossy Ganache
Place your dark chocolate chips in a heat-proof bowl. In a small saucepan, heat the heavy cream until it just begins to simmer (do not let it boil). Pour the hot cream over the chocolate and let it sit undisturbed for 5 minutes.
Gently whisk from the center outward until a smooth, glossy dark chocolate ganache forms. Pour this over the chilled coconut layer, tilting the pan to ensure even coverage. The ganache should have a beautiful sheen, just like a professional handheld smartphone photo would capture.
The Final Garnish and Set
Immediately sprinkle the toasted coconut shreds and a light scatter of flaky sea salt over the wet ganache. The salt will slightly sink in, creating a beautiful texture. Refrigerate the entire pan for at least 2 hours. Pro Tip: For the sharpest edges, freeze the bars for 20 minutes before slicing with a hot, clean knife.
Expert Tips for Bakery-Style Success
- The Hot Knife Trick: To get the clean edges shown in the visual blueprint, dip a sharp chef’s knife in hot water and wipe it dry between every single cut.
- Room Temperature Ingredients: Ensure your eggs are at room temperature to prevent the melted butter from seizing, which keeps the brownie base ultra-smooth.
- Don’t Overbake: Brownies continue to cook in the pan as they cool. Pull them out when the center still has a tiny bit of “wobble” for maximum fudginess.
- Toast Your Own Coconut: For the garnish, toast raw shredded coconut in a dry skillet for 2-3 minutes until golden brown. The aroma is far superior to store-bought toasted coconut.
How to Store and Freeze Mounds Brownies
Because of the moist coconut filling and the dairy in the ganache, these Mounds Brownies should be stored in an airtight container in the refrigerator. They will stay fresh and fudgy for up to 7 days.
If you want to freeze them, wrap individual squares in plastic wrap and then place them in a freezer-safe bag. They freeze beautifully for up to 3 months. Thaw in the refrigerator overnight before serving to maintain the integrity of the glossy ganache.
What to Serve With These Decadent Bars
These bars are incredibly rich, so they pair best with beverages that provide a bit of contrast. A bitter espresso or a cold glass of whole milk is the traditional choice. If you are hosting a dessert party, consider serving them alongside lighter fare like our lemon blueberry cookies or a refreshing strawberry shortcake to balance the deep chocolate flavors.
Frequently Asked Questions
Yes! Substitute the all-purpose flour in the brownie base with a 1:1 gluten-free flour blend. The coconut filling and ganache are naturally gluten-free.
You can, but the brownies will be lighter in color and slightly more acidic. For that deep, dark ‘Mounds’ look, Dutch-processed cocoa is highly recommended.
Yes. The high moisture content of the coconut filling and the cream in the ganache makes them best (and safest) when stored in the refrigerator.
Chill the brownies in the freezer for 20 minutes before cutting. Use a large chef’s knife dipped in hot water and wiped dry between every single slice.
The coconut layer needs enough sweetened condensed milk to act as a binder and must be chilled thoroughly. Ensure you press the mixture firmly into the pan before adding the ganache.
The Official Mounds Brownies Recipe Card
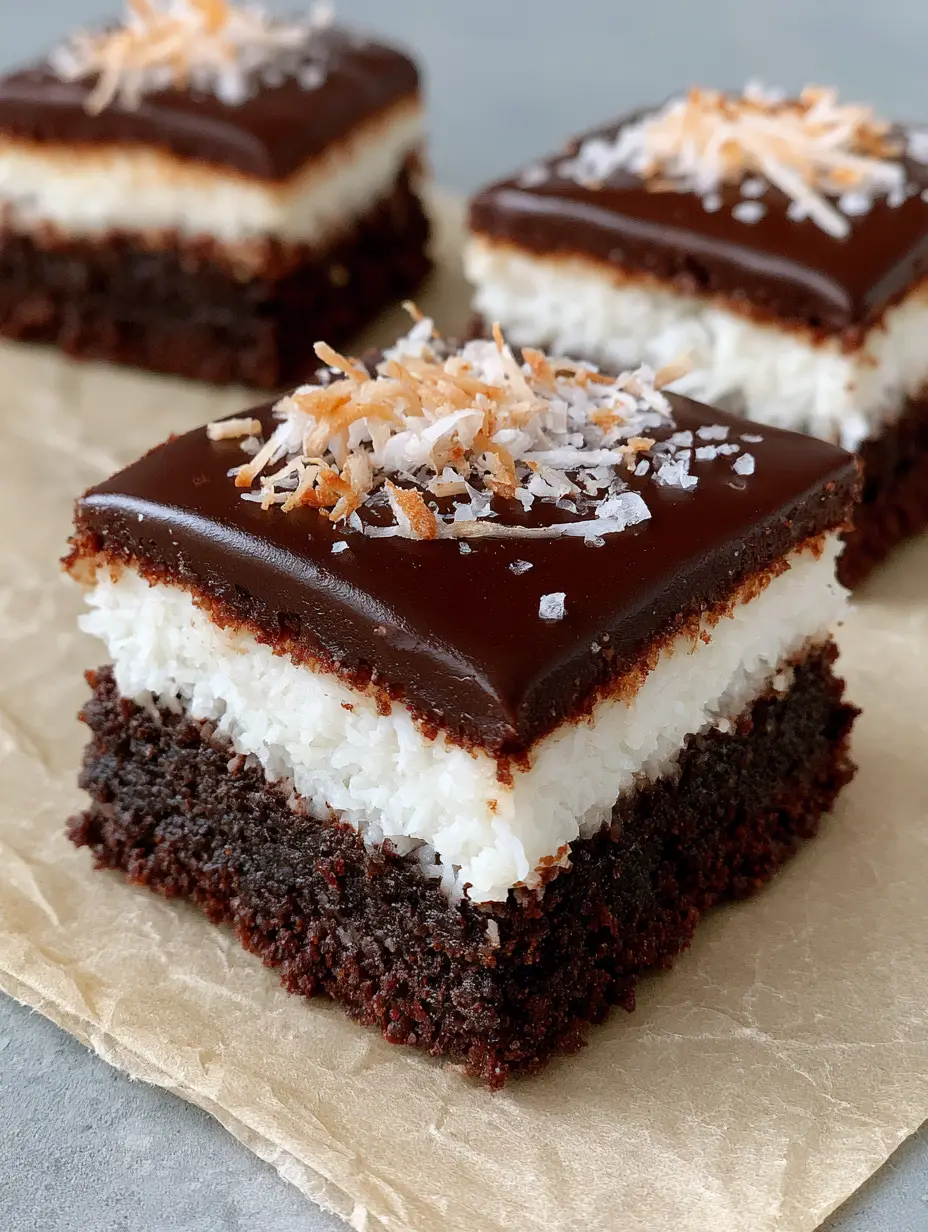
Mounds Brownies: The Ultimate Triple-Layer Dark Chocolate Coconut Bars
Ingredients
Equipment
Method
- Whisk melted butter and sugar. Add eggs one at a time, beating until glossy.
- Gently fold in cocoa, flour, and salt. Do not overmix.
- Bake at 350°F (175°C) for 20-22 minutes. Cool completely in the pan.
- Mix shredded coconut, condensed milk, and vanilla until moist and combined.
- Press the coconut mixture firmly over the cooled brownie base. Chill for 30 minutes.
- Pour hot simmering cream over chocolate chips. Let sit for 5 minutes, then whisk until glossy.
- Pour over the coconut layer. Top with toasted coconut and sea salt. Chill for 2 hours before slicing.
Notes
Store in the refrigerator to keep the ganache glossy and the coconut moist.
Join the KellyTaste Community!
Did these Mounds Brownies satisfy your chocolate and coconut cravings? If you loved the contrast of the fudgy base and the snowy filling, please save this recipe to your Pinterest Dessert Board so you never lose it! Following me, KellyTaste, on Pinterest helps me keep creating these deep-dive recipes for you.
I would love to see your results! Upload a photo of your brownies in the comments below or tag me on social media. Don’t forget to leave a 5-star rating in the recipe card if this is your new favorite treat!