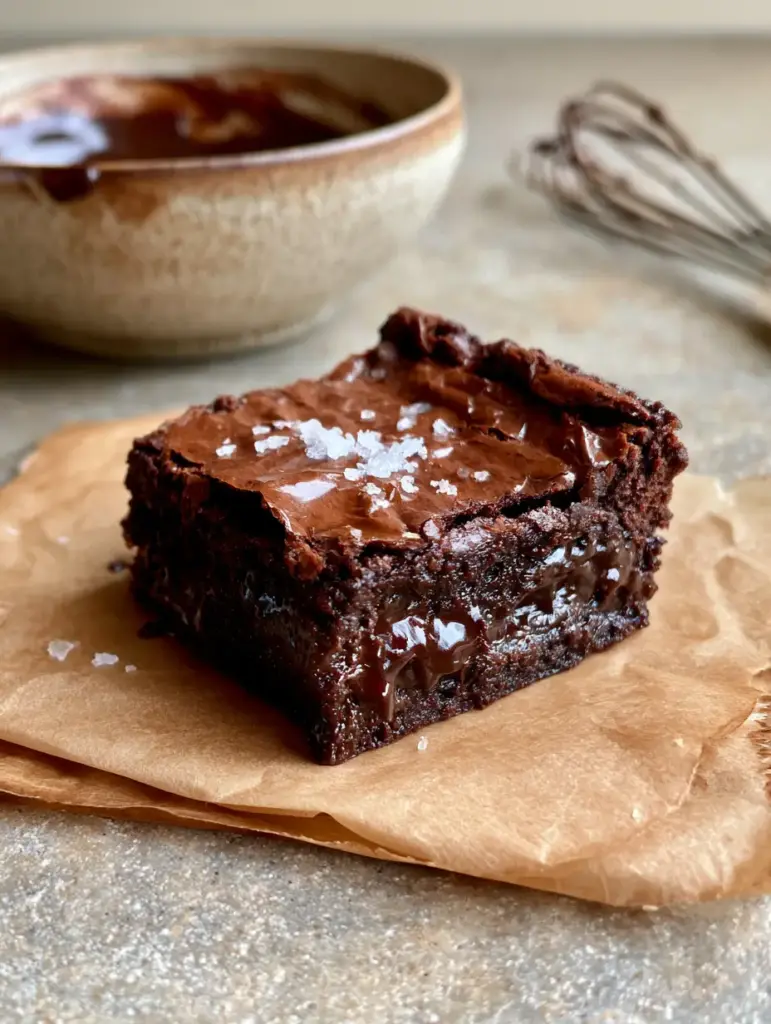
These brownies are the holy grail of chocolate baking, featuring a paper-thin crinkled chocolate crust and a base foundation that is an ultra-dense, gooey brownie center bursting with molten pockets of dark chocolate. If you have been searching for the perfect balance between a fudgy texture and that elusive fractured, shiny top, this recipe is your final destination.
Forget the boxed mixes; we are using professional culinary techniques to ensure every bite is garnished with a delicate sprinkle of flaky white sea salt. When you pull these out of the oven on their rustic parchment paper, the aroma of Dutch-processed cocoa and melting dark chocolate will fill your kitchen, creating a sensory experience that matches the stunning visual of an unedited, handheld smartphone photo.
Why These Fudgy Brownies Are The Only Recipe You Need
- The Ultimate Texture Contrast: You get a signature paper-thin, incredibly shiny, deeply crinkled chocolate crust with fine fractures sitting atop a dense cake.
- Molten Chocolate Pockets: Instead of just cocoa powder, we fold in high-quality dark chocolate chunks that create gooey, melted reservoirs in every slice.
- Flaky Sea Salt Finish: The delicate sprinkle of white sea salt cuts through the richness, elevating the dark chocolate notes.
- Pinterest-Perfect Results: Designed to look rustic and professional, these brownies thrive on natural side daylight and look incredible on any dessert spread.
If you love these decadent treats, you should also check out my recipe for Mounds Brownies or these incredibly indulgent Samoa Brownies for your next baking session.
Essential Ingredients for the Perfect Brownie Structure
To achieve the specific visual recipe blueprint we are aiming for, every ingredient serves a dual purpose: flavor and physics.
Unsalted Butter: 1 cup (227g). We use melted butter to provide that ultra-dense, fudgy foundation rather than a cakey one. It provides the fat necessary to carry the cocoa flavors.
Granulated Sugar & Light Brown Sugar: 1 ½ cups (300g) granulated and ½ cup (100g) packed brown sugar. The ratio of sugars is critical for the shiny crinkled crust. The granulated sugar helps create the meringue-like top, while the brown sugar adds moisture and chew.
Large Eggs: 3 room-temperature eggs. Beating these eggs thoroughly with the sugar is the “secret” step that creates the fine fractures on the crust.
Dutch-Process Cocoa Powder: ¾ cup (75g). This provides a deep, dark color and a smooth chocolate flavor that isn’t too acidic.
All-Purpose Flour: 1 cup (125g). Just enough to provide structure without making the brownies dry or bready.
Dark Chocolate Chunks: 6 oz (170g) of 60% or higher cacao. These create the “molten pockets” visible in the close-up photos.
Flaky Sea Salt: For garnishing. It provides the visual pop and the essential flavor balance.
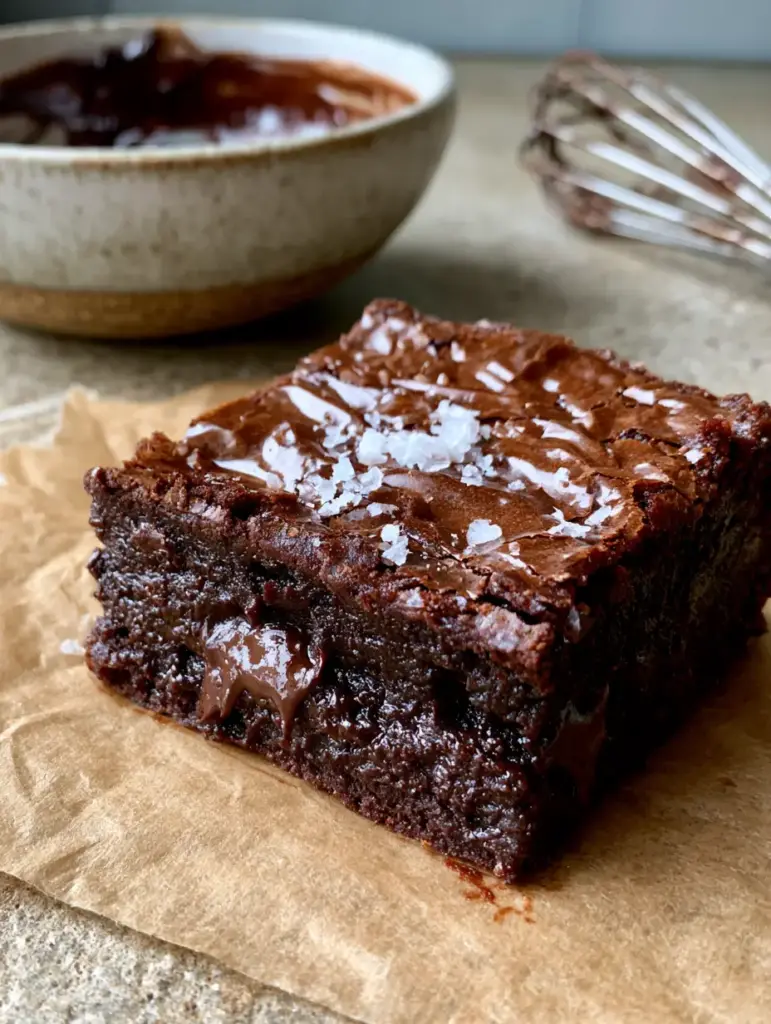
The Secret to the Paper-Thin Crinkled Crust
Step 1: Prep and Melt the Chocolate Base
Preheat your oven to 350°F (175°C). Line an 8×8 inch (20x20cm) square baking pan with rustic parchment paper, leaving an overhang on the sides for easy removal. This is crucial for that handheld, rustic aesthetic.
In a microwave-safe bowl, melt your 1 cup (227g) of butter. While hot, whisk in your ¾ cup (75g) of Dutch-process cocoa powder. The heat “blooms” the cocoa, intensifying the chocolate aroma that will eventually fill your kitchen.
Step 2: The Meringue-Top Technique
In a separate ceramic mixing bowl, combine your sugars and the 3 large eggs. Using a whisk or hand mixer, beat these for a full 3–5 minutes. You are looking for a pale, thick ribbon stage.
This aeration is what creates the shiny, deeply crinkled chocolate crust. As the brownies bake, the dissolved sugar and egg proteins rise to the surface, creating that paper-thin layer with fine fractures.
Step 3: Folding and Incorporating Molten Pockets
Gently fold the chocolate-butter mixture into the egg mixture. Once combined, sift in the 1 cup (125g) of flour and ½ tsp (3g) of fine salt. Use a spatula to fold until just a few streaks of flour remain.
Now, fold in the 6 oz (170g) of dark chocolate chunks. These are what create the bursting molten pockets mentioned in the recipe blueprint. Do not overmix, or you will lose the fudgy density.
Step 4: Baking for Visual Perfection
Pour the thick batter into the prepared pan. Smooth the top slightly. Bake for 25–30 minutes. The visual cue you are looking for is a set edge and a top that has moved from glossy to fractured and crinkled.
Immediately upon removing from the oven, while the brownies are still steaming, sprinkle the delicate flaky white sea salt across the surface. Let them cool completely in the pan to allow the fudgy center to set.
For more chocolate inspiration, don’t miss my Chocolate Coffee Cream Cupcakes or these decadent Banana Pudding Brownies.
Expert Tips for Success
- Room Temperature Eggs: Always use room temperature eggs to ensure they emulsify perfectly with the sugars, which is vital for the shiny crust.
- Measure by Weight: For the most ultra-dense results, use a kitchen scale. Too much flour will turn these into cake, not fudgy brownies.
- Don’t Overbake: A toothpick inserted into the center should come out with moist crumbs, not clean. If it’s clean, you’ve lost the “gooey” factor.
- The Knife Trick: For clean cuts that look like a professional photo, let the brownies chill in the fridge for 1 hour before slicing with a hot, clean knife.
Storage, Reheating & Freezing
Storage: Keep your brownies in an airtight container at room temperature for up to 4 days. The flaky sea salt garnish may dissolve slightly over time, so feel free to add a tiny fresh pinch before serving.
Freezing: These freeze beautifully. Wrap individual squares in plastic wrap and store in a freezer bag for up to 3 months. Thaw at room temperature for a decadent snack.
Reheating: If you want to recapture that molten dark chocolate pocket experience, microwave a single brownie for 10–15 seconds. It will return to its ultra-gooey state instantly.
What to Serve With These Ultra-Fudgy Brownies
While these are a standalone masterpiece, you can pair them with a scoop of cold vanilla bean ice cream to contrast the dense fudgy cake. If you are hosting a dessert party, they look stunning next to a plate of Strawberry Shortcake or a batch of Banana Bread Cookies.
Frequently Asked Questions
Yes, but dark chocolate (60% cacao or higher) provides the best flavor balance against the sweetness of the brownie. Milk chocolate will be much sweeter and may not stay as ‘molten’.
Dutch-process cocoa is alkalized, giving it a darker color and smoother flavor. While natural cocoa works, Dutch-process is essential for that deep, professional chocolate appearance.
The secret to the shiny, paper-thin crust is beating the eggs and sugar together for 3-5 minutes until pale and thick. This creates a meringue-like layer that rises to the top during baking.
Look for set edges and a top that has crinkled and fractured. A toothpick inserted into the center should come out with a few moist crumbs—never completely clean, which indicates overbaking.
Cakey brownies are usually caused by too much flour or over-beating the batter once the flour is added. For fudgy results, measure flour by weight and fold it in gently until just combined.
The Ultimate Crinkled Crust Brownie Recipe
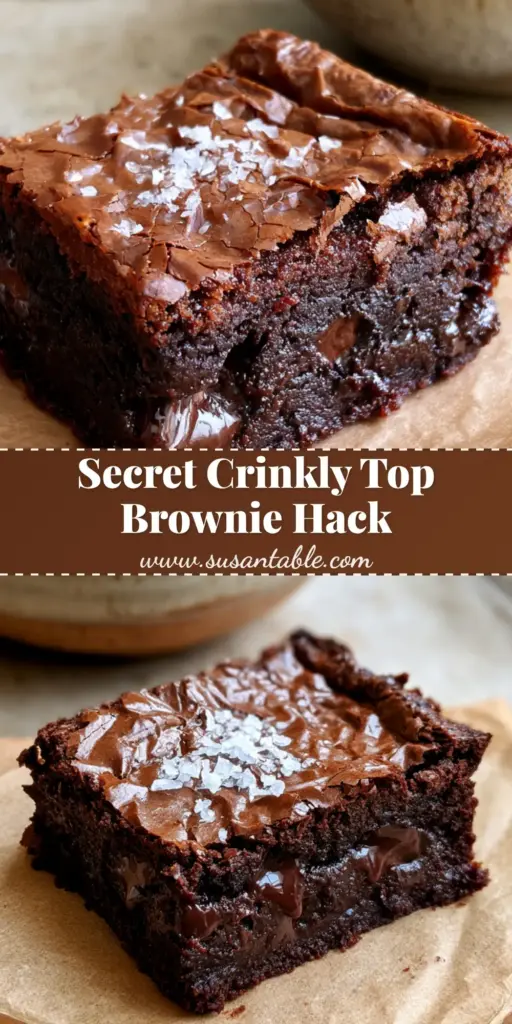
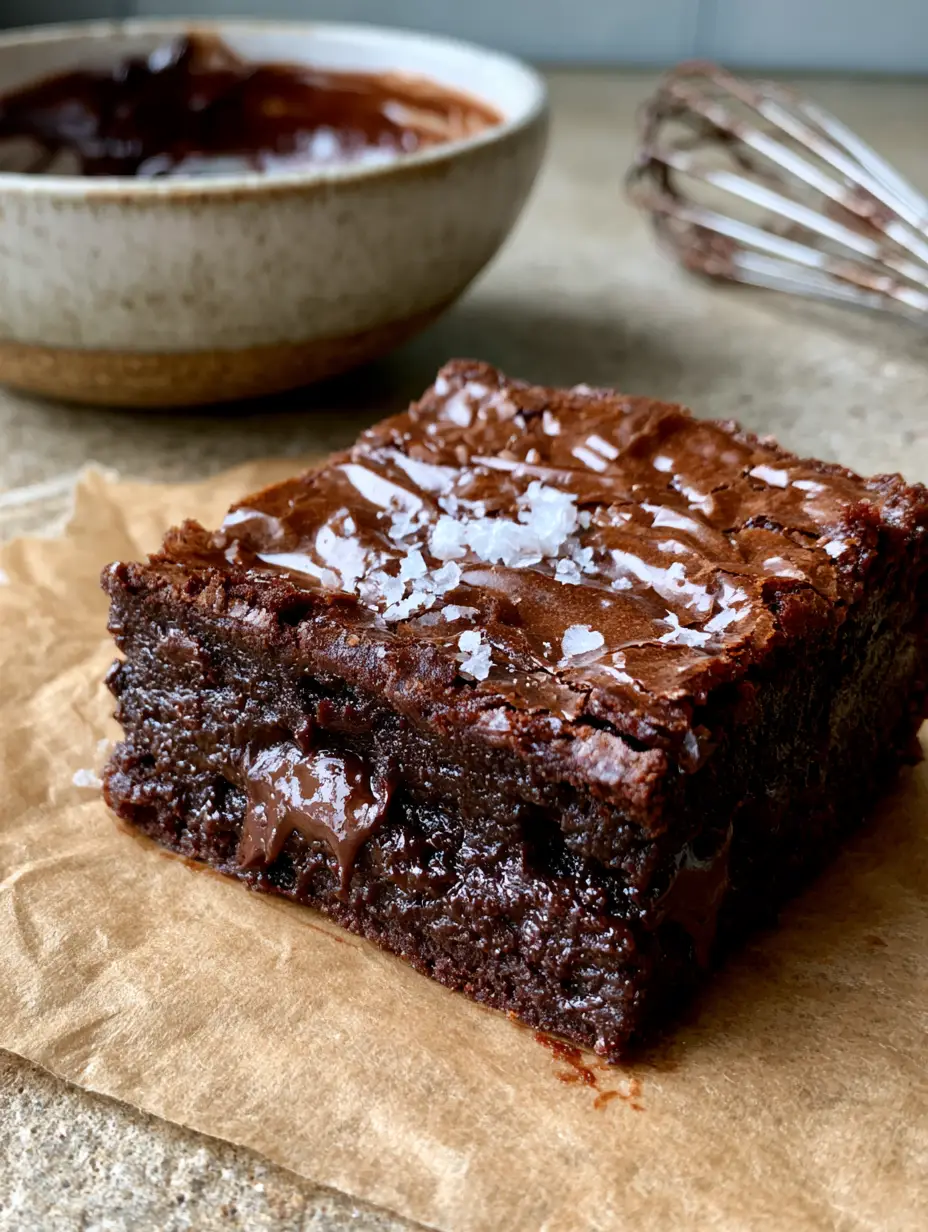
Brownies with a Paper-Thin Crinkled Crust and Molten Dark Chocolate
Ingredients
Equipment
Method
- Preheat oven to 350°F (175°C) and line an 8x8 baking pan with rustic parchment paper.
- Whisk melted butter and Dutch-process cocoa powder together until smooth.
- Beat eggs and both sugars in a ceramic bowl for 3-5 minutes until pale and thick.
- Fold the chocolate-butter mixture into the eggs, then gently fold in flour and salt.
- Fold in dark chocolate chunks. Pour into pan and bake for 25-30 minutes.
- Sprinkle with flaky sea salt immediately. Cool completely before slicing for the best fudgy texture.
Notes
Do not overbake to ensure molten chocolate pockets remain gooey.
Save This Recipe to Pinterest!
If you love the look of that paper-thin crinkled crust and those molten chocolate pockets, make sure to save this recipe to your “Dessert Goals” or “Chocolate Lovers” board on Pinterest! Following KellyTaste helps you stay updated on all my latest baking adventures.
Did you make these? I would love to see your results! Upload a photo of your brownies in the comments below—I especially love seeing those shiny, fractured tops. Please leave a 5-star rating if you enjoyed the recipe, as it helps other home cooks find these fudgy treats!