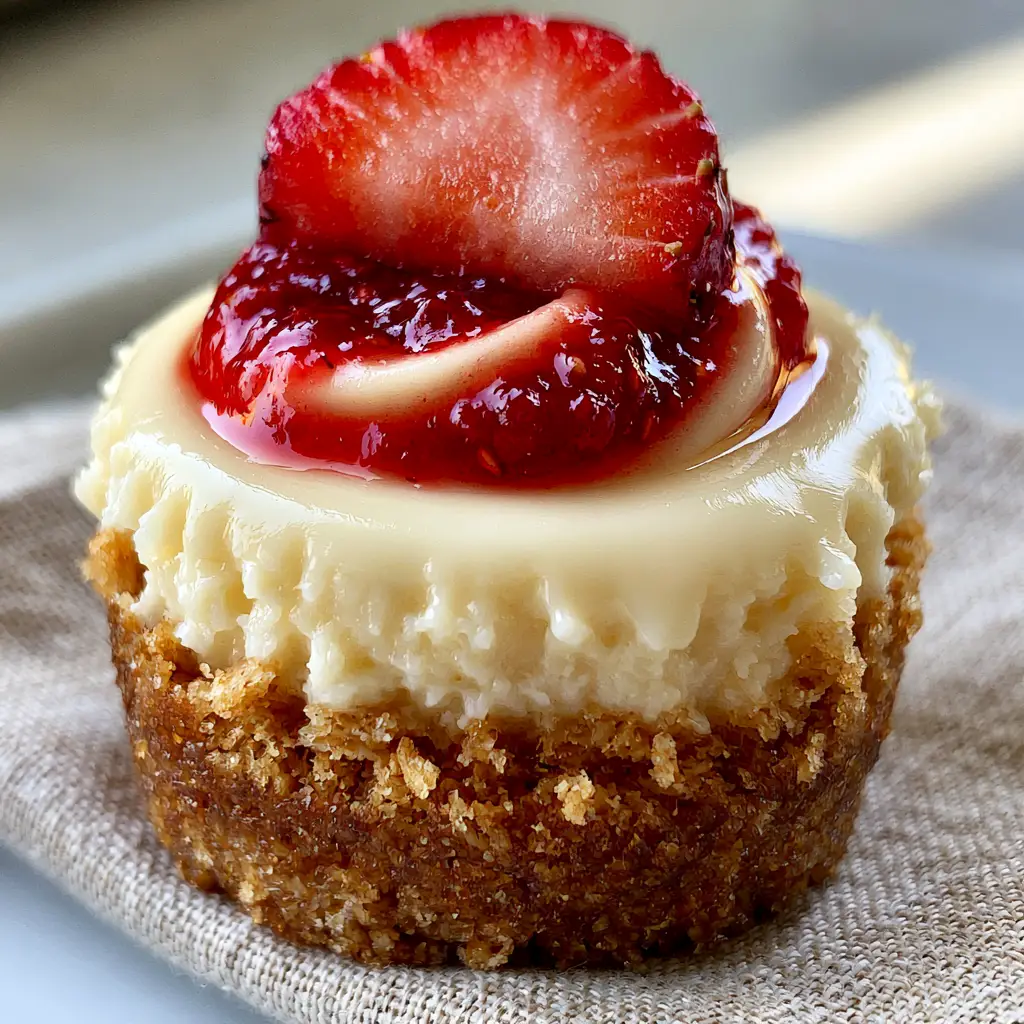
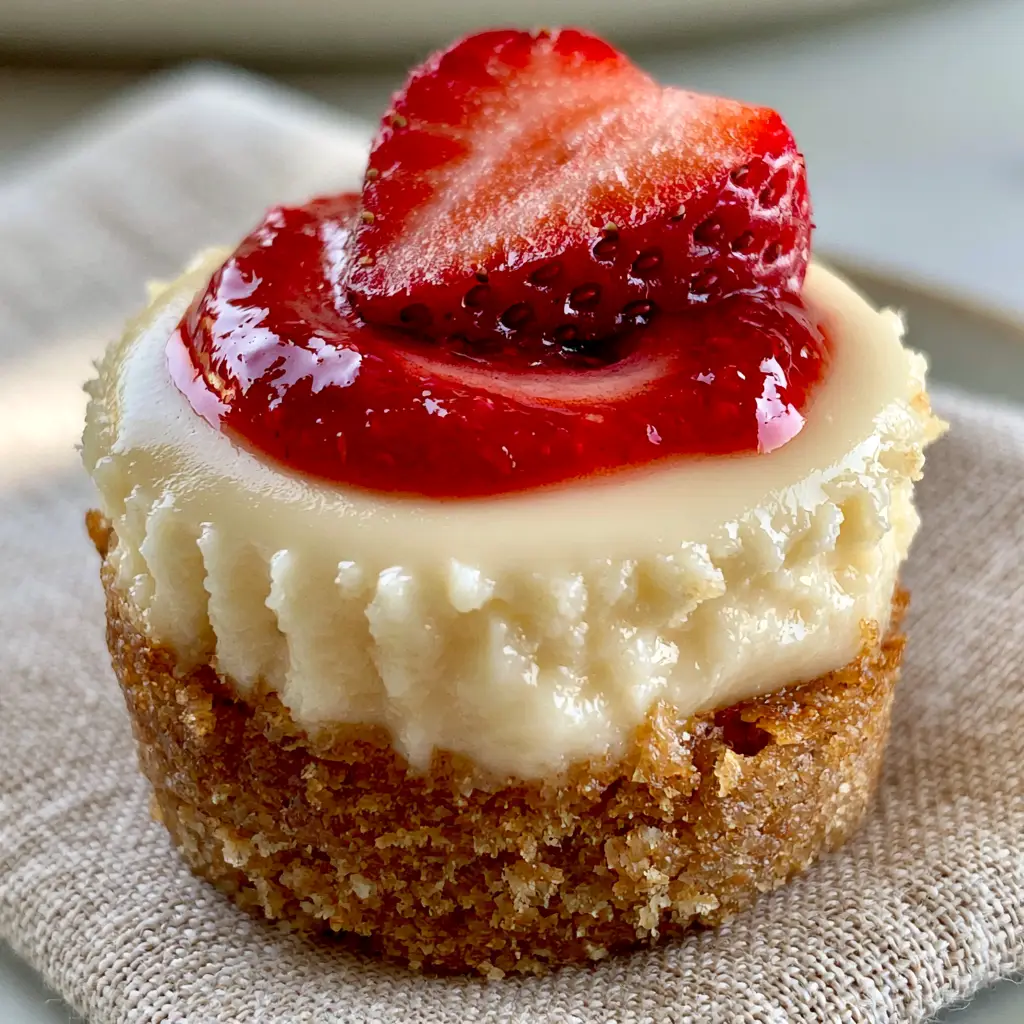
These cheesecake cupcakes are the ultimate fusion of elegance and ease, offering the rich, velvety texture of a full-sized cake in a perfectly portioned bite. If you have been searching for the perfect dessert to stop the scroll on Pinterest, look no further than this vibrant, macro-shot-worthy recipe. The combination of a toasted graham cracker crust, a dense ivory filling, and a bright strawberry coulis makes these an instant favorite.
Every bite of these cheesecake cupcakes delivers a masterclass in textural contrast. You start with the crunch of a golden-brown base, move through a creamy, tangy center, and finish with the bright acidity of fresh fruit. Unlike many light and airy versions, this recipe focuses on a dense cream cheese filling that satisfies even the most hardcore cheesecake enthusiast.
Whether you are hosting a summer garden party or simply want a sophisticated treat for a weeknight, these mini delights are designed to impress. The strawberry coulis swirl adds a professional touch that looks like it came straight from a high-end bakery, yet the process is incredibly approachable for any home cook.
Why These Are the Best Individually Portioned Cheesecakes
- Perfectly Toasted Base: We don’t just use crumbs; we pre-toast the crust to ensure a thick, crumbly, golden-brown graham cracker foundation that never goes soggy.
- Silky Dense Texture: By using a specific ratio of cream cheese to sour cream, we achieve a filling that is velvety smooth and ivory-toned with a professional sheen.
- Artisanal Strawberry Swirl: The homemade strawberry coulis provides a vibrant red pop of color and a concentrated fruit flavor that store-bought syrups cannot match.
- Portion Controlled: These cheesecake cupcakes are naturally easy to serve, making them ideal for gatherings where you want to skip the messy slicing of a traditional cake.
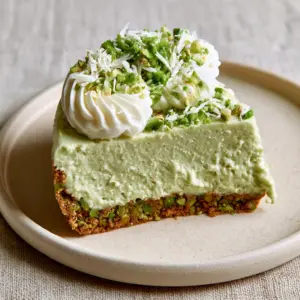
If you love the flavor profile of these treats, you should also check out our strawberry cupcakes or perhaps a decadent pistachio cheesecake for your next baking project.
The Essential Ingredients for Success
To achieve the specific visual and flavor profile of these cheesecake cupcakes, quality is key. Each ingredient serves a scientific purpose in creating the final structure and mouthfeel.
Graham Cracker Crumbs: Use 1.5 cups (180g) of finely ground crumbs. These provide the structural “floor” for our cupcakes and, when toasted with butter, offer a nutty, caramelized flavor.
Unsalted Butter: 6 tablespoons (85g) of melted butter acts as the glue for our crust. Use unsalted to control the sodium levels and allow the sweetness of the crackers to shine.
Full-Fat Cream Cheese: You will need 16 oz (450g) of brick-style cream cheese. This must be room temperature to ensure the dense cream cheese filling is completely free of lumps.
Granulated Sugar: 0.5 cup (100g) provides just enough sweetness to balance the tang of the cheese without becoming cloying.
Sour Cream: 0.25 cup (60g) is the secret to that “ivory filling” sheen and a slight tang that cuts through the richness. It also contributes to the dense, velvety texture.
Large Eggs: 2 eggs act as the binder. Ensure they are at room temperature so they incorporate easily without overbeating, which prevents air bubbles.
Fresh Strawberries: Used for both the strawberry coulis swirl and the fresh garnish. Fresh berries provide the most vibrant red hue for the Pinterest-perfect finish.
How to Build the Perfect Toasted Crust
The foundation of any great cheesecake cupcakes recipe is the crust. A common mistake is simply pressing raw crumbs into the tin, but for an elite result, we must toast them first.
Step 1: Prep the Crumbs
Preheat your oven to 325°F (165°C). In a medium bowl, combine your 1.5 cups (180g) graham cracker crumbs with the 6 tablespoons (85g) of melted butter and a pinch of salt. The mixture should feel like wet sand.
Step 2: The Initial Toast
Press approximately 1.5 tablespoons of the mixture into the bottom of each cupcake liner. Use the back of a spoon or a small glass to pack it down tightly. Bake for 5-7 minutes. You are looking for a golden-brown toasted color and a fragrant, nutty aroma.
Set the pan aside to cool while you prepare the filling. This step ensures the crust remains thick and crumbly even after the cheesecake is added. If you enjoy this crunchy base, you might also like our banana pudding cheesecake.
Creating the Dense Ivory Filling
The hallmark of a professional cheesecake cupcake is a filling that is dense rather than airy. Air bubbles lead to cracking and a “moussy” texture that isn’t authentic to high-end cheesecake.
Step 3: Creaming the Cheese
In a large bowl, beat the 16 oz (450g) of room-temperature cream cheese and 0.5 cup (100g) sugar on low speed. Using a low speed is critical; we want to incorporate the sugar without whipping in excess air. Continue until the mixture is velvety smooth and ivory.
Step 4: Incorporating Liquids
Add the 0.25 cup (60g) of sour cream and 1 teaspoon (5ml) of vanilla extract. Scrape down the sides of the bowl frequently. Finally, add the eggs one at a time, mixing only until just combined. The batter should have a slight sheen and a thick consistency.
The Vibrant Strawberry Coulis Swirl
This is where the visual magic happens. To match the Midjourney prompt of a vibrant red swirl, we need a concentrated coulis.
Step 5: Reduce the Berries
Blend 1 cup (150g) of strawberries with 1 tablespoon of sugar. Simmer in a small saucepan over medium heat for 8-10 minutes until it reduces by half. Strain through a fine-mesh sieve to remove seeds, leaving a vibrant red homemade strawberry coulis.
Step 6: The Art of the Swirl
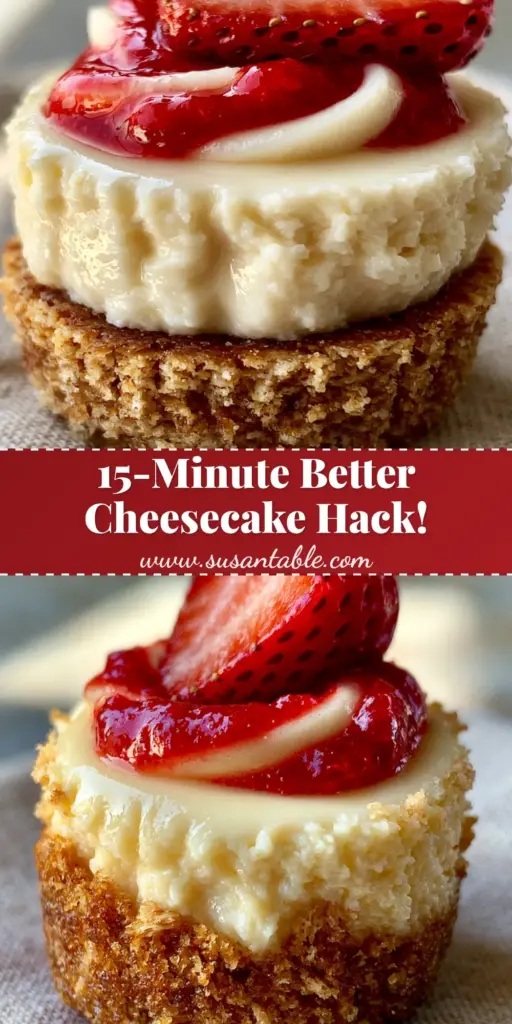
Fill each cupcake liner about 3/4 full with the cream cheese batter. Drop 3 small dots of the coulis onto the top. Using a toothpick, gently drag it through the dots in a figure-eight motion to create the strawberry coulis swirl. Do not over-swirl, or the colors will muddy.
Baking and Cooling for a Crack-Free Finish
Baking Instructions
Bake the cheesecake cupcakes at 325°F (165°C) for 18-22 minutes. The edges should be set, but the center should still have a slight jiggle when you shake the pan gently. Avoid overbaking, as this causes the filling to dry out and lose its sheen.
The Crucial Cooling Phase
Turn off the oven and crack the door open for 10 minutes. Then, remove the pan and let it cool to room temperature on a wire rack. Finally, refrigerate for at least 4 hours (preferably overnight). This long chill is what creates the dense cream cheese filling and allows the flavors to meld.
Once chilled, garnish each cupcake with one perfectly ripe, sliced strawberry just before serving. The contrast of the fresh fruit against the ivory filling on a neutral linen napkin creates a stunning presentation.
For more fruit-forward desserts, explore our strawberry shortcake cake or the incredibly popular lemon blueberry cheesecake dump cake.
Expert Tips for Pinterest-Perfect Results
- Room Temp is Non-Negotiable: If your cream cheese or eggs are cold, you will get lumps. Period. Set them out 2 hours before baking.
- Tap the Pan: After filling the liners, tap the cupcake tin firmly on the counter 3-4 times to force any trapped air bubbles to the surface.
- The “Slight Jiggle” Rule: If the cupcakes look fully matte and solid across the top, they are overdone. Look for the “wobble” in the very center.
- Clean Slices: If you are cutting the garnishes, use a sharp paring knife and wipe it between every single slice for a professional look.
Storage and Freezing Guidelines
To Store: Keep your cheesecake cupcakes in an airtight container in the refrigerator for up to 5 days. The graham cracker crust will stay relatively crisp for the first 48 hours.
To Freeze: These freeze beautifully! Place them on a baking sheet to flash-freeze for one hour, then wrap individually in plastic wrap and store in a freezer bag for up to 3 months. Thaw in the refrigerator overnight before garnishing with fresh strawberries.
What to Serve With Cheesecake Cupcakes
These rich treats pair beautifully with a cup of strong coffee or a crisp glass of sparkling wine. If you are creating a dessert table, they look stunning alongside fudgy brownies or even homemade cake pops for a variety of textures and sizes.
Frequently Asked Questions
Yes, frozen strawberries work well for the coulis. Simply thaw them first and reduce the liquid as instructed. However, use fresh strawberries for the final garnish for the best visual appeal.
Unlike full-sized cheesecakes, mini cheesecake cupcakes do not require a water bath. The small surface area allows them to bake evenly without the extra steam, provided you don’t overbake them.
Cracking is usually caused by overbeating or sudden temperature changes. Mix on low speed to avoid air bubbles and let the cupcakes cool in the oven with the door cracked for 10 minutes.
For the best dense and velvety texture, chill the cupcakes in the refrigerator for at least 4 hours. Chilling overnight is even better for flavor development and structural integrity.
A soggy crust often results from skipping the pre-toasting step. Baking the crust for 5-7 minutes before adding the filling creates a moisture barrier that keeps it thick and crumbly.
The Ultimate Cheesecake Cupcakes Recipe
cheesecake cupcakes with Toasted Graham Cracker Crust and Strawberry Swirl
Ingredients
Equipment
Method
- Mix crumbs and melted butter. Press into cupcake liners and bake at 325°F (165°C) for 7 minutes until golden-brown and fragrant.
- Beat cream cheese and sugar on low speed until smooth. Add sour cream and eggs, mixing until just combined.
- Simmer blended strawberries to reduce. Drop dots of coulis onto the batter in the liners and swirl with a toothpick.
- Bake for 18-22 minutes until edges are set but the center still jiggles. Cool to room temperature, then chill for 4 hours.
Notes
Don't over-swirl the coulis or the design will vanish into the batter.
Join the Community!
Did you make these cheesecake cupcakes? We would love to see your vibrant strawberry swirls! Please save this recipe to your Pinterest board so you never lose it. Follow KellyTaste for more decadent dessert inspiration and leave a 5-star rating in the comments below if these became your new favorite treat. Sharing a photo of your results helps other home bakers succeed!