Brownie cookies are the ultimate hybrid dessert, capturing the decadent, ultra-dense soul of a dark chocolate brownie within the portable, crispy-edged frame of a gourmet cookie. If you have been searching for that elusive, paper-thin shiny crackled chocolate cookie skin that shatters upon the first bite, you have arrived at the definitive guide.
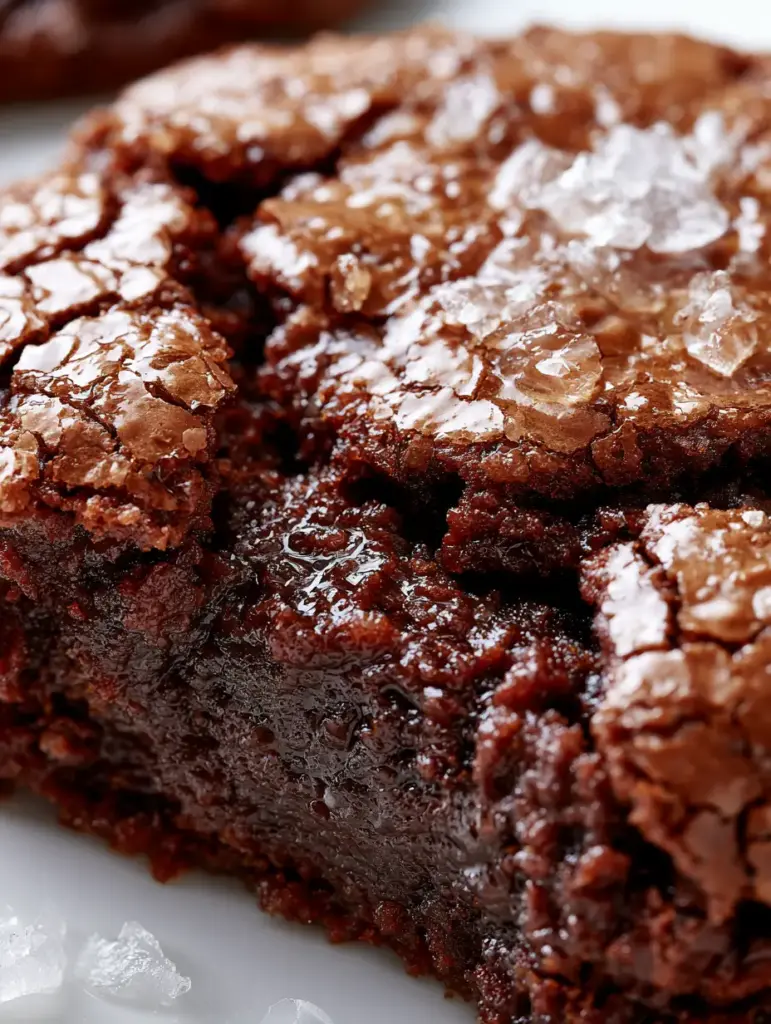
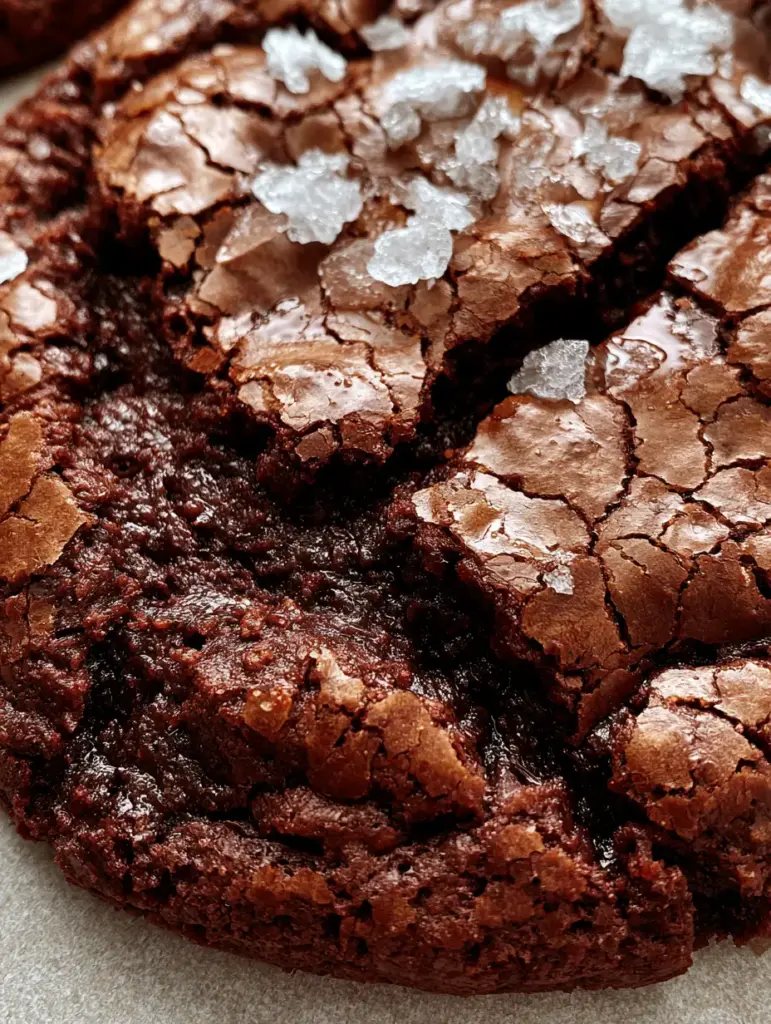
There is a specific culinary science behind those deep dense chocolate fissures and the moist fudgy cookie interior that makes these stand out on a cooling rack. By mastering the emulsification of sugar and eggs, we create a meringue-like crust that glistens under soft natural daylight, perfectly contrasted by large, translucent flakes of sea salt.
Whether you are preparing a dessert spread alongside some thick and gooey NYC cookies or looking for a sophisticated treat to follow a savory meal of Middle Eastern Kofta, these cookies deliver a high-impact sensory experience. Let’s dive into the forensic details of how to achieve the perfect crinkle every single time.
The Anatomy of the Perfect Fudgy Crinkle Cookie
- The Signature Crackle: A paper-thin, high-shine crust that develops through vigorous whisking of the eggs and sugar.
- Deep Fissures: Natural tectonic breaks in the surface that reveal the ultra-dense, dark chocolate interior.
- The Fudgy Core: A texture that mimics a center-cut brownie—moist, rich, and intensely chocolatey without being cakey.
- Sensory Contrast: The crunch of flaky sea salt crystals against the soft, yielding chocolate dough.
- Rustic Presentation: Best served on rustic parchment paper to highlight the authentic, handheld smartphone photo aesthetic.
Essential Ingredients for Professional Results
Bittersweet Chocolate (70% Cacao): 8 oz (225g) of high-quality chopped chocolate provides the structural foundation and the deep, complex flavor required for a true brownie profile. Do not use chocolate chips, as they contain stabilizers that prevent the necessary “melt and flow.”
Unsalted Butter: 1/2 cup (115g) of butter adds fat for a tender crumb and carries the chocolate flavor across the palate. We melt this with the chocolate to create a smooth, glossy emulsion.
Granulated White Sugar: 3/4 cup (150g) of sugar is essential for creating the shiny skin; it dissolves into the eggs to form a thin meringue layer that rises and cracks during baking.
Light Brown Sugar: 1/2 cup (100g) packed brown sugar adds moisture and a hint of molasses, contributing to the “fudgy” rather than “cakey” interior texture.
Large Eggs: 2 large (100g) eggs at room temperature are the leavening powerhouse here, providing the lift and the protein structure for the crackled surface.
All-Purpose Flour: 1 cup (125g) of flour provides just enough structure to hold the cookie together while maintaining a dense, brownie-like bite. If you enjoy a different texture profile, you might compare this to the dough density found in a classic chocolate chip cookie.
Dutch-Processed Cocoa Powder: 1/4 cup (25g) adds an extra layer of dark intensity and helps achieve that midnight-dark visual in the fissures.
Baking Powder: 1/2 tsp (2g) gives the cookies a quick puff in the oven, which is the mechanical force that breaks the drying surface skin to create those deep fissures.
Kosher Salt: 1/2 tsp (3g) inside the dough balances the sugar and enhances the perception of chocolate. This is separate from the finishing salt.
Flaky Sea Salt: 1 tbsp (10g) for finishing. These large, translucent crystals catch the light and provide a sharp, clean saline burst that cuts through the richness.
Tools for Achieving the Bakery Aesthetic
To replicate the authentic, handheld smartphone photo style seen in professional food photography, you need a few specific tools. A heavy-duty whisk or a stand mixer with a whisk attachment is non-negotiable for achieving the “ribbon stage” with your eggs and sugar.
Baking sheets lined with rustic parchment paper ensure the bottoms don’t over-brown while providing that classic kitchen-table look. Finally, a standard cookie scoop (approx. 2 tbsp capacity) ensures uniform size, which allows all cookies to develop their fissures at the same rate.
Step-by-Step Instructions to Culinary Excellence
Creating the Chocolate Base
In a heat-proof bowl set over a pot of simmering water (a double boiler), combine the 8 oz (225g) of chopped bittersweet chocolate and 1/2 cup (115g) of unsalted butter. Stir occasionally until the mixture is completely smooth and glossy.
Remove from heat and set aside to cool slightly. It must be warm enough to remain fluid but not so hot that it scrambles the eggs in the next step. This temperature management is as critical here as it is when tempering chocolate for homemade Samoas.
The Secret to the Shiny Skin: The Ribbon Stage
In the bowl of a stand mixer, combine the 2 large eggs, 3/4 cup (150g) white sugar, and 1/2 cup (100g) brown sugar. Whisk on high speed for at least 5 full minutes.
You are looking for the “ribbon stage”—the mixture should be pale, thick, and fall off the whisk in a slow, trailing ribbon that holds its shape for a few seconds. This aeration is what creates the paper-thin, shiny crackled chocolate cookie skin.
Integrating the Textures
Lower the mixer speed and slowly pour in the warm chocolate-butter mixture. Once combined, gently fold in the dry ingredients: 1 cup (125g) flour, 1/4 cup (25g) cocoa powder, baking powder, and kosher salt.
Fold by hand using a spatula just until no streaks of flour remain. Over-mixing at this stage will develop too much gluten, turning your fudgy brownie cookies into tough, bread-like discs.
Baking for Visual Impact
Scoop mounds of dough (about 2 tablespoons each) onto your prepared parchment-lined sheets, leaving 2 inches of space between them. Immediately place them into an oven preheated to 350°F (175°C).
Bake for 10-12 minutes. Watch for the sensory cue: the cookies will puff up, and the shiny skin will begin to fracture into deep fissures. The edges should look set, but the centers should still appear slightly soft and underdone.
The Finishing Touches
As soon as the cookies come out of the oven, while they are still hot and the surface is glistening, sprinkle them generously with the large flakes of sea salt. The heat will help the salt adhere to the moist fissures.
Allow them to cool on the baking sheet for at least 10 minutes. This “carry-over cooking” is essential for the ultra-dense, moist, dark chocolate interior to fully set without becoming dry.
Expert Tips for Success
- Don’t Wait to Bake: The batter for brownie cookies must be scooped and baked immediately. If the batter sits, the sugar dissolves too much and the egg structure collapses, resulting in a matte surface rather than a shiny crackled skin.
- Temperature Control: Ensure your eggs are at room temperature. Cold eggs will cause the melted chocolate to seize, ruining the smooth emulsion and the final texture.
- The Whisking Time: Do not cut the whisking time short. Those 5 minutes of high-speed beating are the difference between a boring cookie and a professional crinkle cookie.
- Quality of Chocolate: Since chocolate is the primary flavor, use the best bittersweet bar you can find. It provides the fat content necessary for that moist fudgy cookie interior.
Storage and Preservation
These cookies are best enjoyed within 24 hours when the contrast between the crisp skin and fudgy center is most pronounced. Store them in an airtight container at room temperature for up to 3 days.
If you wish to freeze them, freeze the baked cookies in a single layer before transferring to a freezer bag. Avoid freezing the raw dough, as the chemical reaction required for the crackled skin won’t survive the thawing process as effectively as it does in a yeasted dough.
What to Serve With Brownie Cookies
These rich cookies pair beautifully with a cold glass of milk or a sharp espresso. If you’re hosting a dinner party, serve these as a decadent finish after lighter main courses like vegan garlic chickpea soup or a refreshing hot honey chicken salad.
For a full dessert spread, the dark chocolate notes complement the earthy sweetness of roasted beets and carrots served as a side earlier in the meal, creating a cohesive palate experience.
Frequently Asked Questions
Freezing the dough is not recommended for this specific recipe, as the unique shiny crust relies on the fresh emulsion of eggs and sugar which breaks down when frozen and thawed.
For best results, use chopped bar chocolate. Chips contain stabilizers that keep them from melting smoothly, which can prevent the cookies from spreading and cracking properly.
Look for the edges to be set and the top to be crackled. The centers should still look slightly soft and ‘underdone’; they will firm up into a fudgy interior as they cool.
The shiny skin comes from the ‘ribbon stage’—whisking eggs and sugar until very pale and thick. If you under-whisk, the meringue layer won’t form, resulting in a matte top.
As the dough sits, the sugar continues to dissolve and the air bubbles from whisking deflate. This destroys the structure needed to create the paper-thin, crackled surface.
The Ultimate Brownie Cookies Recipe
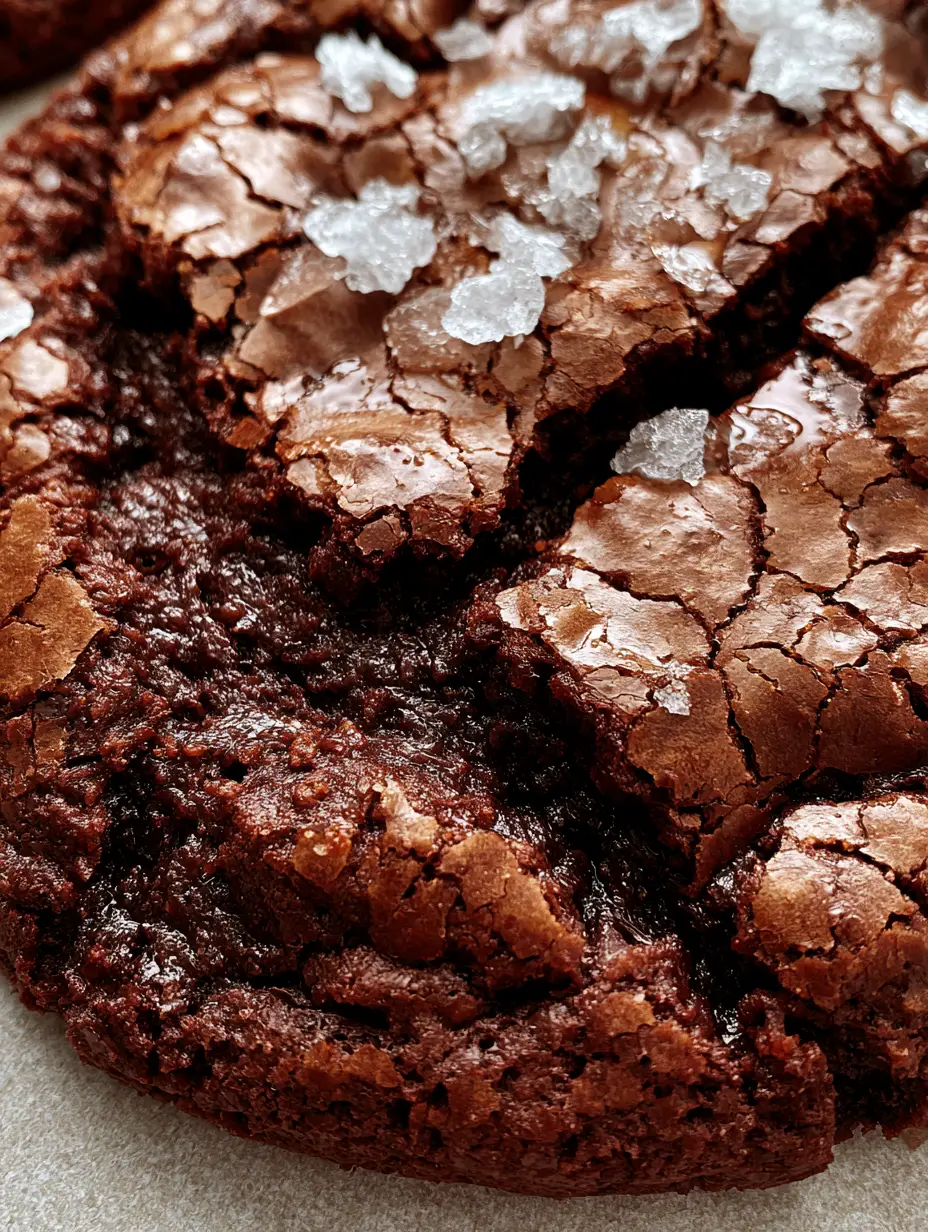
Brownie Cookies with Shiny Crackled Tops and Fudgy Centers
Ingredients
Equipment
Method
- Melt chopped chocolate and butter in a double boiler until smooth. Set aside to cool slightly.
- Whisk eggs and both sugars on high speed for 5 minutes until the ribbon stage is reached.
- Slowly mix the warm chocolate into the egg mixture, then fold in the dry ingredients by hand.
- Scoop 2-tbsp mounds onto parchment-lined sheets and bake at 350°F (175°C) for 10-12 minutes.
- Sprinkle immediately with flaky sea salt while the cookies are hot and the fissures are open.
Notes
Bake immediately after mixing to ensure the shiny skin develops.
Closing & Call to Action
Mastering brownie cookies is a rite of passage for any serious home baker. The combination of the shattering chocolate skin and the dense, molten-like center creates a dessert that is as visually stunning as it is delicious. The key is in the whisking—embrace the process and watch those fissures form!
Did you achieve the perfect crackle? We want to see your results! Leave a comment below, rate the recipe, and share your photos with us. Be sure to pin this recipe to your favorite dessert boards on Pinterest so you never lose this chocolatey blueprint.