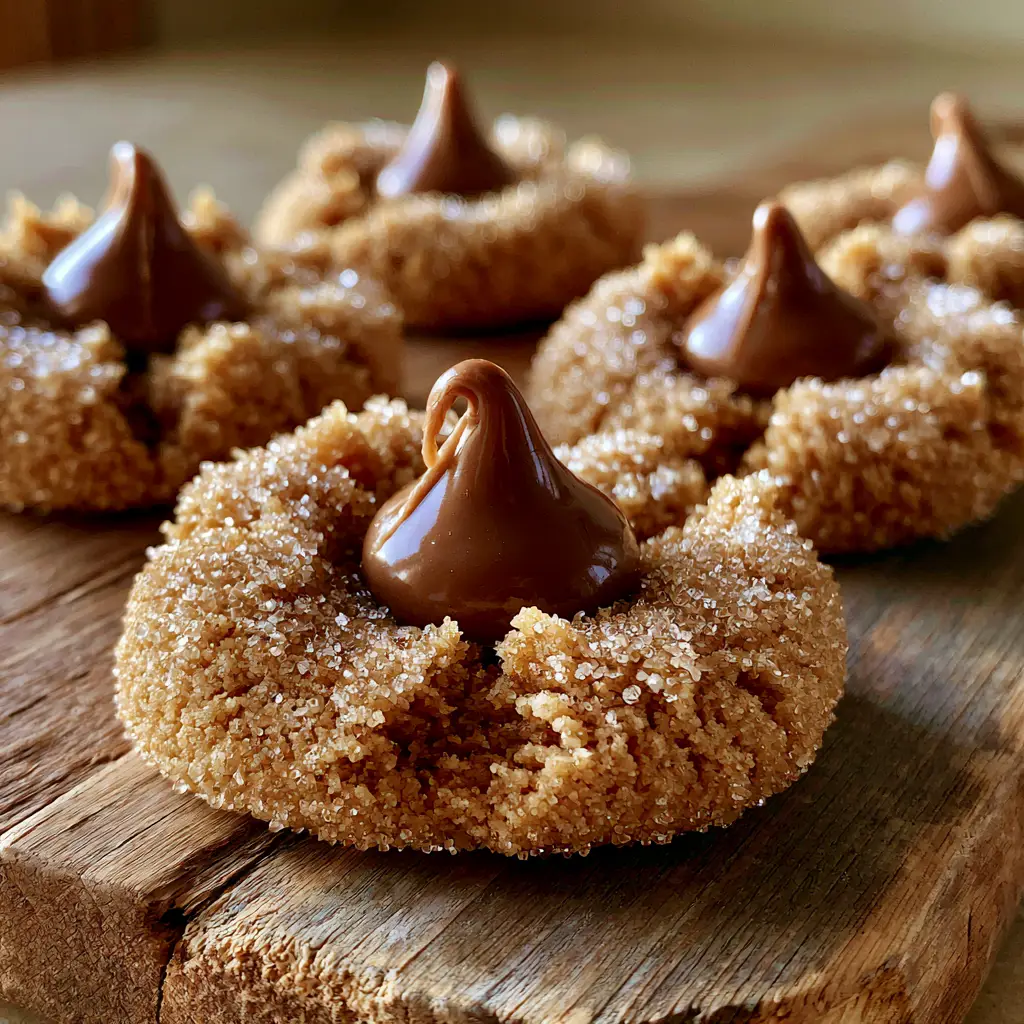
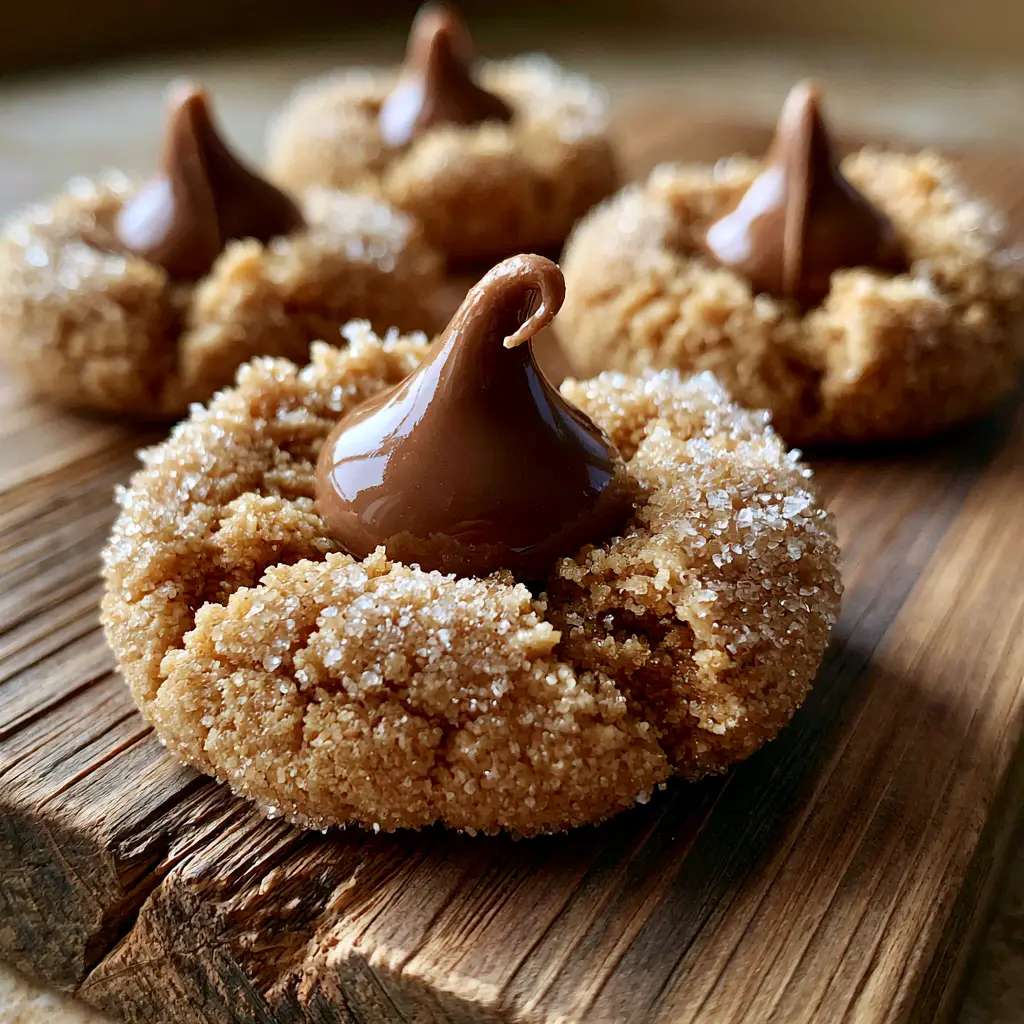
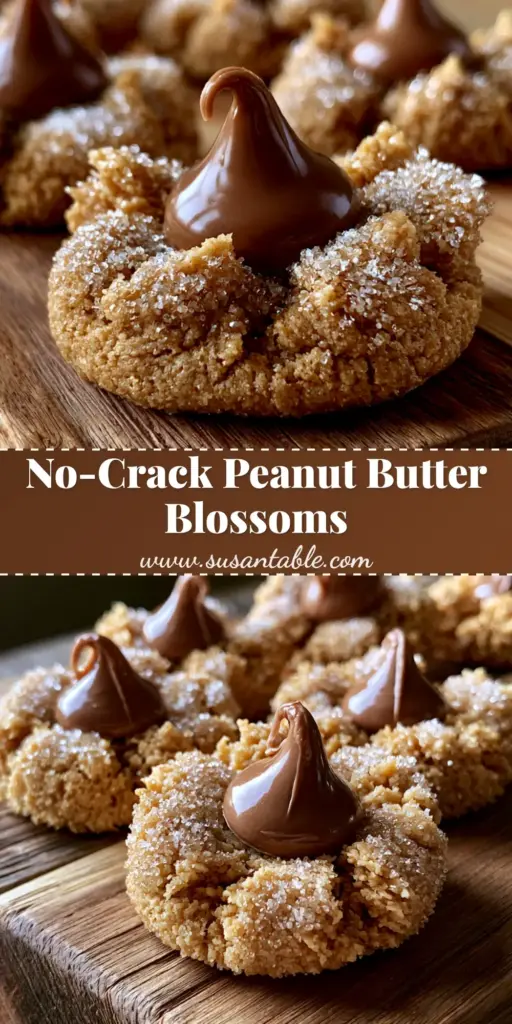
Peanut butter blossoms are the quintessential holiday treat, recognized globally for their iconic silhouette: a golden-brown peanut butter cookie base, rolled in sparkling granulated sugar, and topped with a glossy milk chocolate kiss. This specific recipe is designed to yield a perfectly moist and crack-free texture, ensuring every bite is a harmonious blend of salty nuttiness and sweet, melting chocolate. Whether you are prepping for a cookie swap or a cozy night in, these cookies offer a nostalgic handheld experience that looks just as good as it tastes.
Why These Peanut Butter Blossoms Stand Out
- Ultra-Moist Crumb: Unlike dry, crumbly versions, this dough is balanced for a tender, chewy interior.
- Crack-Free Aesthetics: Through specific temperature control, we achieve a smooth, golden-brown surface that doesn’t split when the chocolate is pressed in.
- Double Sweetness: The granulated sugar coating provides a delicate crunch that contrasts the soft milk chocolate center.
- Perfect Proportions: We use a ratio that ensures the cookie stays thick enough to support the chocolate without spreading too thin.
Essential Ingredients for Success
To achieve the handheld smartphone photo quality of these Peanut butter blossoms, every ingredient serves a scientific purpose. Using high-quality fats and the right peanut butter is the difference between a mediocre cookie and a viral sensation.
Unsalted Butter (1/2 cup / 113g): Softened to room temperature. This provides the foundational richness and the “melt-in-your-mouth” quality. If you enjoy rich buttery textures, you might also love our salted caramel butter bars.
Creamy Peanut Butter (1/2 cup / 125g): Use a standard commercial brand (like Jif or Skippy) rather than natural “oil-on-top” varieties. The stabilizers in commercial peanut butter are key to the crack-free finish. This is the same base profile we use for our famous peanut butter balls.
Granulated Sugar (1/2 cup / 100g) & Packed Brown Sugar (1/2 cup / 100g): The granulated sugar adds structure and sweetness, while the molasses in the brown sugar ensures the moist cookie texture emphasized in our visual blueprint.
All-Purpose Flour (1 ½ cups / 188g): Provides the necessary structure. Ensure you measure using the “spoon and level” method to avoid a dense, dry cookie.
Milk Chocolate Kisses (Approx. 24-30): The crown jewel. These should be unwrapped and ready to go the moment the cookies exit the oven to achieve that glossy, slightly softened sheen.
Step-by-Step Instructions for the Perfect Bake
1. The Creaming Phase
In a large bowl, cream together the 1/2 cup (113g) softened butter, 1/2 cup (125g) peanut butter, 1/2 cup (100g) granulated sugar, and 1/2 cup (100g) brown sugar. Beat on medium-high for 2-3 minutes until the mixture is pale and fluffy. This aeration is vital for a light crumb.
2. Incorporating Liquids
Add 1 large egg and 1 teaspoon (5ml) pure vanilla extract. Beat until fully incorporated, scraping down the sides of the bowl. The egg acts as the binder, while the vanilla enhances the nutty notes of the Peanut butter blossoms.
3. The Dry Mix & Texture Check
Whisk together the 1 ½ cups (188g) flour, 1 teaspoon (5g) baking soda, and ½ teaspoon (3g) salt. Gradually add to the wet ingredients. Mix until just combined—overmixing at this stage leads to gluten development, which causes those unwanted cracks.
4. The Chilling Secret
Place the dough in the refrigerator for at least 30 minutes. This solidifies the fats, ensuring that when the cookies hit the oven, they puff up rather than spread out. While you wait, consider browsing our apple snickerdoodle bars for more fall-inspired baking.
5. Rolling and Coating
Preheat your oven to 375°F (190°C). Scoop rounded tablespoons of dough and roll into 1-inch balls. Roll each ball in a small bowl of extra granulated sugar until completely coated. The sugar should look like sparkling crystals against the dough.
6. The Visual Cue: Golden-Brown Perfection
Place balls 2 inches apart on a parchment-lined baking sheet. Bake for 8–10 minutes. Crucial cue: Remove them when the edges are just set and the color is a light golden-brown. They will look slightly underbaked in the center—this is the key to the moist, tender crumb.
7. The Kiss Placement
Immediately press a milk chocolate kiss into the center of each warm cookie. You should see the edges of the cookie bulge slightly but not crack. The heat from the cookie will create that smooth, glossy sheen on the chocolate seen in the visual blueprint.
Expert Tips for Success
- Temperature Control: If your kitchen is warm, keep the dough in the fridge between batches. Cold dough equals thick, chewy cookies.
- The “Glossy” Trick: Do not place the chocolate kisses on the cookies before baking. They will burn and lose their shape. Always add them post-bake.
- Freshness Matters: Ensure your baking soda is fresh to get that perfect rise and soft texture.
- Even Sizing: Use a small cookie scoop for uniform Peanut butter blossoms. This ensures they all bake at the same rate.
Storage, Reheating & Freezing
Storage: Keep these cookies in an airtight container at room temperature for up to 5 days. To keep them extra soft, place a piece of white bread in the container to absorb excess air.
Freezing: You can freeze the baked cookies for up to 3 months. However, for the best glossy chocolate center, it is better to freeze the dough balls (pre-sugar) and bake them fresh. If freezing baked cookies, ensure the chocolate has completely set before stacking.
What to Serve With This
These Peanut butter blossoms are a heavy, sweet treat that pairs beautifully with a hot beverage. Serve them alongside our pumpkin waffles for a festive brunch or follow a savory meal like our cinnamon roll casserole for a themed dessert spread. They also pair excellently with a cold glass of milk to balance the rich peanut butter.
Frequently Asked Questions
Yes! Roll the dough into balls and freeze them on a tray. Once solid, transfer to a bag. When ready to bake, roll the frozen balls in sugar and add 1-2 minutes to the baking time.
It is not recommended. Natural peanut butter lacks the stabilizers found in commercial brands, which can lead to a greasy dough and a crumbly, cracked texture.
Let the cookies cool for about 2-3 minutes before pressing the chocolate in, or place the finished cookies in the fridge for 10 minutes to help the chocolate set quickly and stay glossy.
Cracks usually occur from over-baking or over-mixing the dough. To prevent this, ensure you chill the dough for 30 minutes and remove the cookies from the oven while the centers still look slightly soft.
The Official Peanut Butter Blossoms Recipe
Peanut butter blossoms: The Ultimate Soft and Chewy Recipe
Ingredients
Equipment
Method
- Beat butter, peanut butter, and both sugars until light and fluffy (about 3 minutes).
- Mix in the egg and vanilla extract until smooth.
- Slowly add flour, baking soda, and salt. Mix until just combined to ensure a crack-free finish.
- Refrigerate dough for 30 minutes to prevent excessive spreading.
- Shape dough into 1-inch balls and roll in granulated sugar until sparkling.
- Bake at 375°F (190°C) for 8-10 minutes until edges are golden-brown.
- Immediately press a chocolate kiss into the center of each hot cookie. Let cool completely so the chocolate sets glossy.
Notes
Use commercial creamy peanut butter for the best structure.
Join the KellyTaste Community!
If you loved these Peanut butter blossoms, please Save this recipe to your Pinterest boards so you never lose it! We would love to see your results—upload a photo of your cookies in the comments below. Don’t forget to leave a 5-star rating and follow KellyTaste for more decadent dessert inspiration!