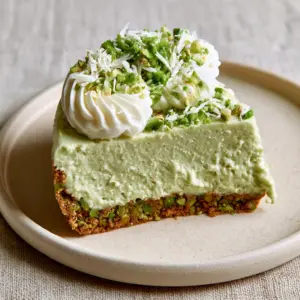
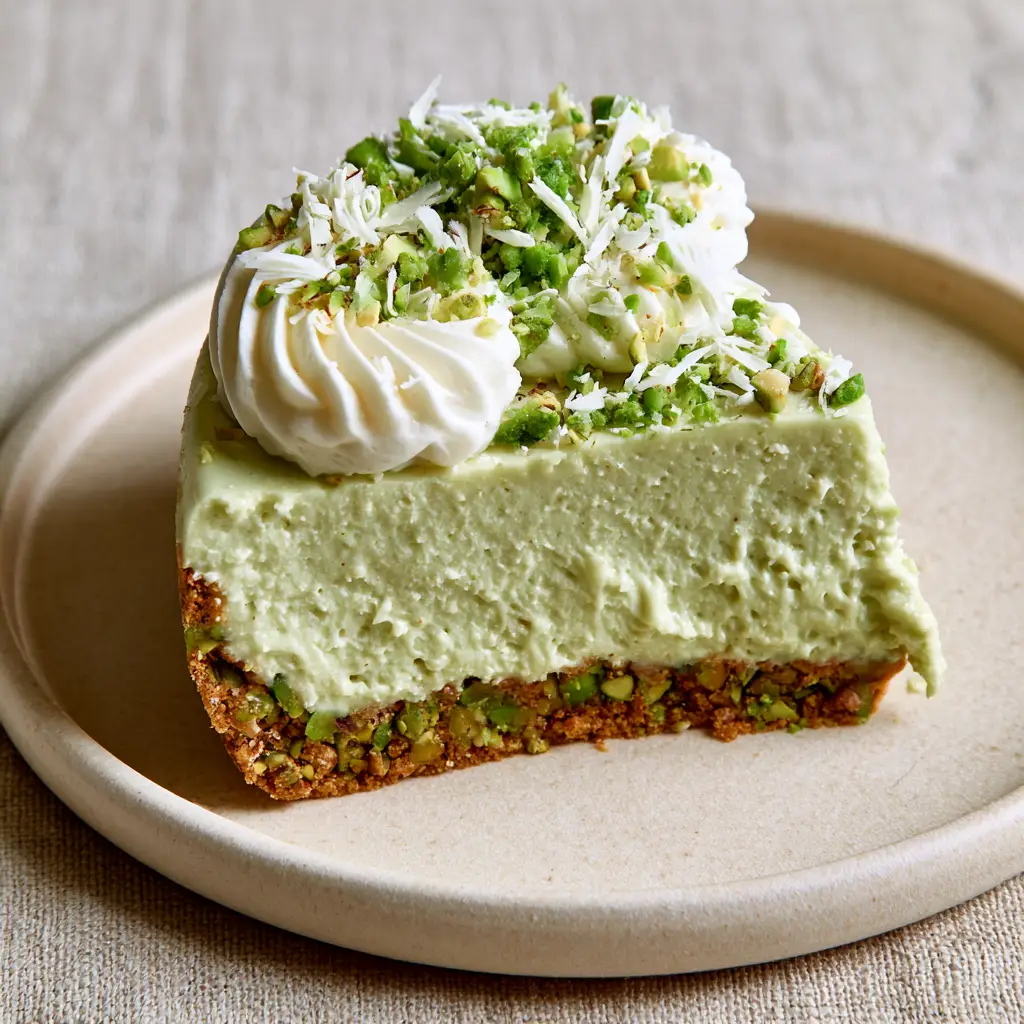
This Pistachio Cheesecake is the show-stopping dessert you have been waiting for. It combines a crunchy, nutty graham cracker base with a velvety, pastel-green pistachio cream cheese filling that melts in your mouth. Unlike traditional baked versions, this no-bake masterpiece focuses on a pure, clean pistachio flavor and a dense, luxurious texture that looks like it came straight from a high-end bakery.
Whether you are hosting a spring brunch or just want a decadent treat, this Pistachio Cheesecake delivers on every level. The vibrant green hues from the raw pistachios paired with delicate white chocolate curls make it as beautiful to look at as it is to eat. If you love creamy desserts, you should also check out my cheesecake cupcakes or this indulgent banana pudding cheesecake.
Why This No-Bake Pistachio Cheesecake Works
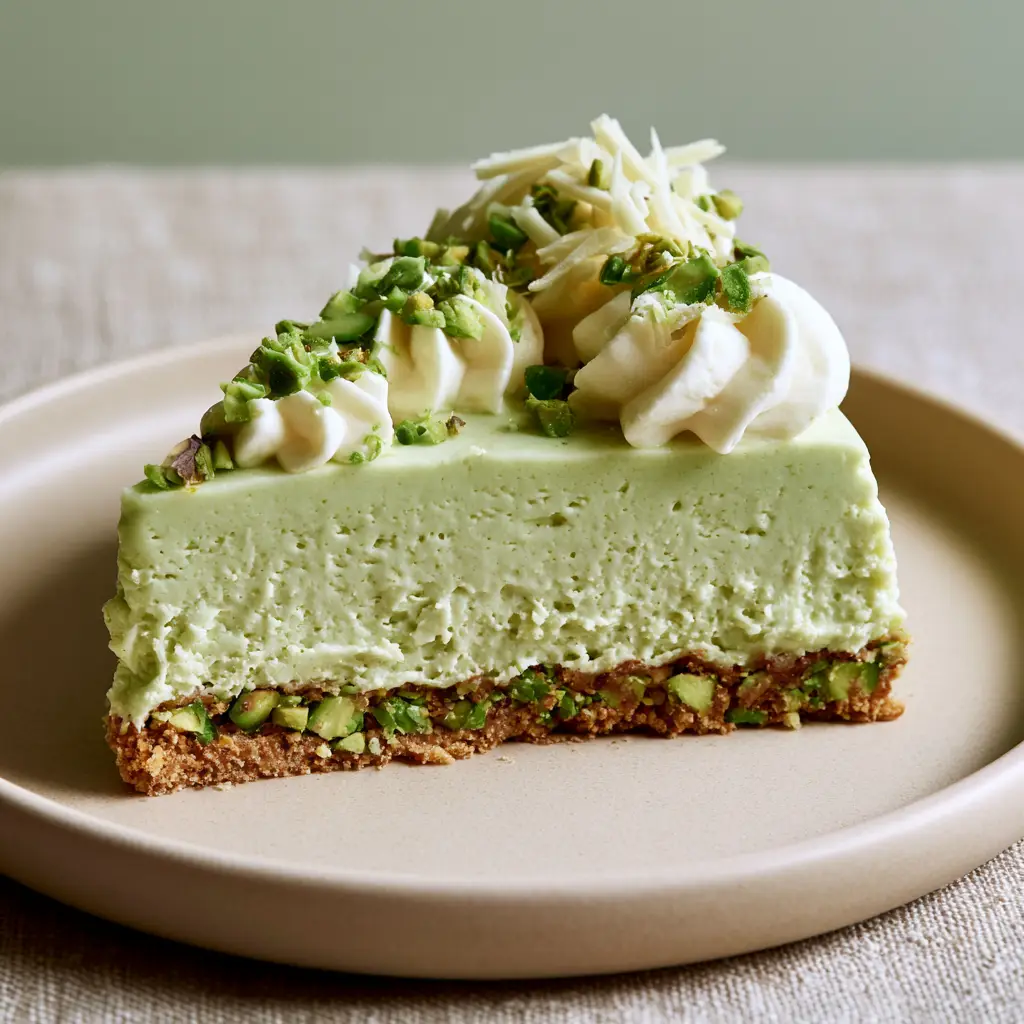
- Textural Contrast: A thick, buttery graham crust packed with crushed green pistachios provides the perfect crunch against the silky filling.
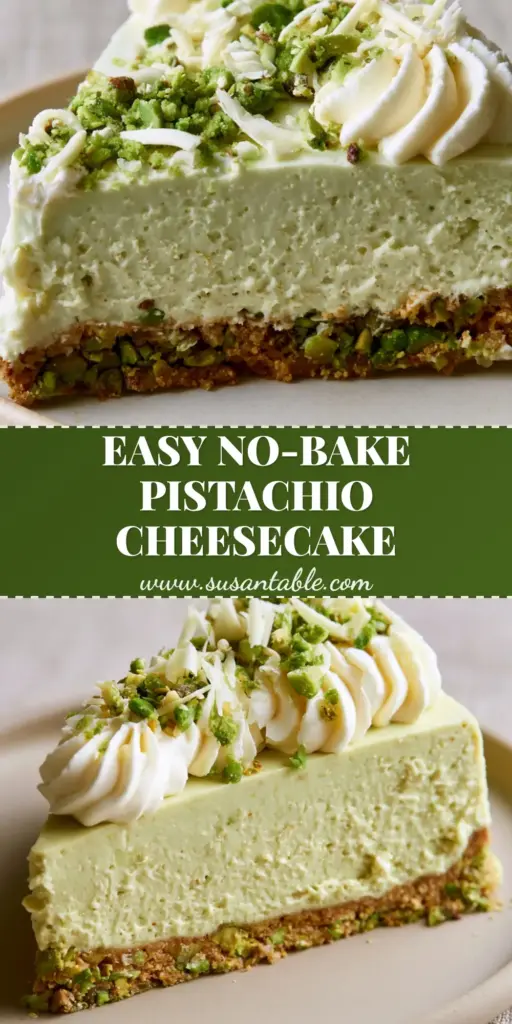
- Visual Appeal: The naturally pastel-green filling is topped with vibrant green chopped pistachios and elegant white chocolate shavings.
- No-Bake Ease: Avoid the stress of water baths and cracks with this foolproof setting method that yields a dense, velvety slice every time.
- Pinterest-Perfect: Designed to look stunning on a modern matte plate, this recipe is a viral hit waiting to happen.
The Secret Ingredients for a Vibrant Filling
To achieve that specific high-end food blog aesthetic, we use high-quality ingredients that prioritize both color and structural integrity. Using a pistachio cream or paste is vital for that signature green color without relying on artificial dyes.
1. Graham Crackers: 1.5 cups (150g) of finely crushed crumbs form the sturdy foundation. Much like the base of my blueberry crumble cheesecake, this provides a toasted, honey-like sweetness.
2. Shelled Raw Pistachios: 1 cup (125g) divided. You will need these for the crust and the garnish. Raw pistachios offer the most vibrant green color compared to roasted ones.
3. Cream Cheese: 16 oz (450g) of full-fat brick cream cheese. It must be at room temperature to ensure a smooth, lump-free pistachio cheesecake filling.
4. Pistachio Paste or Butter: 0.5 cup (120ml). This is the engine of flavor. Look for one that is 100% pistachio for the best pastel-green result.
5. Heavy Whipping Cream: 1.25 cups (300ml). This provides the loft and stability. When whipped to stiff peaks, it keeps the cheesecake light yet dense and velvety.
6. White Chocolate Curls: 2 oz (55g). These add a creamy sweetness and a professional finish to the top of the cake.
How to Make the Perfect Pistachio Cheesecake Crust
Step 1: Prep the Nutty Graham Base
In a food processor, pulse your graham crackers until they are fine crumbs. Add 0.5 cup (60g) of crushed raw pistachios and pulse briefly. The goal is to see golden-brown crumbs speckled with vibrant green nut pieces.
Stir in 6 tbsp (85g) of melted unsalted butter. The mixture should feel like wet sand. Press this firmly into the bottom of a 9-inch (23cm) springform pan. Use the bottom of a flat glass to ensure the bottom foundation is level and tight. Chill in the freezer for 15 minutes while you prepare the filling.
Creating the Velvety Pistachio Cream Filling
Step 2: Beat the Cream Cheese Base
In a large bowl, beat the room temperature cream cheese and 0.75 cup (90g) of powdered sugar until fluffy. Add the pistachio paste and a splash of vanilla extract. Mix until the color is a uniform, natural pastel-green. If you want a deeper green, you can add a tiny drop of gel coloring, but the paste usually provides a perfect hue.
Step 3: Folding for Stability
In a separate chilled bowl, whip the heavy cream until stiff peaks form. Carefully fold the whipped cream into the pistachio mixture using a silicone spatula. Do not overmix, or you will lose the air that makes this Pistachio Cheesecake so light. The final texture should look thick and velvety.
Step 4: The Long Chill
Pour the filling over the prepared crust. Smooth the top with an offset spatula. Cover with plastic wrap and refrigerate for at least 6 to 8 hours, or preferably overnight. This ensures the fats in the cream cheese and pistachio paste set into a dense foundation that slices cleanly.
Visual Garnishing for a Modern Aesthetic
Once the Pistachio Cheesecake is fully set, run a thin knife around the edge of the pan before releasing the springform ring. Now comes the part that makes this recipe go viral on Pinterest: the Visual Recipe Blueprint execution.
Prepare a small batch of sweetened whipped cream. Using a star tip, pipe whipped cream swirls around the perimeter of the cake. In the center, sprinkle a generous handful of chopped vibrant green pistachios. Finally, use a vegetable peeler to create delicate white chocolate shavings and scatter them over the top. The contrast of the white curls against the green nuts is stunning.
For more bite-sized versions of this aesthetic, you might enjoy my cookie butter cheesecake cups or these mini banana pudding cheesecakes.
Expert Tips for Success
- Use Room Temp Cheese: Cold cream cheese will result in tiny white lumps in your pastel-green filling. Set it out 2 hours before starting.
- Quality Pistachio Paste: Check the label; if the first ingredient is sugar, your cheesecake might be too sweet. Aim for 100% nut paste.
- Clean Slices: Dip a sharp knife in hot water and wipe it dry between every single cut. This is how you get those professional, sharp edges seen in food photography.
- Toast the Nuts: While raw pistachios give the best color, lightly toasting the nuts for the graham crust adds a deeper flavor profile.
Storage, Reheating & Freezing
To Store: Keep the Pistachio Cheesecake in an airtight container in the refrigerator for up to 5 days. The whipped cream swirls may deflate slightly after day 2, so it is best to garnish just before serving.
To Freeze: You can freeze the entire cheesecake (without garnishes) for up to 3 months. Wrap it tightly in plastic wrap and then aluminum foil. Thaw in the fridge overnight before adding the chopped pistachios and white chocolate curls.
What to Serve With This
This rich dessert pairs beautifully with a tart fruit element to cut through the fat. A drizzle of strawberry puree (find my recipe here: strawberry puree) provides a beautiful color contrast. It also complements a hot espresso or a light dessert wine like a Moscato d’Asti.
Frequently Asked Questions
Yes, but keep in mind that roasted pistachios will yield a more brownish-green color and a saltier profile. For the vibrant green food blog aesthetic, raw pistachios are highly recommended.
Use a high-quality, 100% pure pistachio paste or butter and raw (unsalted) pistachios. These provide a beautiful pastel-green color without the need for artificial food coloring.
Use a room-temperature block of white chocolate and a vegetable peeler. Run the peeler along the edge of the chocolate block to create long, delicate curls for a professional finish.
Usually, this happens if the heavy cream wasn’t whipped to stiff peaks before folding, or if the cream cheese was too warm. Ensure you chill the cheesecake for a minimum of 6 hours to allow the fats to firm up.
The Ultimate No-Bake Pistachio Cheesecake Recipe
Pistachio Cheesecake: The Ultimate Creamy No-Bake Dessert
Ingredients
Equipment
Method
- Combine graham cracker crumbs, crushed pistachios, and melted butter. Press into a 9-inch springform pan.
- Place the pan in the freezer for 15 minutes to set the buttery foundation.
- Beat room temperature cream cheese, pistachio paste, and powdered sugar until smooth and pastel-green.
- In a separate bowl, whip heavy cream to stiff peaks.
- Gently fold the whipped cream into the pistachio base until velvety and dense.
- Spread filling over crust and refrigerate for at least 6-8 hours.
- Top with piped whipped cream swirls, vibrant green pistachios, and white chocolate curls before serving.
Notes
Use raw pistachios for the best natural green color.
Share Your Masterpiece!
Did you make this Pistachio Cheesecake? I would love to see your results! This recipe was designed by KellyTaste to be the ultimate showstopper. Please save this recipe to your Pinterest boards so you never lose it, and follow me for more decadent dessert inspiration.
If you enjoyed this, leave a 5-star rating in the recipe card above and drop a photo of your cheesecake in the comments below. Happy no-baking!