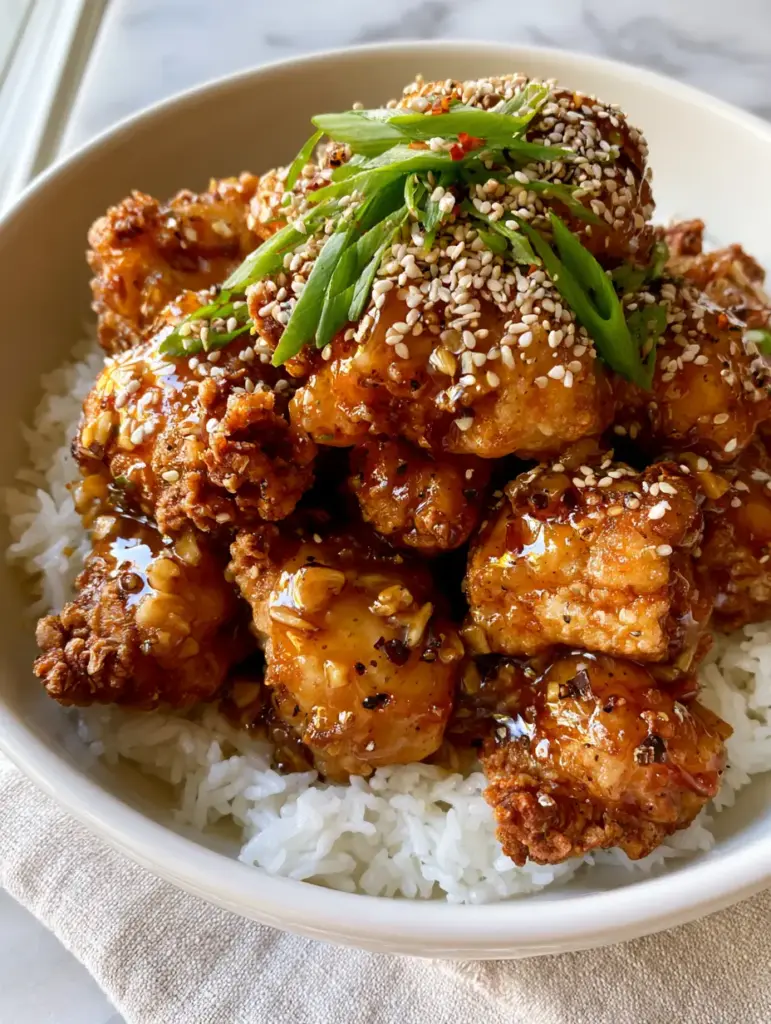
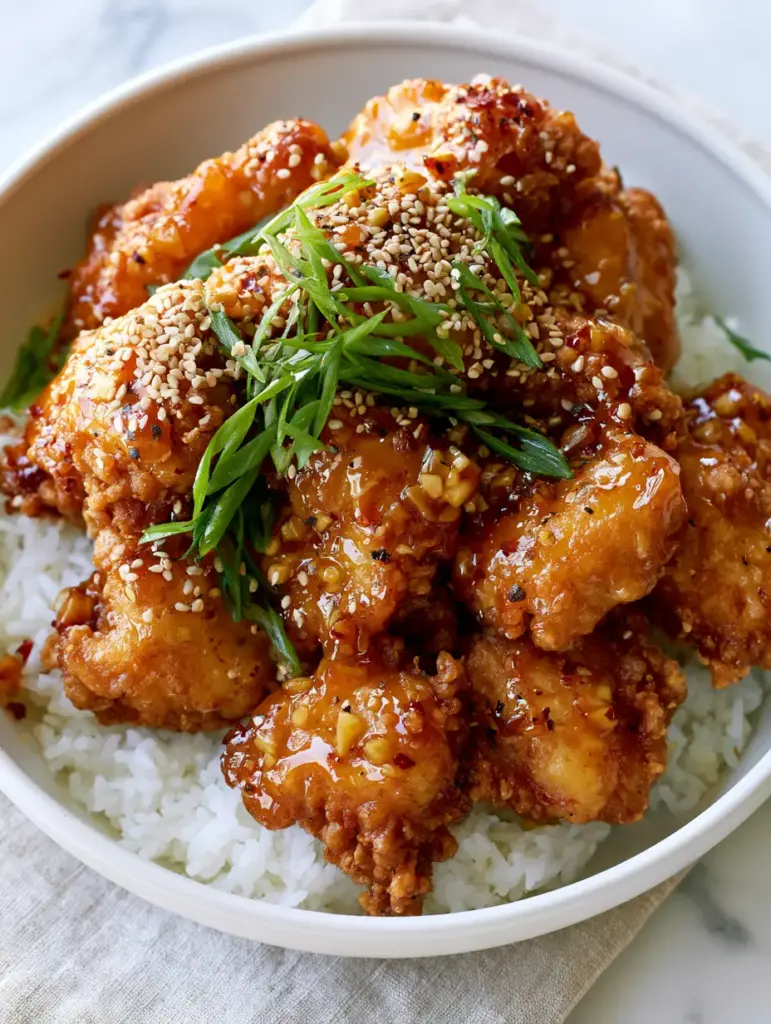
There is nothing quite like the visual of honey chicken piled high in a ceramic bowl, its glowing amber-gold glaze catching the morning light. This isn’t your average takeout; this is a culinary masterpiece featuring jagged, ultra-crispy chicken thigh pieces that shatter upon impact, drenched in a translucent sauce that is both sticky and reflective.
Every bite delivers a symphony of textures, from the fluffy, steaming jasmine rice base to the vibrant crunch of fresh scallions and the subtle heat of dried red chili flakes. If you have been searching for a recipe that looks exactly like a high-end food blog photo, you have finally arrived at the definitive guide.
The Science of the Perfect Crunch and Glow
- Ultra-Crispy Texture: We use a specific blend of cornstarch and flour to create those jagged, crunchy edges that hold up against the thick glaze.
- Translucent Amber Glaze: By balancing honey and toasted garlic, we achieve a sauce that is highly reflective and perfectly suspended with cracked black pepper.
- Aromatic Base: Steamed jasmine rice provides a neutral, fragrant foundation that absorbs the excess honey garlic nectar.
- Visual Contrast: The bright green of thinly sliced scallions and the pop of red chili flakes make this dish as beautiful as it is delicious.
Essential Pantry Staples for Sticky Honey Chicken
Chicken Thighs (1.5 lbs / 680g): We choose boneless, skinless thighs for their fat content, ensuring the meat stays succulent even after a deep golden-brown fry. Cut them into 1-inch (2.5cm) bite-sized pieces for maximum surface area.
Honey (1/2 cup / 170g): This is the heart of our translucent glaze, providing the “glowing” aesthetic and the essential stickiness that clings to the chicken. Use a high-quality clover or wildflower honey for the best flavor profile.
Fresh Garlic (6 cloves): You will mince this finely; half will be toasted in the sauce to create those visible flecks, while the rest provides the pungent backbone of the dish. Toasted garlic adds a nutty depth that raw garlic simply cannot match.
Cornstarch (1 cup / 125g): This is the secret to the “jagged edges” mentioned in our visual blueprint. When combined with a little flour and leavening, it creates a crispiness that stays crunchy even when drenched in sauce.
Jasmine Rice (1.5 cups / 300g): A long-grain aromatic rice that must be rinsed until the water runs clear to ensure it is fluffy and steaming, never gummy.
Invisible Essentials: You will also need neutral frying oil (like peanut or canola), Kosher salt (1 tsp / 6g), cracked black pepper (1/2 tsp / 1g), and a pinch of baking powder to help the batter aerate and crisp up.
Kitchen Gear for Pro-Level Frying
To achieve the authentic food blogger aesthetic, you need a heavy-bottomed pot or a Dutch oven for frying. This maintains a consistent oil temperature, which is the key to that deep golden-brown color without burning the meat.
A spider strainer or slotted spoon is essential for removing the chicken pieces while allowing excess oil to drain away. For the rice, a tight-fitting lid is non-negotiable to trap the steam required for that fluffy, separated grain texture.
Mastering the Art of the Deep Golden Fry
Preparing the Aromatic Jasmine Base
Start by rinsing your jasmine rice under cold water at least three times. This removes surface starch, preventing the rice from clumping and ensuring each grain stands proud in your ceramic bowl.
Add the rice and 2.25 cups (540ml) of water to a pot with a pinch of salt. Bring to a boil, then reduce to a low simmer and cover for 15 minutes; let it rest off the heat for 5 minutes before fluffing with a fork.
Creating the Shatter-Crisp Chicken Texture
Pat your chicken thigh pieces completely dry with paper towels. Toss them in a bowl with salt, cracked black pepper, and a light dusting of cornstarch to create a dry “primer” layer.
Prepare a secondary dredging station with the remaining cornstarch, 1/4 cup (30g) of all-purpose flour, and 1/2 tsp (2g) of baking powder. Dip the chicken into a whisked egg, then into the flour mix, pressing firmly to create those jagged, irregular edges that will catch the light later.
Achieving the Glowing Amber-Gold Glaze
In a small saucepan, combine the honey, 2 tbsp (30ml) of soy sauce, 1 tbsp (15ml) of rice vinegar, and the minced garlic. Heat over medium until the garlic begins to turn a light toasted brown and the sauce starts to bubble.
Whisk in a small slurry of 1 tsp (3g) cornstarch mixed with 1 tbsp (15ml) water. Watch as the sauce transforms from cloudy to a thick, translucent, and highly reflective amber-gold mirror.
Building the Perfect Honey Chicken Bowl
Once the chicken is fried to a deep golden-brown (about 5-6 minutes at 350°F/175°C), immediately toss the hot pieces into a large bowl with the warm glaze. You want to hear that sizzle as the sticky nectar coats the crunchy edges.
Spoon a generous base of steamed rice into a white ceramic bowl. Pile the glistening chicken high in the center, ensuring the reflective sauce is visible from every angle.
Garnish with a heavy sprinkle of toasted white sesame seeds, a vibrant spray of thinly sliced green scallions, and a few tiny red chili flakes for that professional pop of color. The final result should look like a handheld smartphone photo from an elite food blog.
Pro Culinary Shortcuts for Success
- Oil Temperature: Use a thermometer to keep your oil at 350°F (175°C). If the oil is too cold, the chicken will be greasy; too hot, and it will burn before it gets crunchy.
- Small Batches: Never crowd the pot. Frying in small batches ensures the temperature doesn’t drop, preserving that ultra-crispy finish.
- The Resting Rule: Let the chicken rest on a wire rack for 2 minutes before glazing. This allows the crust to “set,” making it more resilient to the moisture of the sauce.
- Toast Your Seeds: Always toast your sesame seeds in a dry pan for 30 seconds until fragrant. It elevates the dish from “home-cooked” to “professional chef” status.
Keeping Your Chicken Glistening and Crispy
While this honey chicken is best served immediately for the ultimate texture, you can store leftovers in an airtight container for up to 3 days. To reheat, avoid the microwave as it will make the breading soggy.
Instead, use an air fryer at 375°F (190°C) for 3-4 minutes or a conventional oven. This will help re-crisp the jagged edges and return the glaze to its sticky, translucent state.
Asian-Inspired Sides to Complete Your Feast
This dish is a powerhouse on its own, but it pairs beautifully with other vibrant textures. If you want a full spread, consider serving it alongside Classic Beef and Broccoli for a protein-packed duo.
For those who love a bit of variety, a side of Garlic Butter Noodles can replace the rice for a fusion twist. If you’re looking for a lighter accompaniment, a Spinach Mandarin Salad offers a bright acidity that cuts through the sweetness of the honey glaze.
If you’re in the mood for a more authentic takeout experience at home, you might also enjoy our Authentic Chinese Honey Chicken or even some Hibachi Steak for a true “surf and turf” vibe.
Common Honey Chicken Queries
Yes, you can use chicken breast, but be careful not to overcook it. Thighs are more forgiving and stay juicier during the deep-frying process, which is essential for this recipe’s texture.
The ‘jagged’ look comes from pressing the chicken firmly into the cornstarch and flour mixture after an egg wash. This creates irregular clumps that crisp up into peaks when deep-fried.
You can use an air fryer at 400°F (200°C) for 12-15 minutes, but the ‘jagged’ visual texture and deep golden-brown color are most authentically achieved through traditional frying.
The ‘glow’ is a result of high sugar content from the honey being heated until it reaches a specific viscosity. Ensure you don’t over-reduce the sauce, or it will become dark and opaque instead of reflective.
A translucent glaze is achieved by using a cornstarch slurry and simmering until the sauce ‘clears.’ If it looks cloudy, it likely hasn’t reached a high enough temperature to activate the starch, or you used too much flour in the sauce.
The Official Honey Chicken Master Recipe
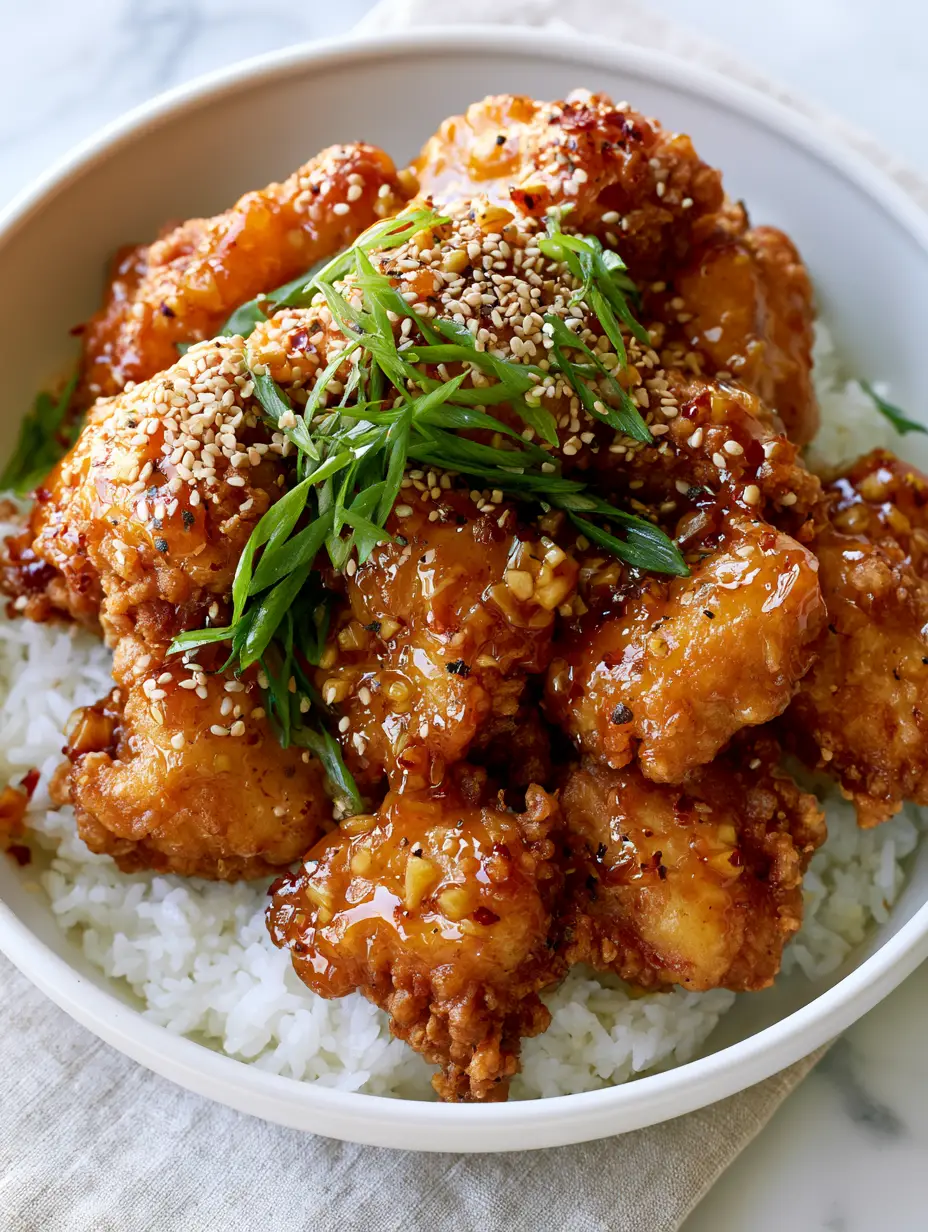
Honey Chicken with Crispy Garlic Glaze and Steamed Jasmine Rice
Ingredients
Equipment
Method
- Rinse jasmine rice until water runs clear. Combine with 2.25 cups (540ml) water and salt. Boil, سپس simmer covered for 15 minutes. Let rest 5 minutes.
- Toss chicken pieces in a mix of cornstarch, flour, and baking powder after an egg wash to create jagged edges.
- Deep fry chicken pieces in oil at 350°F (175°C) until deep golden-brown and crispy, about 5-6 minutes.
- Simmer honey, garlic, soy sauce, and vinegar. Add cornstarch slurry until thick and translucent.
- Toss crispy chicken in the glaze. Serve over rice and garnish with sesame seeds, scallions, and chili flakes.
Notes
Ensure the oil returns to 350°F between batches.
Join the Honey Chicken Craze!
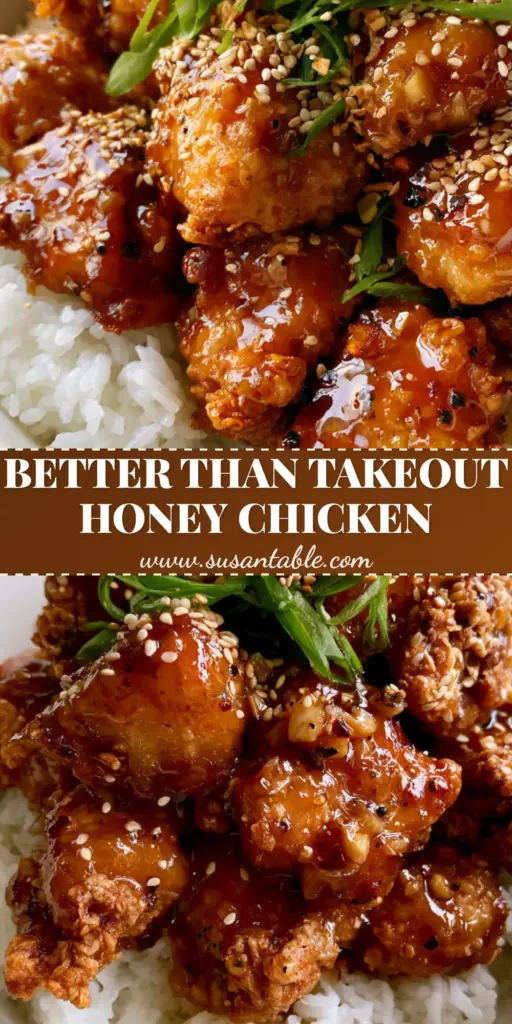
This recipe is designed to bring the “aesthetic food blogger” look directly into your kitchen. With its glowing glaze and ultra-crispy texture, it’s guaranteed to be a family favorite and a social media star. If you enjoyed making this, please leave a comment below and share your photos with us!
Don’t forget to follow us on Pinterest for more visually stunning and scientifically sound recipes. Sign up for our newsletter to get the latest kitchen secrets delivered straight to your inbox!