There is nothing quite like the aroma of homemade brownies wafting through the kitchen, promising a treat that is both nostalgic and deeply indulgent. If you have been searching for that perfect balance between a dense, truffle-like center and a paper-thin, crackly crust, you have finally arrived at the only recipe you will ever need.
These homemade brownies are designed for the true chocolate aficionado. We are moving far beyond the box mix to create a masterpiece that features molten chocolate pockets, a chewy edge, and that iconic glistening finish that distinguishes a professional bake from an amateur one. Every bite is a decadent experience, elevated by a delicate sprinkle of flaky sea salt that cuts through the richness of the premium cocoa.
Why This Is the Only Fudgy Brownie Recipe You’ll Ever Need
- The Perfect Texture: We achieve a dense, ultra-fudgy interior that is almost reminiscent of a chocolate ganache, avoiding the “cakey” texture often found in lesser recipes.
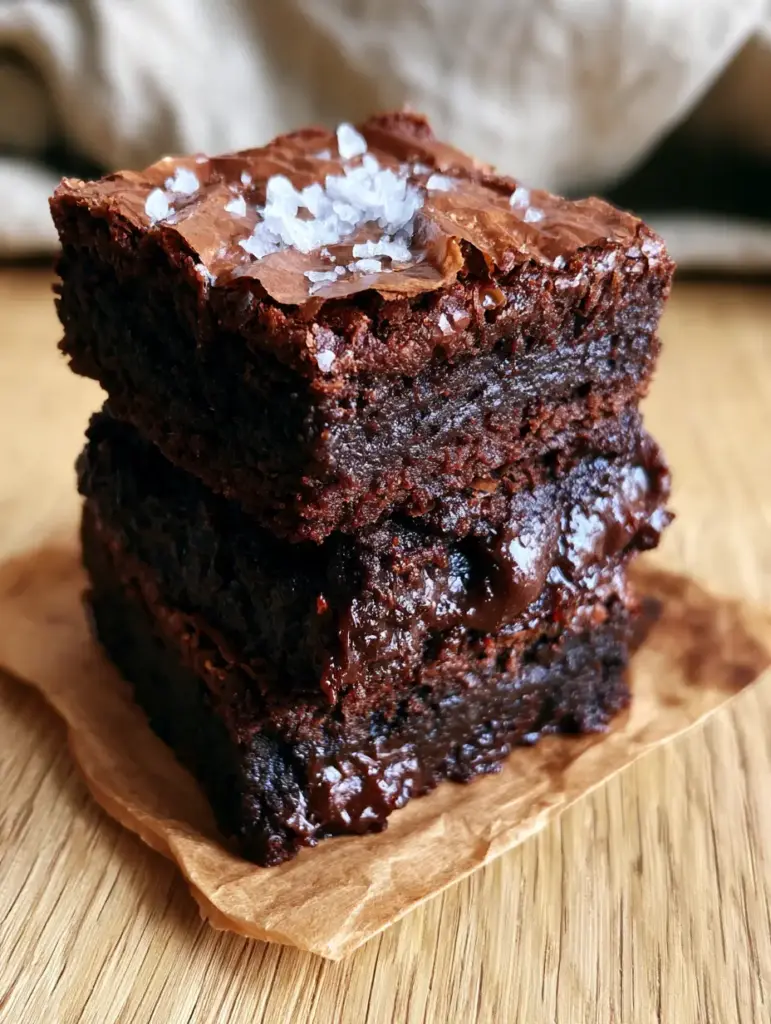
- The Signature Crinkle: By utilizing a specific sugar-beating technique, we guarantee a shiny, paper-thin top crust that shatters with every bite.
- Molten Pockets: The addition of hand-chopped chocolate chunks ensures you find gooey, melted pools of dark chocolate throughout the brownie.
- Visual Appeal: Served on crumpled brown parchment paper over a warm oak surface, these brownies look as incredible as they taste.
- Balanced Flavor: The use of high-quality butter and a touch of Maldon sea salt creates a sophisticated flavor profile that isn’t cloyingly sweet.
If you love this deep chocolate flavor, you might also want to try our fudgy chocolate brownies variation or even our decadent cheesecake brownies for a tangy twist.
Pantry Essentials for the Best Fudgy Texture
To create world-class homemade brownies, the quality of your ingredients is paramount. Unlike a cake, brownies rely on a high fat-to-flour ratio to achieve that signature “fudge” factor. Here is what you will need and why each component matters for the final result.
The Fat Base: Butter and Chocolate
Unsalted Butter (1 cup / 225g): We use melted butter to provide a rich, creamy mouthfeel. Using unsalted butter allows us to control the exact amount of seasoning in the dough.
Semi-Sweet Chocolate (8 oz / 225g): High-quality baking bars are essential here. We melt half into the batter for structure and chop the rest into chunks for those iconic molten chocolate pockets.
The Sweetness and The Crust
Granulated Sugar (1 ¼ cups / 250g): Sugar isn’t just for sweetness; when whisked vigorously with eggs, it creates the meringue-like structure responsible for the shiny crinkly top.
Light Brown Sugar (½ cup / 100g): The molasses in brown sugar adds moisture and creates a chewier, more complex depth of flavor in your homemade brownies.
Dry Ingredients and Lift
All-Purpose Flour (¾ cup / 95g): We use a surprisingly small amount of flour. This ensures the brownies remain dense and fudgy rather than turning into a chocolate sponge cake.
Dutch-Processed Cocoa Powder (½ cup / 45g): This cocoa is treated with alkali, giving it a darker color and a smoother, more mellow chocolate flavor that pairs perfectly with the chocolate chunks.
Espresso Powder (1 tsp): You won’t taste the coffee, but a teaspoon of espresso powder intensifies the chocolate notes, making them taste more “expensive.”
Maldon Flaky Sea Salt: A generous sprinkle on top provides a visual “glisten” and a sharp contrast to the rich dark chocolate.
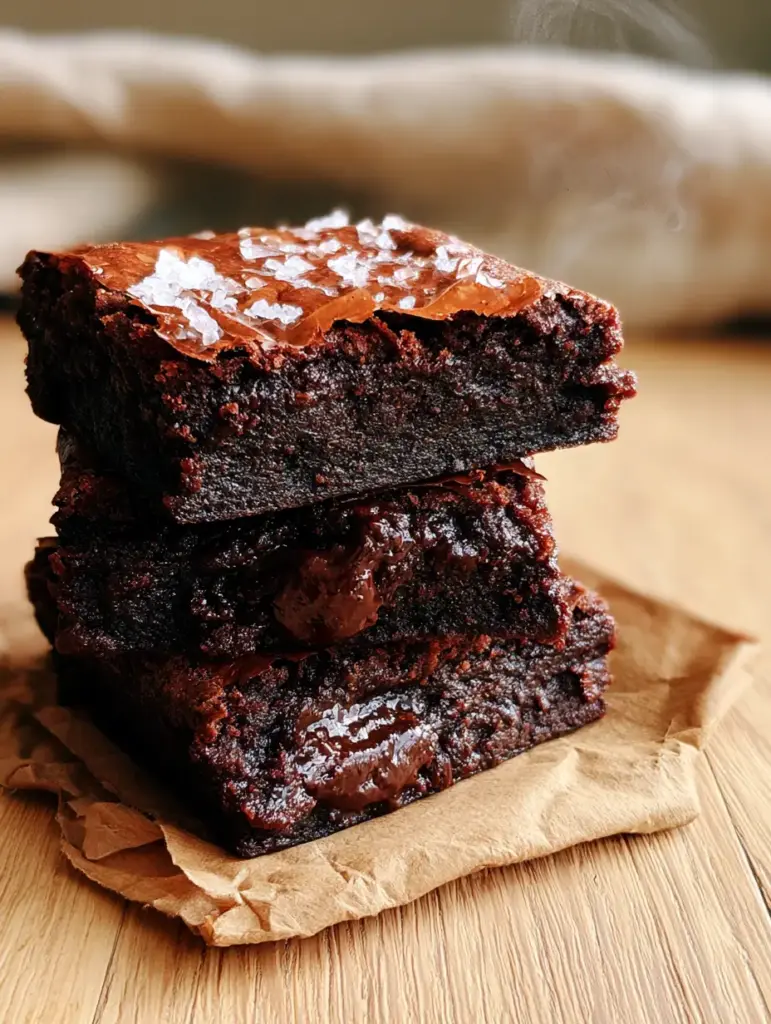
The Science of the Shiny Top: A Step-By-Step Guide
Achieving the visual perfection seen in the homemade brownies on Pinterest requires a bit of culinary science. Follow these steps closely to ensure your brownies have that beautiful wisp of steam and molten center when they come out of the oven.
Step 1: Prep and Melt
Preheat your oven to 350°F (175°C). Line an 8×8 inch (20×20 cm) square baking pan with a large piece of crumpled brown parchment paper. Let the edges overhang for easy removal. In a microwave-safe bowl, melt your butter and 4 oz (115g) of the chopped chocolate together in 30-second intervals until smooth. Set aside to cool slightly.
Step 2: The Aeration Secret
In a large mixing bowl, combine the granulated sugar, brown sugar, and 3 large room-temperature eggs. Using a hand mixer or a vigorous whisk, beat the mixture for at least 3-5 minutes. The mixture should become pale, thick, and “ribbon-like.” This step is critical for creating the crinkly top crust.
Step 3: Folding the Batter
Slowly pour the melted chocolate and butter mixture into the egg mixture, whisking constantly. Sift in the flour, cocoa powder, and espresso powder. Use a rubber spatula to gently fold the ingredients together until just combined. Do not overmix, or you will incorporate too much air and lose the fudgy density.
Step 4: Creating Molten Pockets
Fold in the remaining 4 oz (110g) of hand-chopped chocolate chunks. These chunks won’t fully dissolve, creating those “molten chocolate pockets” mentioned in our visual blueprint. Pour the thick batter into your prepared pan and smooth the top.
Step 5: The Bake and The Salt
Bake for 22-27 minutes. The center should still have a slight jiggle, and a toothpick inserted into the center should come out with a few moist crumbs—never clean! Immediately upon removing from the oven, sprinkle the surface with glistening flakes of Maldon sea salt. You should see a light wisp of steam rising from the pan as the salt settles into the glossy crust.
While you wait for these to cool, you might want to plan your next baking project, like our classic strawberry shortcake or perhaps some pumpkin chocolate chip cookies for the upcoming season.
Expert Tips for Success
- Measure by Weight: For the most consistent homemade brownies, use a kitchen scale. Flour is very easy to over-pack in a measuring cup, which leads to dry brownies.
- The Paper-Thin Crust: If your brownies aren’t shiny, you likely didn’t whisk the eggs and sugar long enough. Dissolving the sugar completely is the key.
- Room Temperature Eggs: Cold eggs can seize the melted butter and chocolate, leading to a lumpy batter.
- Don’t Overbake: Brownies continue to cook in the hot pan after being removed from the oven. Pull them out when they look slightly underdone for the fudgiest results.
- Clean Slices: For those “neat stack” photos like you see on KellyTaste, wait until the brownies are completely cool before slicing with a sharp, warm knife.
Storage, Reheating & Freezing
To Store: Keep your homemade brownies in an airtight container at room temperature for up to 4 days. To keep them ultra-moist, place a slice of white bread in the container to absorb any dry air.
To Freeze: Wrap individual squares in plastic wrap and then place them in a freezer-safe bag. They will stay fresh for up to 3 months. Thaw at room temperature for an hour before eating.
To Reheat: If you want that “fresh from the oven” molten experience, microwave a brownie for 10-15 seconds. This will reactivate the chocolate pockets!
What to Serve With This
These brownies are incredibly rich, so they pair best with items that offer a temperature or flavor contrast. A cold glass of whole milk is the classic choice. For a more sophisticated dessert, serve a warm brownie with a scoop of Madagascar vanilla bean gelato.
If you’re hosting a full dinner party, these make a great follow-up to a comforting bowl of loaded potato soup or a hearty parmesan garlic beef pasta.
Frequently Asked Questions
For this specific recipe, we use both. The melted chocolate provides the fudgy structure, while the cocoa powder provides the deep, concentrated chocolate flavor. Using only cocoa powder will result in a more ‘cakey’ brownie.
Use the ‘jiggle test.’ The edges should be set, but the center should still have a slight wobble. A toothpick inserted should come out with moist crumbs, not liquid batter and not completely clean.
Butter provides a superior flavor and a creamy, melt-in-your-mouth texture. While oil can make brownies moister, butter allows for that signature shiny top and richer taste.
Brownies need time to ‘set.’ If you cut them while they are still warm, the molten chocolate pockets will flow out and the structure will collapse. For the neatest slices, wait until they are completely cool.
The shiny crust is essentially a thin layer of meringue. To achieve it, you must beat the eggs and sugar together for at least 3-5 minutes until the mixture is pale and thick before adding the chocolate.
The Best Fudgy Homemade Brownie Recipe
Ready to bake the best brownies of your life? Follow the detailed card below for the exact measurements and timings.
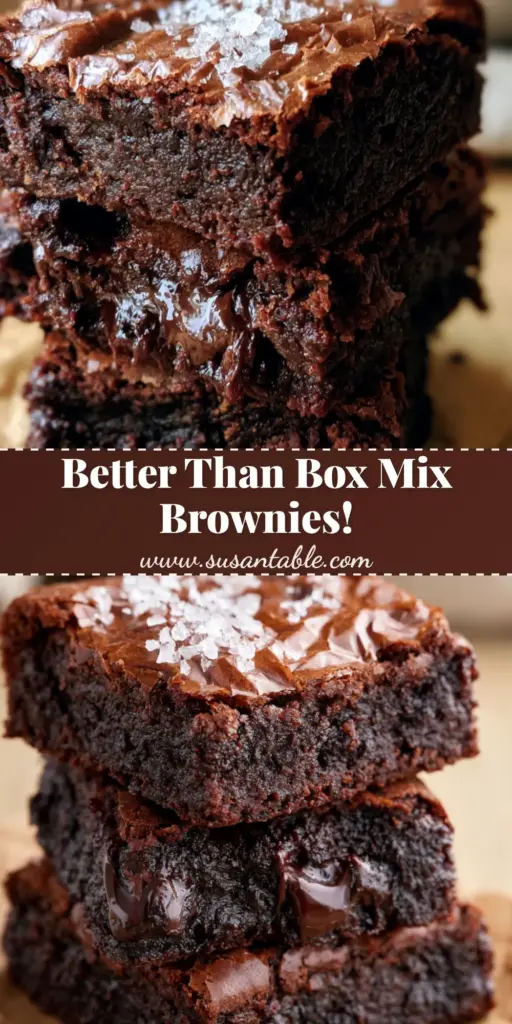
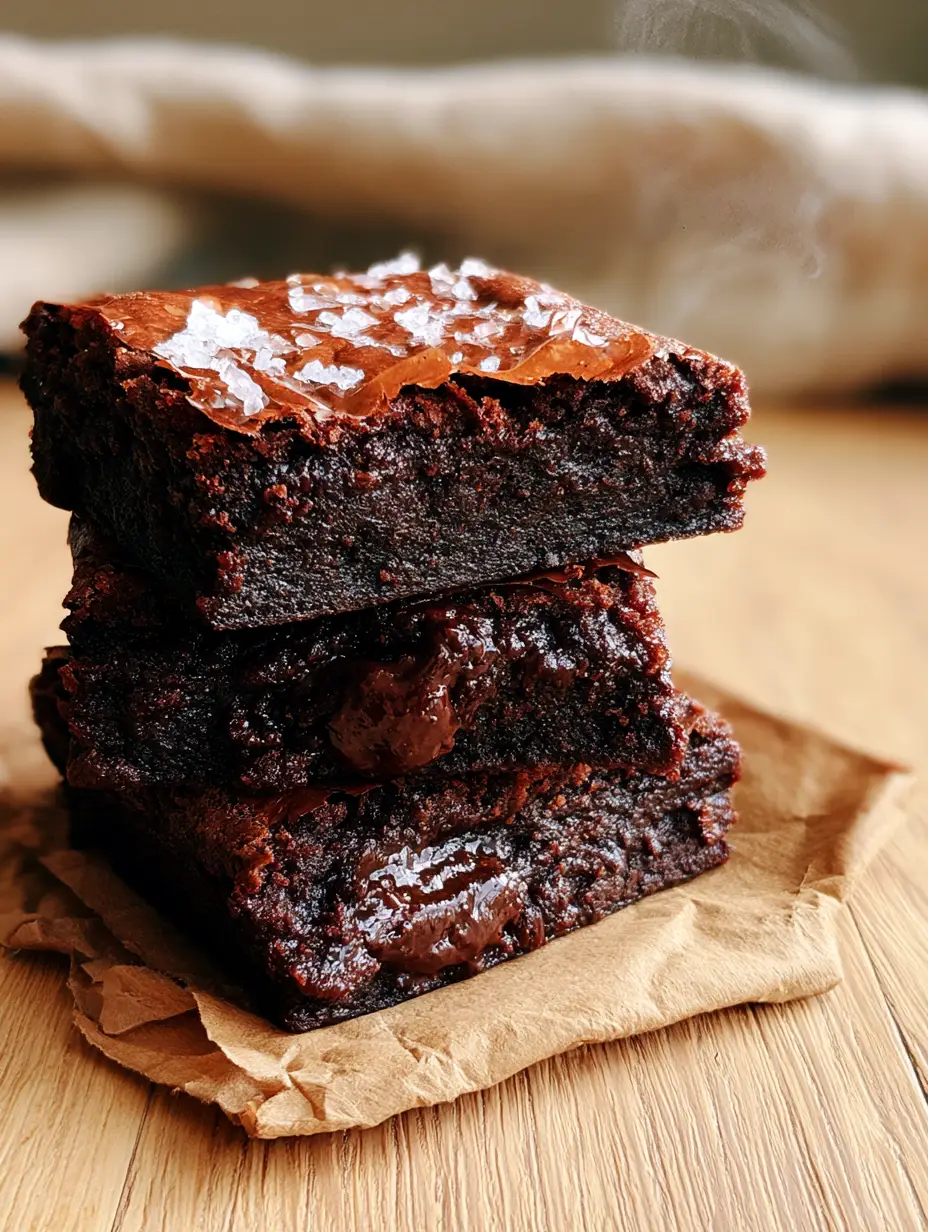
Homemade Brownies: The Ultimate Fudgy Recipe with a Shiny Crinkly Top
Ingredients
Equipment
Method
- Preheat oven to 350°F (175°C) and line an 8x8 pan with parchment paper.
- Melt butter and 4oz of chocolate together until smooth; let cool slightly.
- Whisk eggs and both sugars for 3-5 minutes until pale and doubled in volume.
- Fold in the melted chocolate mixture, followed by sifting in the dry ingredients.
- Fold in the remaining 4oz of chocolate chunks for molten pockets.
- Bake for 22-27 minutes until the top is crinkly but the center still jiggles slightly.
- Top immediately with flaky sea salt and allow to cool in the pan.
Notes
Don't overbake; the brownies will firm up as they cool.
Save This Recipe to Pinterest!
Did you love these homemade brownies? Make sure to save this post to your “Baking” or “Dessert” boards on Pinterest so you never lose it! Follow KellyTaste for more decadent treats and kitchen tips. If you make these, please share a photo in the comments below and leave a 5-star rating—it helps our community grow and ensures more people find the joy of the perfect fudgy brownie!