If you are looking for the perfect bite-sized treat, these peanut butter balls are about to become your new kitchen obsession. Imagine a moist, fudge-like interior that melts on your tongue, wrapped in a rich glossy melted dark chocolate shell and finished with a delicate crunch of flaky sea salt. They are the ultimate combination of salty and sweet, requiring zero baking and only a handful of wholesome ingredients.
These peanut butter balls aren’t just a dessert; they are a high-protein, energy-boosting snack that validates every craving. Whether you are meal prepping for the week or looking for a viral-worthy treat to share on social media, this recipe delivers professional results with minimal effort. The golden hue of the creamy golden peanut butter paired with the amber glow of pure maple syrup creates a flavor profile that is deep, complex, and utterly satisfying.
Why You Will Love This No-Bake Recipe
- Texture Perfection: A dense, fudge-like interior that stays soft even when chilled.
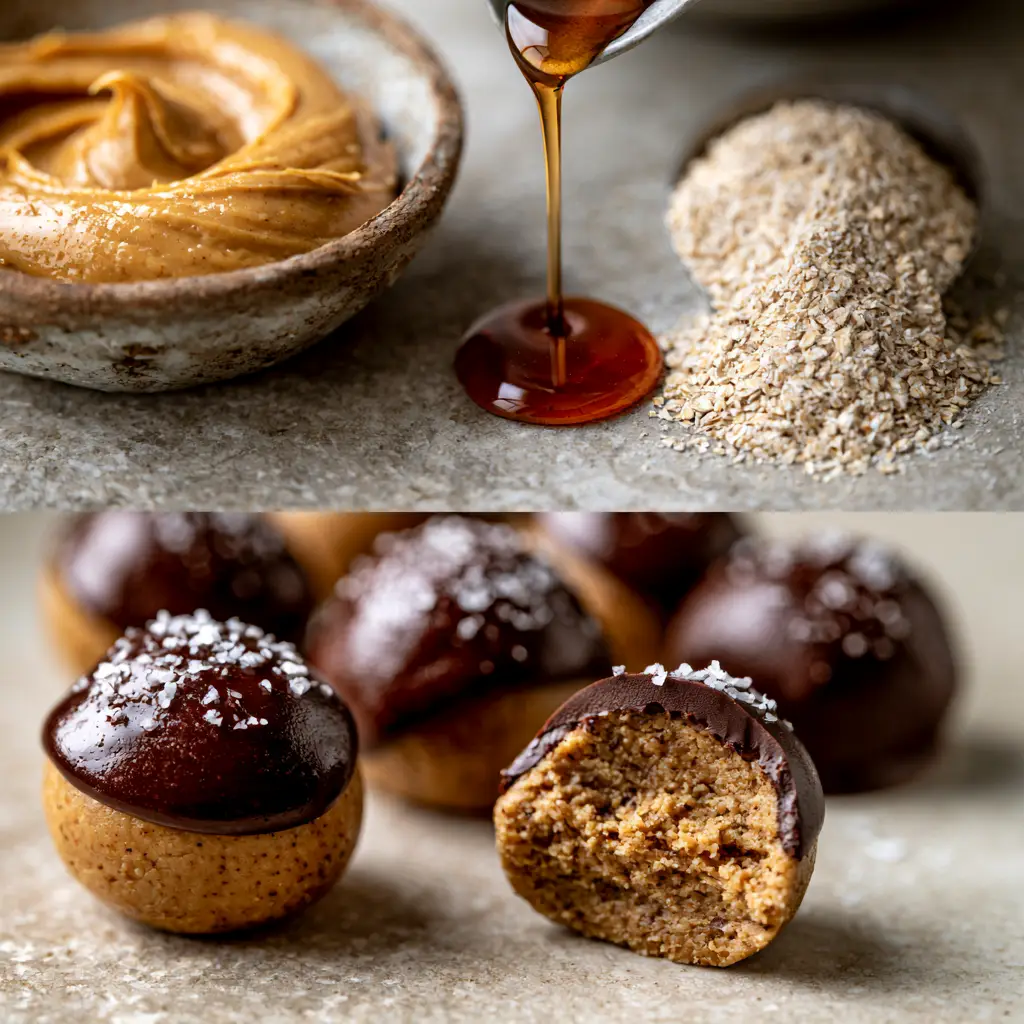
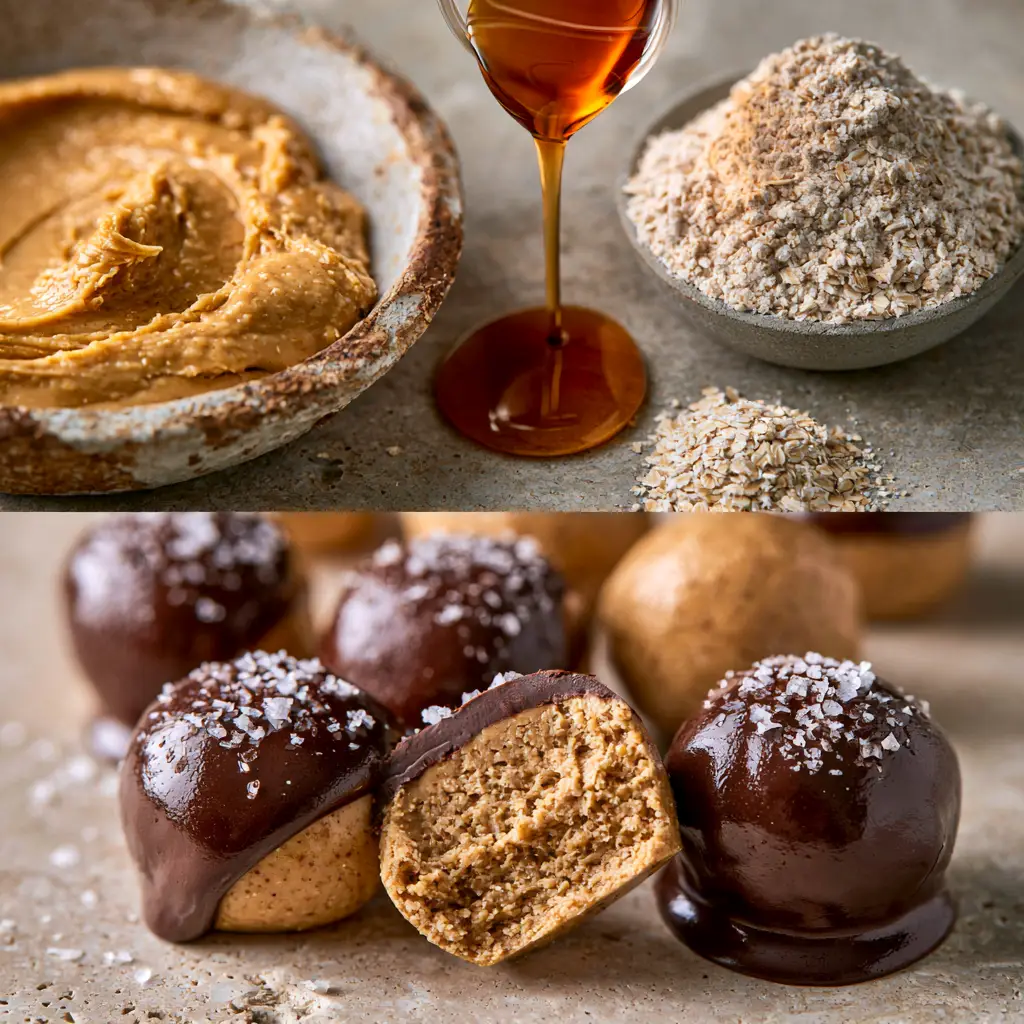
- Visual Contrast: The matte finish of the peanut butter center against the glossy dark chocolate coating.
- Pantry Staples: You likely have all 4 main ingredients in your cupboard right now.
- Naturally Sweetened: Uses pure maple syrup instead of refined sugars for a cleaner energy boost.
- Dietary Friendly: Naturally gluten-free (when using certified oats) and easily made vegan.
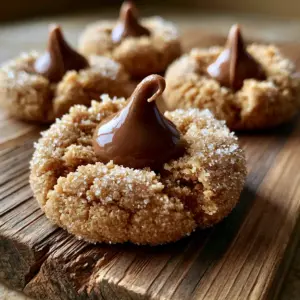
If you enjoy the classic combination of nuts and sweets, you might also want to try my peanut butter blossoms or these decadent apple snickerdoodle-bars for your next baking session.
The Essential Ingredients for Success
To achieve the specific aesthetic and flavor profile of these peanut butter balls, the quality of your ingredients matters. Here is what you will need:
1. Creamy Golden Peanut Butter
You want a creamy golden peanut butter that is drippy but not oily. If you use a natural brand, ensure it is extremely well-stirred to prevent the balls from becoming greasy. The oils in the peanut butter provide the necessary fats for that “melt-in-your-mouth” texture.
2. Pure Maple Syrup
Avoid “pancake syrup” which is mostly corn syrup. Pure maple syrup provides a rich, amber sweetness and acts as the liquid binder. It reacts with the proteins in the peanut butter to create a dough-like consistency that is easy to roll.
3. Fine Oat Flour
Fine oat flour is the secret to a smooth, non-gritty interior. It absorbs the moisture from the syrup and peanut butter perfectly. You can make your own by blending rolled oats in a high-speed blender until they reach a powdery, flour-like state.
4. Melted Dark Chocolate
For that rich glossy melted dark chocolate look, use a high-quality chocolate bar (60-70% cocoa) or premium chocolate chips. Adding a tiny bit of coconut oil during the melting process ensures the chocolate remains shiny and snaps perfectly when bitten into.
5. Flaky Sea Salt
Never skip the flaky sea salt. It cuts through the richness of the dark chocolate and elevates the nuttiness of the peanut butter, making every bite more vibrant.
How to Make the Perfect Peanut Butter Balls
Follow these steps to ensure your peanut butter balls look exactly like the professional food photography in our visual blueprint.
Creating the Fudge-Like Dough
In a large rustic bowl, combine 1 cup (250g) of creamy golden peanut butter with 1/3 cup (80ml) of pure maple syrup. Stir until the mixture is cohesive. It will look shiny and smooth at this stage.
Gradually fold in 1.5 cups (150g) of fine oat flour. Use a sturdy spatula to press the flour into the wet ingredients. The dough should be thick, pliable, and not stick to your hands. If it feels too wet, add another tablespoon of oat flour. The goal is a moist, fudge-like interior that holds its shape.
Rolling for Uniformity
Scoop about 1 tablespoon of dough at a time and roll between your palms. Aim for “perfectly rolled” spheres about 1 inch in diameter. Place them on a parchment-lined tray and chill in the freezer for 15 minutes. Chilling is vital; it ensures the peanut butter balls don’t melt when they hit the warm chocolate.
The Art of the Half-Dip
Melt your dark chocolate in 30-second intervals in the microwave. Once rich and glossy, use a fork to dip each chilled ball. For the specific visual look, only dip the bottom half, leaving the creamy golden peanut butter top exposed. This creates a beautiful contrast that Pinterest users love.
The Final Flourish
While the chocolate is still wet, immediately sprinkle a pinch of flaky sea salt on top. This isn’t just for flavor; the white crystals against the dark chocolate create a stunning visual “pop” that drives engagement. Allow them to set in the fridge for at least 20 minutes before serving.
Expert Tips for Pinterest-Worthy Results
- Sift your flour: If your oat flour has lumps, sift it before adding to the peanut butter to ensure the interior is perfectly smooth.
- Temperature Control: If your kitchen is warm, work in small batches. Keep half the balls in the freezer while you dip the other half to maintain their shape.
- Chocolate Consistency: If your chocolate is too thick, add 1 teaspoon (5ml) of coconut oil to thin it out for a glossy, professional finish.
- Clean Hands: Lightly dampen your hands with water or a tiny bit of oil if the dough starts to stick while rolling.
Looking for more easy treats? Try my salted caramel butter bars or these high-energy cinnamon roll casserole bites for a sweet weekend brunch.
Storage, Reheating, and Freezing
To Store: Keep your peanut butter balls in an airtight container in the refrigerator for up to 10 days. The cold temperature keeps the chocolate crisp and the interior fudge-like.
To Freeze: These are incredibly freezer-friendly. Place them in a single layer on a tray until frozen solid, then transfer to a freezer bag. They will stay fresh for up to 3 months. You can even eat them straight from the freezer!
Avoid Heat: Because these use natural oils and pure maple syrup, they will soften at room temperature. Keep them chilled until just before serving to maintain that professional look.
What to Serve With This Recipe
These peanut butter balls are versatile enough to fit into any meal plan. Serve them as a post-workout snack alongside a hot cup of coffee or as a light dessert after a savory meal like white chicken chili or a hearty taco soup.
For a full dessert spread, pair them with a seasonal favorite like pumpkin waffles topped with extra maple syrup for a cohesive flavor theme.
Frequently Asked Questions
As long as you use dairy-free dark chocolate chips and pure maple syrup, this recipe is 100% vegan-friendly!
Yes! You can substitute almond butter or sunflower seed butter at a 1:1 ratio. Just ensure the consistency is creamy and well-stirred for the best texture.
Oat flour provides the best fudge-like texture. If you don’t have it, you can use almond flour, though the balls will be slightly more fragile and nutty.
The secret is adding a tiny bit of coconut oil (about 1 teaspoon per cup of chips) while melting. It thins the chocolate and adds a professional sheen.
This usually happens if the dough is too dry. Add a teaspoon of maple syrup or peanut butter to add moisture. If they are too soft, chill them for longer before dipping.
Peanut Butter Balls Recipe Card
Peanut Butter Balls: The Ultimate 4-Ingredient Healthy Snack
Ingredients
Equipment
Method
- In a rustic bowl, stir together the creamy peanut butter and maple syrup until smooth.
- Gradually add the oat flour, mixing until a moist, fudge-like dough forms.
- Roll 1-tablespoon portions into perfectly round balls and chill in the freezer for 15 minutes.
- Melt dark chocolate with coconut oil. Half-dip each ball into the glossy chocolate.
- Immediately sprinkle with flaky sea salt and refrigerate until set.
Notes
Ensure oat flour is very fine to avoid a gritty mouthfeel.
Join the Community & Save This Recipe!
Did you make these peanut butter balls? I would love to see how they turned out! Please save this recipe to your favorite Pinterest board so you never lose it. If you tried the half-dipped glossy dark chocolate style, take a photo and share it in the comments below!
Don’t forget to follow @KellyTaste on Pinterest for more daily recipe inspiration. If you loved this treat, please leave a 5-star rating in the recipe card above—it helps other home cooks find my recipes! Happy snacking!