There is a specific culinary magic that happens when high heat meets a fresh, snap-crisp vegetable. These garlic chili green beans are the embodiment of that transformation, turning a humble garden staple into a restaurant-quality masterpiece characterized by deep, smoky char and a punchy, aromatic oil.
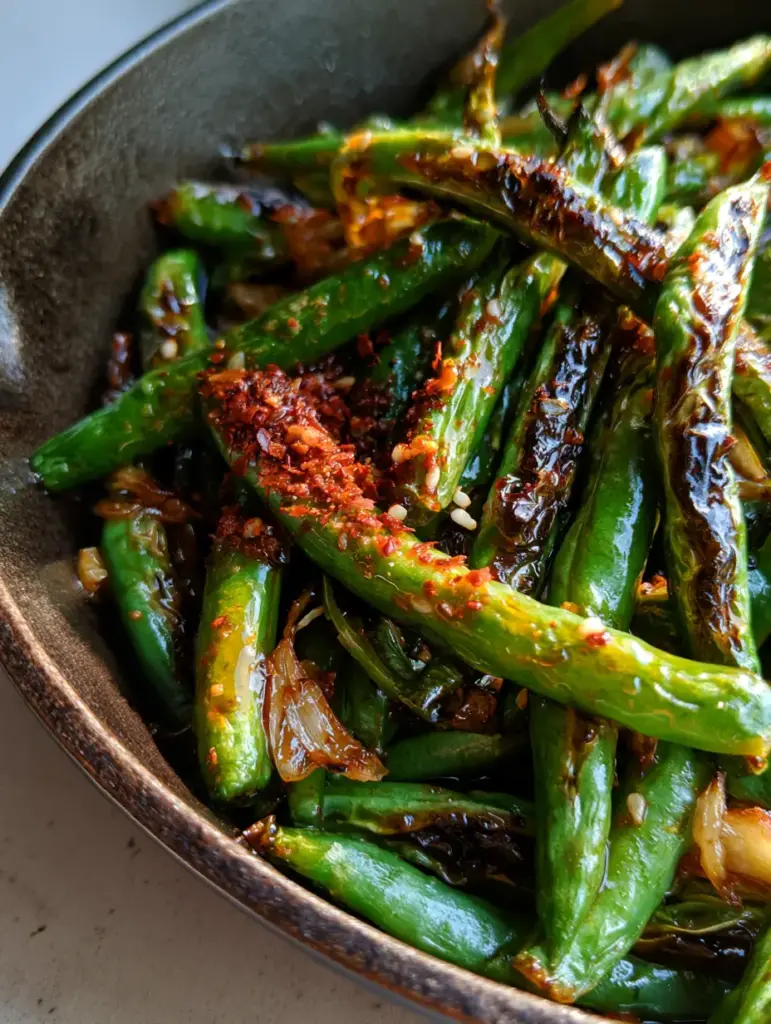
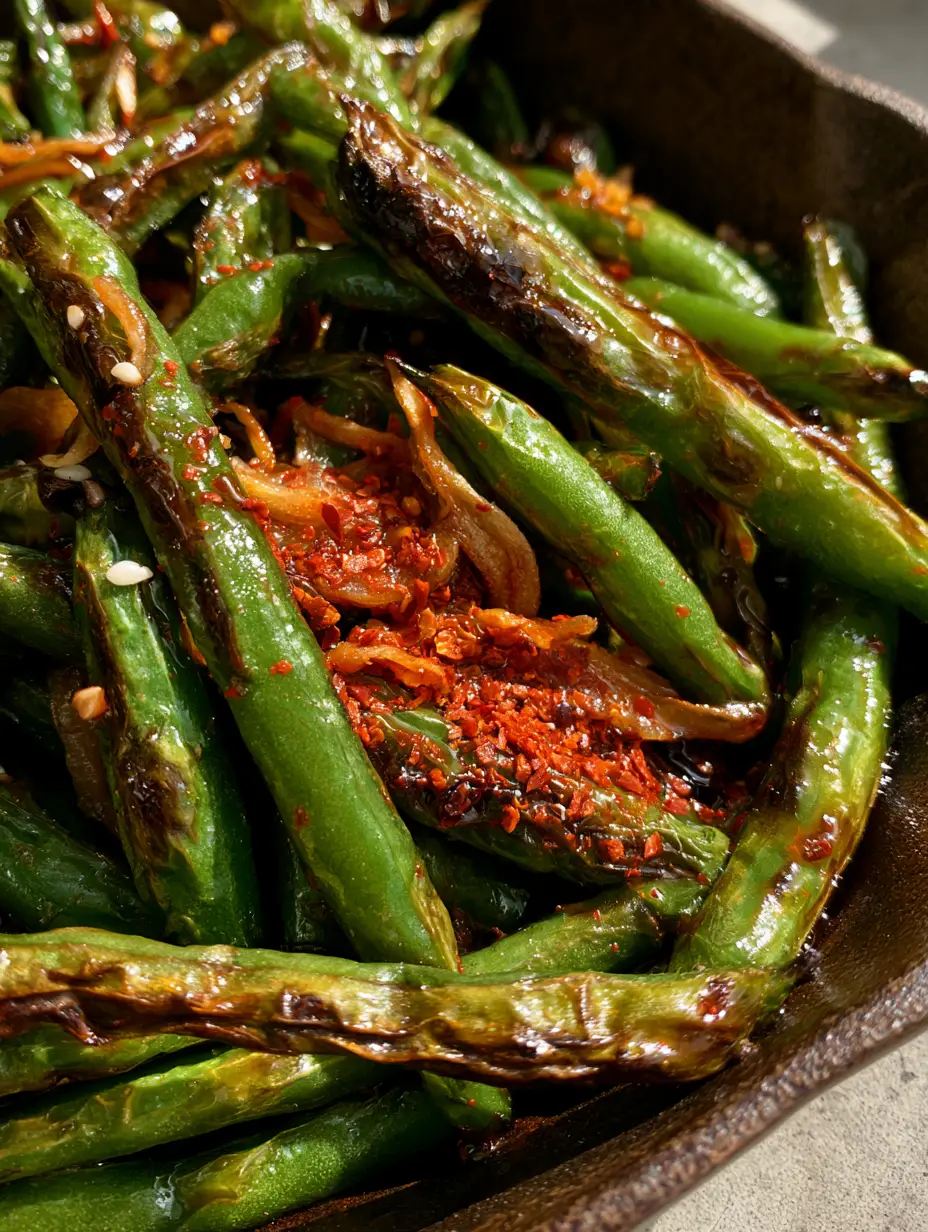
Forget the soggy, over-boiled beans of the past. We are leaning into the “messy-chic” aesthetic of a seasoned cast iron skillet, where vibrant emerald beans develop wrinkled, blistered skins that catch and hold a glossy, amber-hued garlic chili oil.
Every bite delivers a symphony of textures: the initial crunch of the bean, the silky richness of the infused oil, and the delicate snap of golden-brown fried garlic slivers. It is a bold, visual-heavy dish that tastes even better than it looks.
Why You Will Crave This Blistered Green Bean Masterpiece
- Sensory Contrast: You get the smoky, charred flavor from the high-heat sear paired with a bright, vibrant interior that retains its “snap.”
- Aromatic Depth: The garlic isn’t just a background note; it is sliced into thin slivers and fried until golden, providing a nutty sweetness that balances the heat.
- Visual Appeal: With bright red chili flakes and toasted white sesame seeds against a backdrop of emerald green, this dish is a showstopper on any dinner table.
- Speed and Efficiency: From the first sizzle in the skillet to the final sprinkle of coarse sea salt, this recipe comes together in under 15 minutes.
Essential Components for the Perfect Garlic Chili Green Beans
To achieve the exact “wrinkled skin” and “translucent amber oil” seen in our visual blueprint, each ingredient serves a specific technical purpose. Do not skip the drying phase, as moisture is the enemy of a good sear.
Fresh Green Beans (1 lb / 450g): Choose slender, firm beans like Haricots Verts or standard string beans. They must be completely dry before hitting the pan to ensure they blister rather than steam.
Neutral High-Smoke Point Oil (2 tbsp / 30ml): Use avocado, grapeseed, or canola oil. These oils can withstand the intense heat required to create those deep brown char marks without smoking out your kitchen.
Fresh Garlic (4-5 large cloves): Sliced into thin, uniform slivers rather than minced. This allows them to fry into “chips” that provide a distinct crunch and visual elegance.
Dried Red Chili Flakes (1 tbsp / 8g): This provides the “heavy dusting” of red color and the primary heat source. The flakes toast in the oil, releasing their capsaicin and tinting the oil that iconic amber color.
Toasted Sesame Oil (1 tsp / 5ml): Added at the very end as a “finishing oil.” It contributes to the glossy, translucent sheen and a deep, toasted aroma.
Toasted White Sesame Seeds (2 tsp / 6g): These offer a tiny pop of texture and a nutty finish that complements the fried garlic slivers perfectly.
Coarse Sea Salt (To taste): The large grains provide a final hit of salinity that doesn’t immediately dissolve, offering a pleasant crunch against the tender-crisp beans.
Must-Have Kitchen Tools for High-Heat Searing
To replicate the “macro handheld” visual of professional food photography, you need a vessel that holds heat exceptionally well. A 12-inch seasoned cast iron skillet is the gold standard here.
Cast iron provides the even, radiating heat necessary to blister the skin of the beans quickly while keeping the inside vibrant. You will also need a pair of long-handled metal tongs to toss the beans safely at high temperatures.
Finally, ensure you have a sharp chef’s knife for those paper-thin garlic slivers. The thinner the garlic, the more evenly it will crisp into those beautiful golden-brown layers seen in the skillet.
Mastering the Sear: Step-by-Step Instructions
Phase 1: The Dry High-Heat Blister
Place your cast iron skillet over medium-high heat until it is wisping with a tiny bit of smoke. Add your neutral oil and swirl to coat the bottom of the pan evenly.
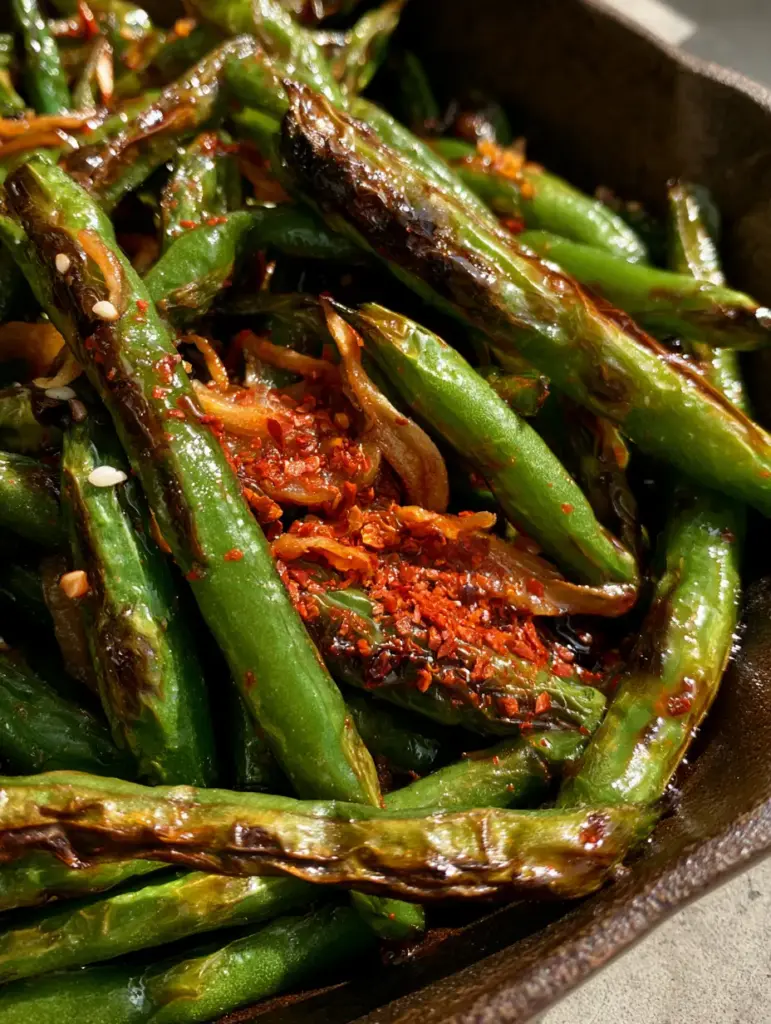
Add the green beans in a single layer if possible. Let them sit undisturbed for 2-3 minutes; you should hear a loud, aggressive sizzle. This is the sound of the skins dehydrating and charring.
Use tongs to turn the beans. Look for vibrant emerald green transitioning into deep brown, wrinkled char marks. Continue searing for another 3-4 minutes until the beans are tender but still have a firm “bite.”
Phase 2: Infusing the Amber Garlic Chili Oil
Push the blistered beans to the outer edges of the skillet, creating a small “well” in the center. If the pan looks dry, add a tiny splash more oil.
Drop in your garlic slivers and red chili flakes. Watch closely as the garlic turns from white to a pale straw color. The oil will begin to take on a translucent amber hue from the chili flakes.
As soon as the garlic reaches a toasted golden-brown, toss everything together. The beans should be thoroughly coated in the glossy, spicy oil, picking up the fried garlic bits in the process.
Phase 3: The Finishing Touches
Remove the skillet from the heat immediately to prevent the garlic from burning. Drizzle with the toasted sesame oil for that final layer of gloss and fragrance.
Sprinkle the toasted white sesame seeds and a generous pinch of coarse sea salt over the “messy-chic” heap of beans. The heat of the pan will further toast the seeds for a second or two.
Expert Tips for Culinary Success
- The Dryness Rule: If your beans have even a drop of water on them, they will steam instead of blister. Use a clean kitchen towel to pat them bone-dry after washing.
- Don’t Crowd the Pan: If you are doubling the recipe, cook in batches. Overcrowding lowers the pan temperature, preventing that characteristic char.
- Garlic Timing: Garlic burns in seconds at high heat. Always add it at the very end when the beans are already 90% cooked to ensure it stays golden and sweet rather than black and bitter.
- Adjusting the Heat: If you prefer a milder dish, reduce the chili flakes but add a teaspoon of smoked paprika to maintain that amber color in the oil.
How to Store and Reheat Your Leftovers
While these garlic chili green beans are best enjoyed straight from the skillet, they can be stored in an airtight container in the refrigerator for up to 3 days.
To reheat, avoid the microwave as it will make the beans rubbery. Instead, toss them back into a hot skillet for 2 minutes to re-crisp the skins and wake up the aromatics in the oil.
Freezing is not recommended for this specific recipe, as the cellular structure of the green bean breaks down when frozen, losing the “snap” that makes this dish so iconic.
What to Serve With This Spicy Side Dish
This dish is incredibly versatile, working as a bold side for a variety of proteins. It pairs beautifully with the savory depth of middle eastern kofta or a light, refreshing hot honey chicken salad.
If you are looking for a complete vegetable-forward spread, consider serving these beans alongside a bowl of vegan garlic chickpea soup. For those who love a variety of textures, these beans are a great contrast to a cheesy cauliflower broccoli casserole.
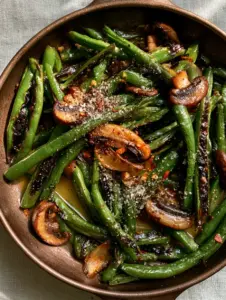
And if you’re a true green bean enthusiast, compare this spicy version to our classic garlic butter sautéed green beans and mushrooms for a different flavor profile.
Frequently Asked Questions
For this specific texture, frozen beans are not recommended. They release too much moisture when hitting the pan, making it impossible to get the wrinkled, blistered skin seen in the photos.
The secret is two-fold: the beans must be 100% dry before cooking, and the skillet must be preheated until very hot. Moisture creates steam, which leads to sogginess rather than a crisp char.
With one tablespoon of chili flakes, they have a noticeable kick. You can easily adjust the heat by reducing the flakes or removing the seeds from the dried chilies before adding them to the oil.
Use an oil with a high smoke point like avocado, grapeseed, or refined coconut oil. Extra virgin olive oil or butter will burn at the temperatures required for a proper blistered sear.
Garlic burns very quickly at high temperatures. Ensure you add the garlic slivers only at the very end of the cooking process, frying them for just 30-60 seconds until golden.
The Complete Garlic Chili Green Beans Recipe
Garlic Chili Green Beans: The Ultimate Blistered Skillet Side Dish
Ingredients
Equipment
Method
- Ensure green beans are washed, trimmed, and patted completely dry with a kitchen towel.
- Heat oil in a cast iron skillet over medium-high heat until shimmering. Add beans in a single layer and sear undisturbed for 2-3 minutes until charred and wrinkled.
- Toss the beans and continue cooking for another 3-4 minutes until vibrant green with deep brown char marks.
- Push beans to the edge of the skillet. Add garlic slivers and chili flakes to the center. Fry for 30-60 seconds until garlic is golden-brown and oil is amber-colored.
- Toss everything together to coat the beans in the glossy garlic chili oil. Remove from heat immediately.
- Drizzle with sesame oil and sprinkle with sesame seeds and coarse sea salt before serving.
Notes
Do not add garlic too early or it will burn and become bitter.
Bring the Heat to Your Kitchen
These garlic chili green beans are more than just a side dish; they are a testament to how simple ingredients and proper technique can create something truly extraordinary. The combination of the smoky char and the vibrant chili-garlic infusion is a flavor profile you will find yourself returning to again and again.
If you made this recipe, we want to see your skillet! Leave a comment below or share your “messy-chic” heap of beans on social media. Be sure to follow us on Pinterest for more visually-driven recipe inspiration and culinary tips.