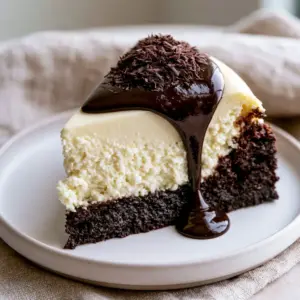
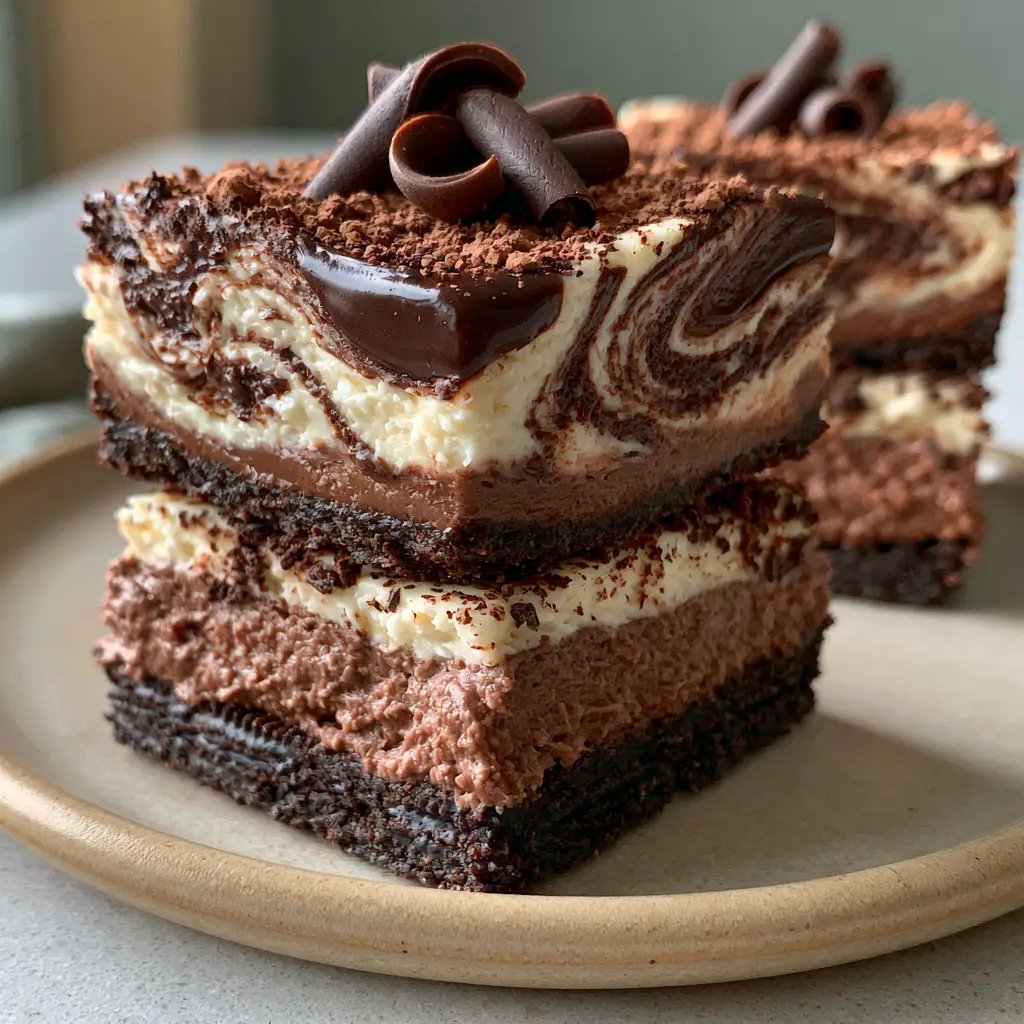
Chocolate cheesecake bars are the ultimate indulgence for anyone who believes that more chocolate is always the right answer. These bars feature a thick, compacted Oreo cookie crust, a dense milk chocolate cheesecake center, and a stunning marbled top that looks like it came straight from a professional bakery. If you are looking for a dessert that is as visually striking as it is delicious, you have found it.
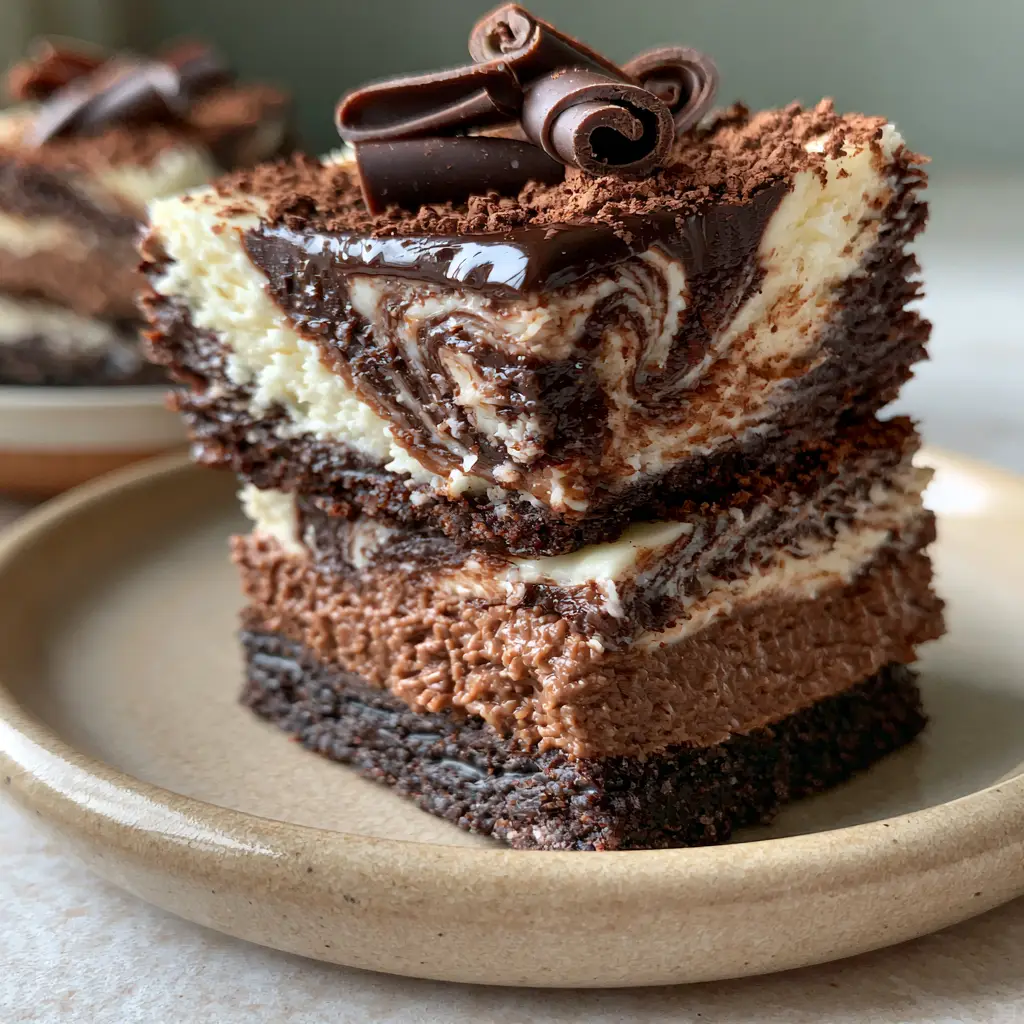
Following the visual aesthetic of a handheld treat served on a neutral beige ceramic plate, these chocolate cheesecake bars are designed to be sturdy yet velvety. The soft natural daylight hitting the glossy dark chocolate swirls and the fine dusting of cocoa powder makes them impossible to resist. Whether you are a seasoned baker or a Pinterest enthusiast looking for your next viral hit, this recipe delivers on every promise.
We know that the secret to the perfect cheesecake bar lies in the contrast of textures. By combining the crunch of a high-pressure compacted crust with the silky smoothness of premium milk chocolate, we create a sensory experience that lingers. Ready to elevate your dessert game? Let’s dive into the details of these magnificent chocolate cheesecake bars.
Why These Are the Best Chocolate Cheesecake Bars You Will Ever Make
- The Compacted Oreo Base: Unlike crumbly crusts, this base is firmly pressed to provide a stable, crunchy foundation for the dense cheesecake layers.
- Dual-Chocolate Experience: We use melted milk chocolate for the main body and a glossy dark chocolate for the marbled swirl to create a complex flavor profile.
- Pinterest-Perfect Finish: The combination of dark chocolate curls and a fine cocoa powder dusting ensures these bars look professionally styled.
- Handheld Convenience: Perfectly portioned for parties, these bars offer the luxury of a full cheesecake in a portable, easy-to-eat format.
The Essential Ingredients for Velvety Success
To achieve the specific texture and flavor profile of these chocolate cheesecake bars, high-quality ingredients are paramount. Each component serves a specific culinary purpose in the final structure of the bar.
Oreo Cookies: 30 standard Oreos (approx. 300g) are crushed into fine crumbs. The cream filling acts as a secondary binder, ensuring the crust is deeply chocolatey and firm.
Unsalted Butter: 1/2 cup (113g) of melted butter binds the cookie crumbs. Using unsalted butter allows you to control the seasoning of the base perfectly.
Full-Fat Cream Cheese: 24 oz (680g) of brick-style cream cheese provides the essential structure. Low-fat versions contain too much water and will prevent the “dense, velvety” texture we want.
Granulated Sugar: 3/4 cup (150g) provides sweetness without masking the cocoa notes. It also helps aerate the cream cheese during the initial mixing phase.
Milk Chocolate: 1 cup (170g) of high-quality milk chocolate chips or chopped bars, melted. This creates the “middle layer” of dense, milk-chocolate goodness.
Large Eggs: 3 eggs at room temperature. These are the primary emulsifiers and thickening agents that set the cheesecake as it bakes.
Dark Chocolate: 1/4 cup (45g) melted for the marbled swirl. The higher cocoa content provides a glossy finish and a sharp flavor contrast to the milk chocolate.
Dutch-Process Cocoa Powder: Used for dusting the final bars, adding a sophisticated, slightly bitter finish that balances the sweet milk chocolate.
Dark Chocolate Curls: These provide the final “Visual Recipe Blueprint” garnish, adding height and elegance to every individual bar.
Step-By-Step Guide to Crafting Chocolate Cheesecake Bars
1. Preparing the High-Pressure Oreo Crust
Start by preheating your oven to 325°F (165°C). Line a 9×9 inch (23x23cm) square baking pan with parchment paper, leaving an overhang on the sides for easy removal.
In a food processor, pulse the Oreo cookies until they reach the consistency of wet sand. Mix in the melted butter until the crumbs are evenly coated. Transfer the mixture to the prepared pan.
Visual Cue: Use the bottom of a flat measuring cup to press the crumbs down firmly. You want a compacted Oreo crust that looks solid and even. Bake for 10 minutes to set, then let it cool completely.
2. Mixing the Milk Chocolate Cheesecake Layer
In a large bowl, beat the room temperature cream cheese and sugar until completely smooth. It is vital to avoid over-mixing at high speeds, which introduces too much air and causes cracking.
Add the eggs one at a time, mixing on low just until combined. Stir in 2 teaspoons (10ml) of vanilla extract. Once the base batter is ready, remove 1/2 cup (120ml) of the plain batter and set it aside for the marbling.
Fold the melted milk chocolate into the remaining large batch of batter. Pour this over your cooled crust. The batter should look thick, glossy, and pale brown.
3. Creating the Marbled Dark Chocolate Swirl
Take the 1/2 cup of reserved plain batter and mix it with the melted dark chocolate. This creates a darker, high-contrast mixture. Drop spoonfuls of this dark mixture and the remaining plain white batter onto the milk chocolate base.
Using a toothpick or a butter knife, gently swirl the colors together. Visual Cue: Aim for a marbled swirl of white cream cheese and glossy dark chocolate as described in the blueprint. Do not over-swirl, or the colors will muddy into a single shade.
4. The Low and Slow Bake
Bake the bars for 35-40 minutes. The edges should be set, but the center should still have a slight jiggle when the pan is gently shaken. This jiggle ensures the “velvety” texture remains after cooling.
Turn off the oven and crack the door open, letting the cheesecake sit for 30 minutes. This gradual cooling prevents the surface from cracking. Afterward, refrigerate for at least 4 hours, preferably overnight.
Expert Tips for Success
- Room Temperature is Key: Ensure your cream cheese and eggs are at room temperature to avoid lumps in your chocolate cheesecake bars.
- The Perfect Slice: For the clean edges seen in our handheld smartphone photo, use a hot, sharp knife. Wipe the blade clean between every single cut.
- Control the Swirl: If your melted chocolate is too thick, add 1 teaspoon (5ml) of coconut oil to make it more fluid for easier marbling.
- Internal Link Check: If you love the combination of cookies and cream, you should try our chocolate chip cookie cheesecake bars for a different texture profile.
- Avoid Overbaking: The most common mistake with chocolate cheesecake bars is leaving them in the oven too long. The residual heat will finish the cooking process as they cool.
Storage, Reheating & Freezing
These chocolate cheesecake bars must be stored in the refrigerator. Place them in an airtight container for up to 5 days. The flavors actually deepen after the first 24 hours!
For longer storage, these bars freeze beautifully. Wrap individual squares in plastic wrap and then aluminum foil. They will stay fresh for up to 3 months. Thaw in the refrigerator for 2 hours before serving.
If you prefer a softer, more “velvety” mouthfeel, let the bars sit at room temperature for 15 minutes before eating. Do not reheat them, as this will melt the delicate dark chocolate curls.
What to Serve With This Decadent Dessert
Because these chocolate cheesecake bars are incredibly rich, they pair best with items that offer a bit of acidity or bitterness. A fresh raspberry coulis or a side of tart strawberries provides a perfect balance.
For a cozy afternoon treat, serve a bar alongside a hot cup of black coffee or a shot of espresso. If you’re looking for more chocolate inspiration, check out our triple chocolate cookies or our decadent cheesecake brownies.
If you are serving these at a brunch, they also pair surprisingly well with a savory contrast, such as a bowl of Tuscan white bean soup to balance out the sugar rush later in the day.
Frequently Asked Questions
Yes, but Dutch-process cocoa powder is recommended for its darker color and smoother, less acidic flavor, which better complements the milk chocolate layer.
While not strictly necessary for bars, a water bath helps ensure a perfectly level top. However, the cooling method mentioned in this recipe is usually sufficient for bars.
Avoid over-mixing the batter, which introduces air. Also, use a ‘low and slow’ cooling method by cracking the oven door open for 30 minutes before moving them to the counter.
You likely didn’t compact the crust enough. Use the flat bottom of a glass or measuring cup to press the crumbs into a solid, high-pressure layer before baking.
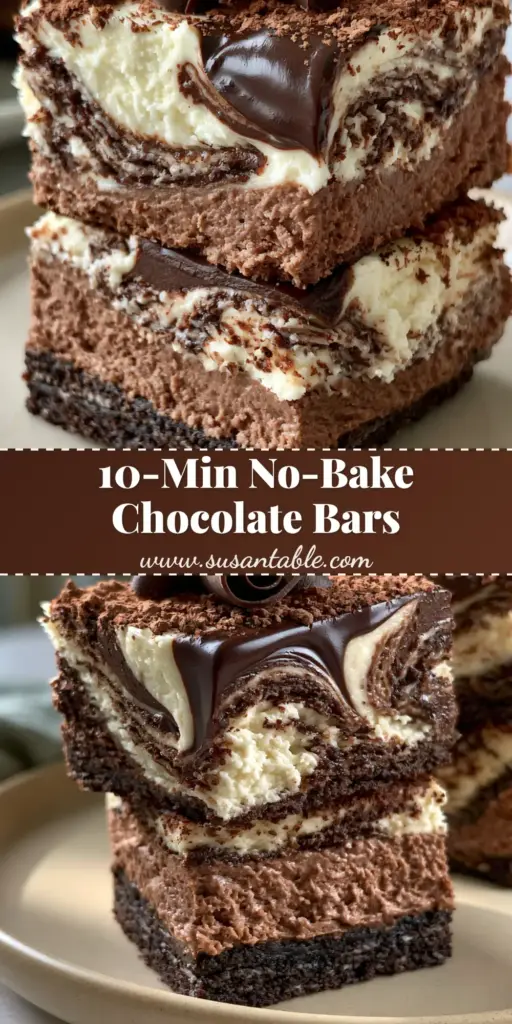
The Ultimate Chocolate Cheesecake Bars Recipe
Chocolate Cheesecake Bars with a Marbled Dark Chocolate Swirl
Ingredients
Equipment
Method
- Combine crushed Oreos and melted butter. Press firmly into a 9x9 pan to create a compacted Oreo crust. Bake at 325°F (165°C) for 10 mins.
- Beat cream cheese and sugar until smooth. Add eggs one at a time. Mix in vanilla. Fold melted milk chocolate into the main batter.
- Mix reserved plain batter with melted dark chocolate. Swirl into the milk chocolate base using a toothpick for a marbled effect.
- Bake for 35-40 minutes until edges are set but center jiggles. Cool gradually in the oven before refrigerating overnight.
Notes
Ensure all dairy is room temperature to prevent lumps.
Join the KellyTaste Community!
We hope you love these chocolate cheesecake bars as much as we do! The combination of the dark chocolate swirl and the dense Oreo crust makes these a guaranteed favorite. Please save this recipe to your Pinterest boards so you can find it later!
If you make these bars, we want to see them! Tag @KellyTaste on social media or share a photo of your results in the comments below. Don’t forget to leave a 5-star rating in the recipe card if you enjoyed the bake. For more dessert inspiration, check out our brownie bottom cheesecake recipe next!