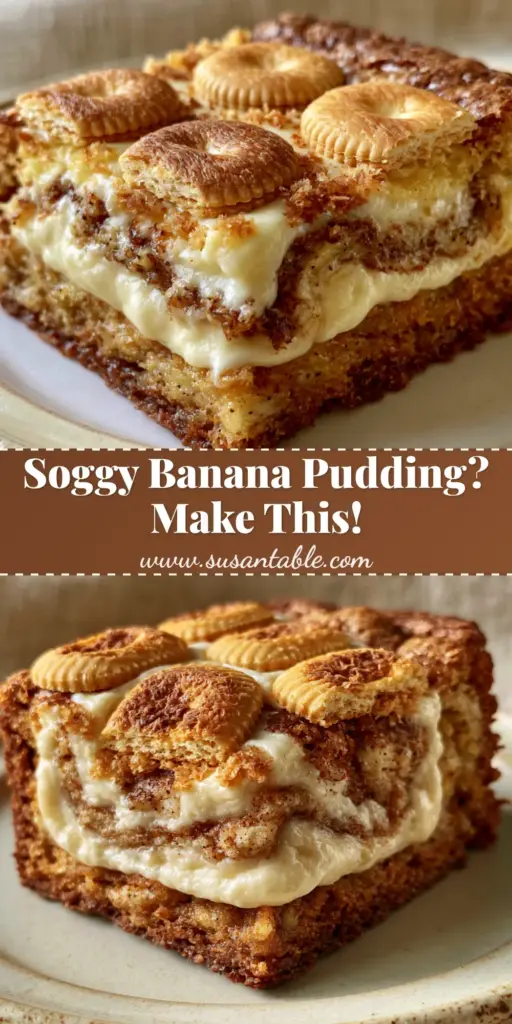
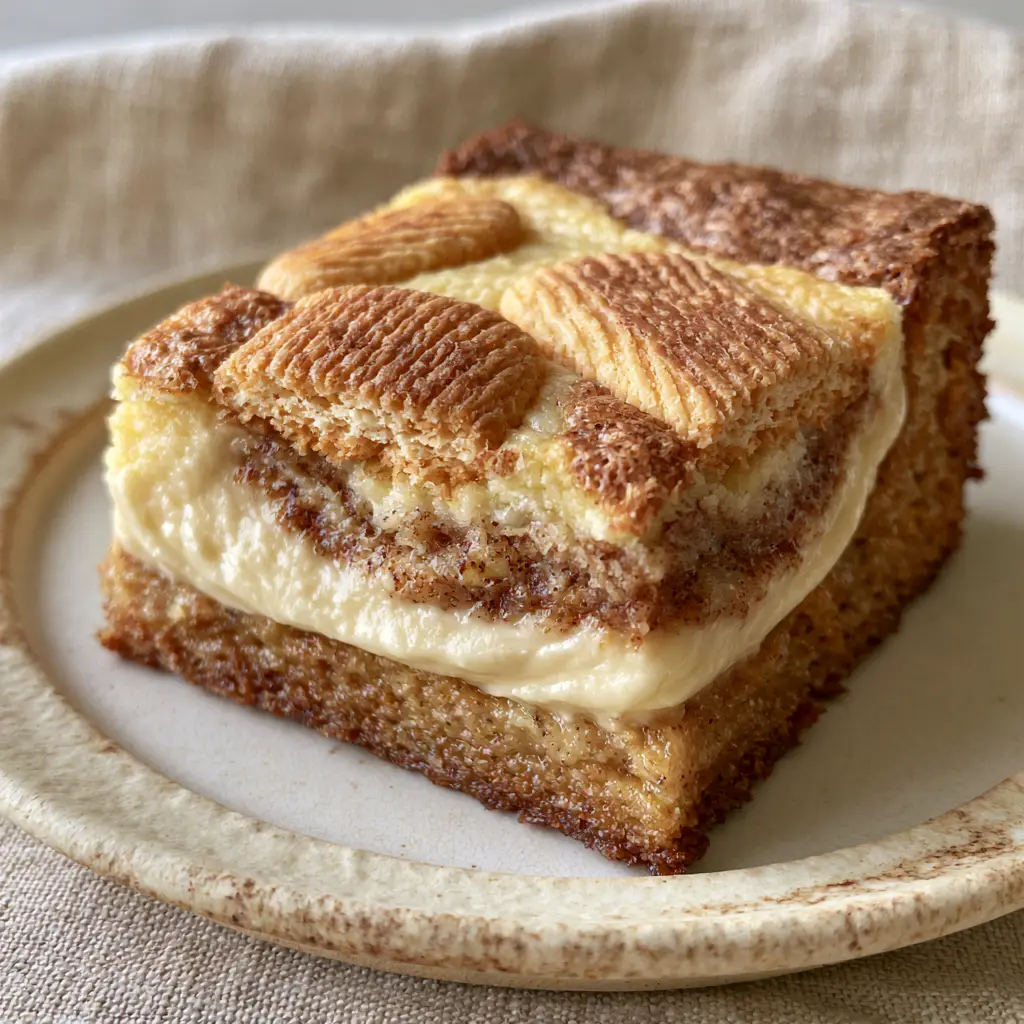
If you are searching for the most decadent, crowd-pleasing dessert to hit your kitchen this year, these banana pudding brownies are the absolute answer. Imagine a world where the nostalgic, creamy comfort of Southern banana pudding meets the dense, chewy satisfaction of a gourmet blondie. This recipe delivers exactly that: a rich, golden-brown banana base topped with a velvety cream cheese swirl and crowned with buttery, toasted Nilla wafer cookies.
Every bite of these banana pudding brownies offers a symphony of textures. You get the fudgy bite of the banana blondie, the tangy smoothness of the “pudding” layer, and the iconic crunch of the wafers. Whether you’re a fan of classic banana pudding cookies or you live for a thick slice of brownies, this mashup is destined to become your new favorite obsession. Let’s dive into why this specific recipe is a game-changer for your dessert rotation.
Why These Banana Pudding Brownie Bars Are a Total Showstopper
- The Perfect Texture Contrast: The base is a dense, chewy banana blondie (not cakey!) that anchors the soft, velvety cream cheese “pudding” swirl perfectly.
- Toasted Nilla Wafer Crunch: By pressing the cookies into the top before baking, they become lightly toasted and golden, providing a buttery snap that mimics the best part of a traditional pudding.
- Mouth-Watering Visuals: With distinct, gorgeous layers of golden brown, creamy white swirls, and circular toasted cookies, these bars are built for Pinterest-worthy flat lays.
- High-Impact Flavor: We use real overripe bananas and a hint of vanilla bean to ensure the flavor is authentic, deep, and not overly synthetic.
If you love the flavor profile of banana pudding cheesecake but want something handheld and portable, this is the recipe for you. These bars hold their shape beautifully while remaining incredibly moist and tender inside.
Essential Ingredients for the Best Banana Pudding Brownies
To achieve that professional, bakery-style finish, we need high-quality ingredients that serve specific culinary purposes. Here is what you will need for these banana pudding brownies:
For the Dense Banana Blondie Base:
- Unsalted Butter (melted): 3/4 cup (170g). Using melted butter instead of creamed butter ensures a dense, chewy texture rather than a fluffy, cake-like crumb.
- Brown Sugar (packed): 1 cup (200g). The molasses in brown sugar reacts with the banana to create a deep, toffee-like flavor and extra moisture.
- Granulated Sugar: 1/2 cup (100g). This helps create those slightly crisp, crackly edges we love in a brownie.
- Overripe Bananas (mashed): 1 cup (approx. 2-3 medium bananas). These provide the natural sweetness and the foundational “banana” identity of the bars.
- Large Egg: 1 unit. Acts as the binder to hold the dense base together.
- Vanilla Extract: 1 tablespoon. Use a high-quality extract or vanilla bean paste to elevate the aromatic profile.
- All-Purpose Flour: 2 cups (250g). The structure of our brownie. Measure carefully to avoid a dry result.
- Salt: 1/2 teaspoon. Essential for balancing the sweetness and intensifying the banana flavor.
For the Velvety Cream Cheese Swirl:
- Cream Cheese (softened): 8 oz (225g). This creates the “pudding” element. It must be full-fat and room temperature for a smooth, lump-free swirl.
- Instant French Vanilla Pudding Mix: 2 tablespoons. This is the secret hack! It stabilizes the cream cheese and injects that nostalgic “banana pudding” flavor.
- Granulated Sugar: 1/4 cup (50g). Just enough to sweeten the tang of the cheese.
- Egg Yolk: 1 unit. Adds richness and ensures the swirl sets into a velvety custard texture rather than drying out.
The Topping:
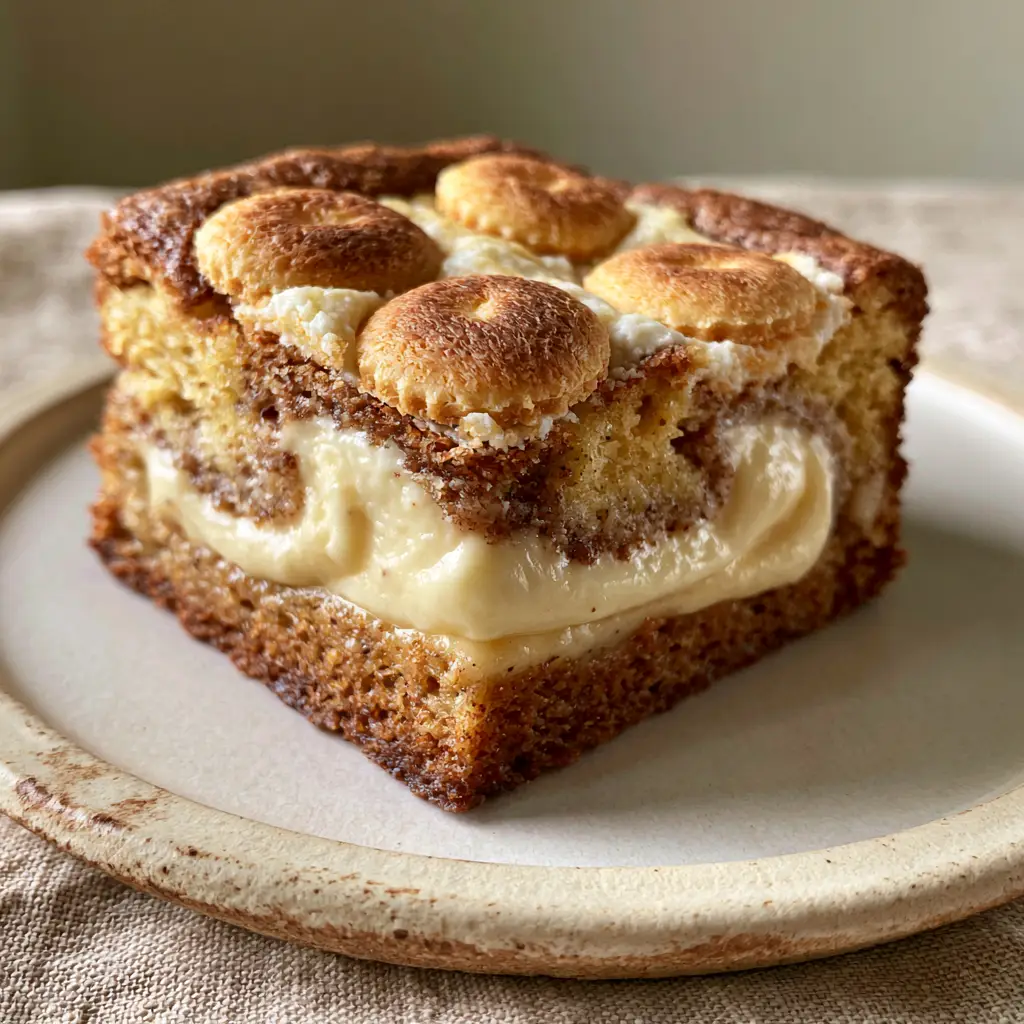
- Nilla Wafer Cookies: 20-24 cookies. These are pressed into the surface. As they bake, the tops toast while the bottoms soften into the cream cheese layer.
Step-by-Step Instructions: How to Layer Like a Pro
Step 1: Preparing the Pan and Oven
Preheat your oven to 350°F (175°C). Line a 9×9 inch (23x23cm) square baking pan with parchment paper, leaving an overhang on the sides. This “sling” method is vital for lifting the banana pudding brownies out cleanly once they have cooled.
Step 2: Mixing the Dense Banana Base
In a large mixing bowl, whisk together the melted butter, brown sugar, and granulated sugar until smooth. Stir in the mashed bananas, egg, and vanilla extract. Use a sturdy spatula to fold in the flour and salt just until no streaks of flour remain. Pro Tip: Do not overmix! Overmixing develops gluten, which will make your blondie base tough instead of chewy.
Step 3: Creating the Cream Cheese Pudding Swirl
In a separate medium bowl, beat the softened cream cheese, pudding mix, sugar, and egg yolk until completely smooth and velvety. If the cream cheese is too cold, you will get lumps, so ensure it is truly room temperature before starting.
Step 4: The Layering and Swirling Technique
Spread about 3/4 of the banana blondie batter into the bottom of the prepared pan, smoothing it into the corners. Drop dollops of the cream cheese mixture over the base. Then, drop the remaining banana batter in between the cream cheese dollops. Use a butter knife or a skewer to gently swirl the two together. Visual Cue: Look for a beautiful marbled effect—don’t over-swirl, or the colors will muddy together.
Step 5: The Toasted Wafer Topping
Take your Nilla wafer cookies and press them gently into the top of the batter in neat rows (or a rustic scattered pattern). You want them slightly submerged so they anchor into the cream cheese, but the tops should remain exposed so they can toast to a perfect golden brown in the oven.
Step 6: Baking to Perfection
Bake for 30-35 minutes. The edges should be golden-brown and starting to pull away from the sides of the pan. The center should be set but still have a very slight “jiggle” when shaken—this ensures the banana pudding brownies remain moist. The Nilla wafers should appear toasted and aromatic.
Expert Tips for Success
- Use Very Ripe Bananas: The more spots, the better! Ripe bananas have a higher sugar content and a stronger aroma, which is necessary to flavor the dense dough.
- The Room Temp Rule: Ensure your egg and cream cheese are at room temperature. This prevents the batter from curdling and ensures the pudding swirl is perfectly smooth.
- Cool Completely: Resist the urge to cut these while warm! The cream cheese layer needs time to set. For the cleanest slices, chill the pan in the fridge for 1-2 hours before cutting.
- Avoid Overbaking: Brownies and blondies continue to cook in the hot pan after being removed from the oven. Pull them out when the center is just barely set.
If you enjoy the combination of fruit and creamy textures, you might also love our banana cream cheese cobbler or these indulgent bourbon cream cheese brownies for a more adult twist!
Storage, Reheating & Freezing
Storage: Because of the cream cheese swirl, these banana pudding brownies should be stored in an airtight container in the refrigerator. They will stay fresh and delicious for up to 5 days.
Reheating: If you prefer a softer texture, let a square sit at room temperature for 20 minutes before eating, or pop it in the microwave for 10 seconds. Note that the Nilla wafer may lose some of its crunch over time.
Freezing: These bars freeze beautifully. Wrap individual squares in plastic wrap and store them in a freezer-safe bag for up to 3 months. Thaw overnight in the refrigerator.
What to Serve With This
These bars are incredibly rich on their own, but if you want to go all out, serve a warm brownie with a scoop of vanilla bean ice cream. For a themed dessert board, pair them with mini banana pudding cheesecakes or even some banana bread cookies for a variety of banana-flavored treats.
Frequently Asked Questions
Yes! Thaw them completely and drain any excess liquid before mashing. This ensures the banana pudding brownies don’t become too watery or cakey.
The pudding mix helps stabilize the cream cheese and provides that classic ‘pudding’ flavor. If you omit it, add an extra tablespoon of flour and a teaspoon of vanilla extract to the cream cheese mixture.
No, because of the cream cheese layer, these bars should always be stored in the refrigerator to keep them fresh and safe to eat.
Nilla wafers naturally soften as they sit in the moisture of the cream cheese swirl. For maximum crunch, serve the bars within 24 hours or toast the cookies slightly before adding them to the batter.
The Ultimate banana pudding brownies Recipe
banana pudding brownies: The Ultimate Chewy & Velvety Dessert Bars
Ingredients
Equipment
Method
- Preheat oven to 350°F (175°C) and line a 9x9 inch pan with parchment paper.
- Whisk melted butter and sugars. Stir in mashed bananas, egg, and vanilla. Fold in flour and salt until just combined.
- Beat softened cream cheese, pudding mix, sugar, and egg yolk until smooth and velvety.
- Spread 3/4 of banana batter in pan. Dollop cream cheese mixture and remaining batter on top. Swirl with a knife.
- Press Nilla wafers into the top of the batter.
- Bake for 30-35 minutes until edges are golden and center is set. Cool completely before slicing.
Notes
Ensure cream cheese is room temperature to avoid lumps in the swirl.
Join the KellyTaste Community!
Did these banana pudding brownies satisfy your sweet tooth? We want to see your results! Save this recipe to your Dessert Board on Pinterest so you never lose it. If you made these, please leave a 5-star rating in the recipe card above and drop a comment below with a photo of your bars—it helps other bakers so much! For more chewy delights, don’t forget to check out our samoa brownies or these decadent mounds brownies.