There is nothing quite as restorative as a bowl of homemade chicken soup, especially when it is crafted with the precision of a culinary masterpiece. This isn’t your average clouded stock; we are aiming for a shimmering, translucent golden broth that glows under the kitchen lights.
Imagine a silver vintage ladle dipping into a rustic ceramic bowl, lifting tender shards of hand-pulled chicken and perfectly circular orange carrots. Every spoonful carries the scent of fresh dill and the warmth of cracked black pepper, making this the ultimate comfort food for any season.
Whether you are fighting off a cold or simply seeking a soul-warming dinner, this recipe focuses on the foundational techniques that elevate simple ingredients into liquid gold. By controlling the temperature and respecting the aromatics, you can achieve a professional-grade result in your own home kitchen.
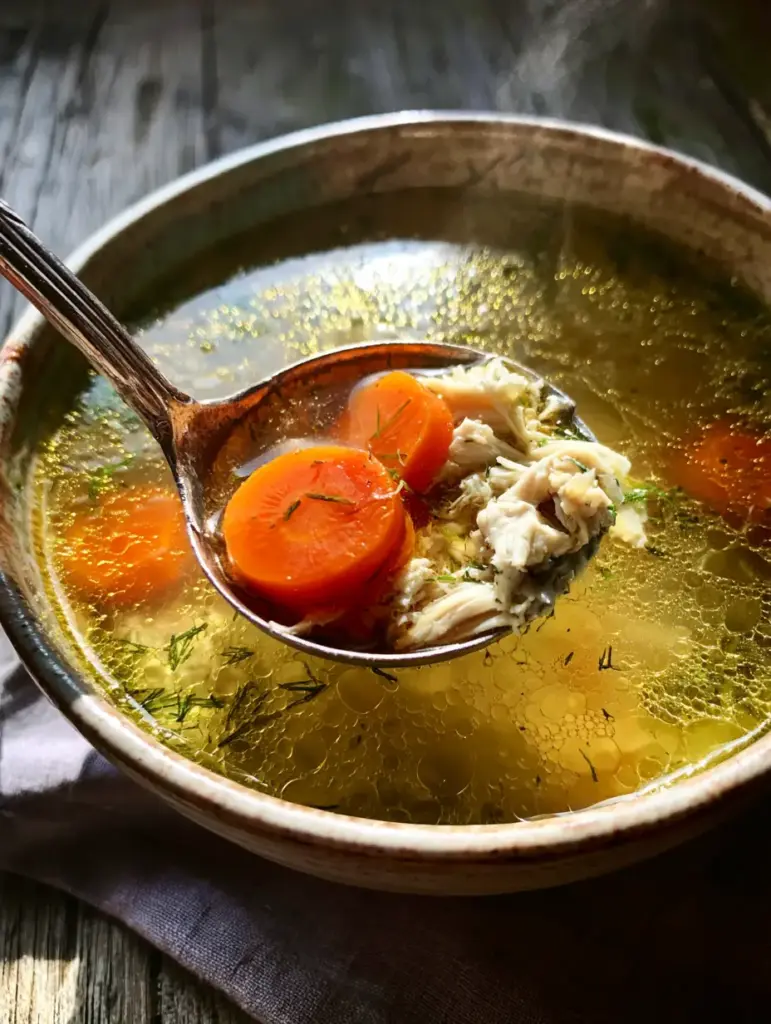
The Secret to Achieving That Translucent Golden Glow
- Crystal Clear Clarity: By simmering the chicken at a sub-boil, we prevent the fats and proteins from emulsifying, ensuring the broth remains beautifully translucent.
- Shimmering Schmaltz: Using skin-on chicken allows the natural fats to render into tiny, shimmering golden oil droplets that sit perfectly on the surface.
- Hand-Pulled Texture: Shredding the chicken by hand ensures moist, tender fibers that catch and hold the broth, unlike uniform machine-diced cubes.
- Vibrant Visuals: Precise circular cuts of bright orange carrots and fresh green dill flecks create a stunning color contrast against the golden liquid.
Essential Elements for the Ultimate Comfort Bowl
To create a truly authentic homemade chicken soup, every ingredient must serve a dual purpose: flavor and visual appeal. We aren’t just making a meal; we are building a sensory experience from the bottom of the pot up.
The foundation of this soup is the chicken itself. While many recipes call for boneless cuts, we use bone-in, skin-on chicken to extract the collagen and fats necessary for that rich, velvety mouthfeel and the iconic shimmering droplets of schmaltz.
If you find yourself craving more variety in your soup rotation, you might also enjoy a hearty winter minestrone soup or perhaps a lighter orzo vegetable soup for those busy weeknights.
Foundational Ingredients for Shimmering Schmaltz
Bone-in, Skin-on Chicken Breasts (approx. 2 lbs / 900g): The skin is the source of our golden oil droplets, while the bones provide the structure and deep savory notes to the broth.
Large Carrots (3-4 medium): Sliced into perfect 1/4-inch (6mm) circles, these provide a pop of bright orange color and a natural sweetness that balances the savory chicken.
Celery Stalks (3 stalks): Diced finely, celery provides the essential “green” base note that rounds out the mirepoix flavor profile.
Fresh Dill (1 small bunch): This is the secret aromatic. Its feathery green leaves add a bright, grassy finish that cuts through the richness of the schmaltz.
Whole Black Peppercorns (1 tsp / 5g): We use whole peppercorns during the simmer for depth, then finish the bowl with freshly cracked black pepper for a sharp, visual bite.
Filtered Water (12 cups / 2.8L): Starting with cold, filtered water is essential for clarity; it allows the proteins to coagulate and rise to the surface for easy skimming.
Kosher Salt (to taste): Salt is the magnifying glass for flavor—without it, the golden broth will taste flat and one-dimensional.
Culinary Tools for the Perfect Presentation
To achieve the look of our visual blueprint, a few specific tools are required. First, a heavy-bottomed stockpot or Dutch oven is necessary to maintain a steady, low heat throughout the long simmering process.
A fine-mesh skimmer or a large spoon is vital for removing the “scum” or gray foam that rises to the top in the first twenty minutes. This is the most important step for maintaining that translucent appearance.
Finally, for serving, a silver ladle and rustic ceramic bowls emphasize the home-cooked, vintage aesthetic. The way the silver catches the light against the golden broth is part of the magic of this homemade chicken soup.
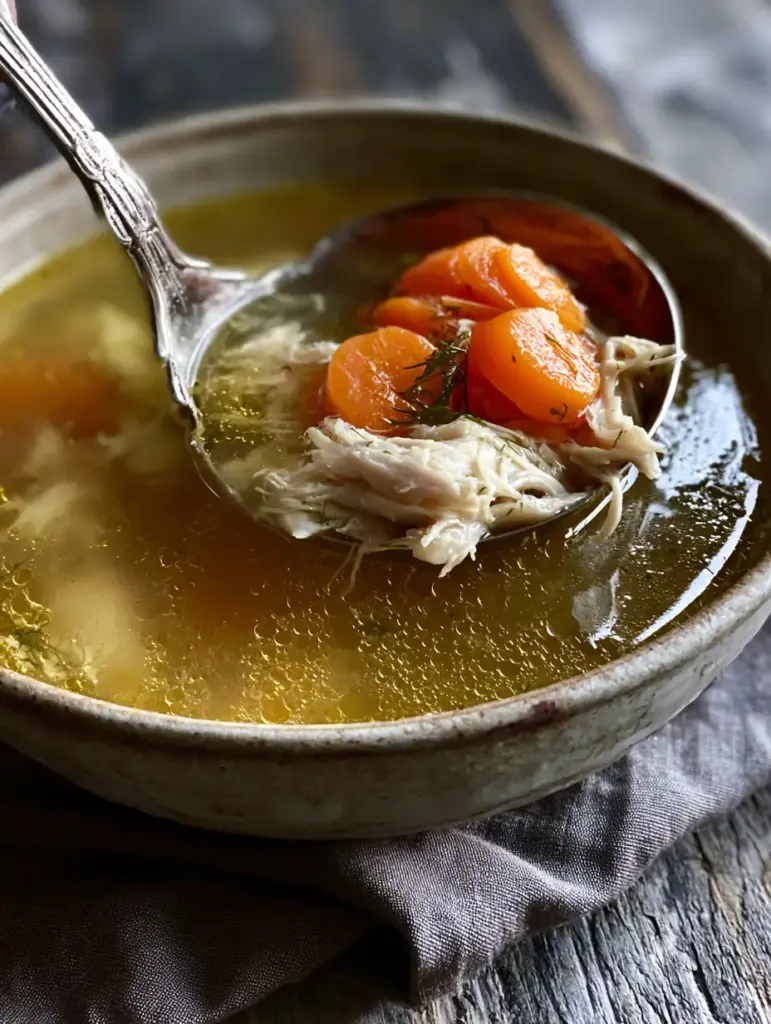
The Low-and-Slow Method for Crystal Clear Broth
Step 1: The Initial Gentle Poach
Place your chicken pieces into the stockpot and cover with 12 cups (2.8L) of cold filtered water. Turn the heat to medium and bring the liquid to a very gentle simmer; do not let it reach a rolling boil.
As the water heats, you will see gray foam rising to the surface. Use your skimmer to meticulously remove this. This “forensic” cleaning of the broth is what ensures the final result is translucent rather than cloudy.
Step 2: Infusing the Golden Aromatics
Once the broth is clear of foam, add your diced celery and whole peppercorns. Lower the heat to the lowest setting. You should see only a few bubbles breaking the surface occasionally.
This slow extraction allows the chicken fat to render into those beautiful golden droplets. If the water move too much, the fat will break into tiny particles and cloud the liquid.
Step 3: Precise Vegetable Cooking
About 45 minutes into the simmer, add your circular sliced carrots. By adding them later, we ensure they become “soft” but retain their bright orange color and structural integrity, rather than turning to mush.
Continue to simmer until the chicken is tender and the internal temperature reaches 165°F (74°C). The broth should now have a distinct glowing, golden hue from the rendered schmaltz.
Mastering the Hand-Pulled Chicken Texture
Step 4: Shredding for Success
Remove the chicken from the pot and set it on a clean cutting board. Allow it to cool just enough to handle. Discard the skin and bones, but notice how the meat is perfectly moist.
Using two forks or your fingers, pull the chicken apart into irregular shards. This “hand-pulled” method creates more surface area than dicing, allowing the chicken to soak up the homemade chicken soup broth like a sponge.
Step 5: The Final Assembly
Return the shredded chicken to the pot. Add a generous handful of chopped fresh dill and stir gently. Taste for salt and add as needed to make the flavors pop.
Ladle the soup into your rustic ceramic bowls. Ensure each serving has a good balance of carrots, chicken, and those shimmering oil droplets. Finish with a final dusting of cracked black pepper and serve while the steam is still rising.
Expert Tips for Success
- Never Boil: I cannot stress this enough. Boiling is the enemy of a clear broth. If the pot starts to roll, immediately drop the heat and add a splash of cold water to reset.
- Chill for Fat Control: If you prefer fewer oil droplets, you can make the broth a day ahead, chill it, and scrape off the excess fat, but keep enough for that “shimmer” effect.
- Dill at the End: Always add fresh dill at the very last second. Heat kills its vibrant green color and delicate flavor.
- Salt Slowly: Broth reduces as it simmers, which concentrates the saltiness. Always do your final seasoning at the very end.
Preserving the Liquid Gold: Storage and Reheating
This homemade chicken soup tastes even better the next day as the flavors continue to meld. Store it in an airtight glass container in the refrigerator for up to 4 days.
When reheating, do so over low heat on the stove. Avoid the microwave if possible, as it can cause the chicken to toughen and the broth to become turbulent and cloudy.
You can also freeze this soup (without the dill) for up to 3 months. Simply thaw in the fridge overnight and add fresh dill and cracked pepper upon reheating to restore that “fresh-cooked” vibrancy.
Perfect Pairings for Your Warmest Meal
While this soup is a meal in itself, it pairs beautifully with a crusty piece of sourdough bread to soak up the golden broth. If you are looking for a full spread, consider serving it alongside a fresh hot honey chicken salad for a contrast in temperatures.
For those who love a themed dinner night, follow this soup with a main course like chicken shawarma or a comforting plate of smothered chicken and rice. And of course, no comfort meal is complete without a dessert like homemade chocolate chip cookies.
Common Questions About Crafting Homemade Chicken Soup
While you can, fresh dill is highly recommended for this specific recipe to achieve the vibrant green flecks and bright, grassy aroma seen in the visual blueprint.
These droplets come from rendering the chicken fat (schmaltz) during a very low, slow simmer. High heat will emulsify the fat into the water, causing cloudiness instead of droplets.
To achieve clarity, start with cold water and never let the soup reach a rolling boil. Meticulously skim the foam that rises to the surface during the first 20 minutes of simmering.
Hand-pulling the chicken with forks or fingers creates irregular shards. This texture is superior to dicing because the fibers better absorb the golden broth.
The bones provide collagen for a rich mouthfeel, and the skin renders into the ‘schmaltz’ or golden oil droplets that give the broth its shimmering, translucent appearance.
The Ultimate Homemade Chicken Soup Recipe
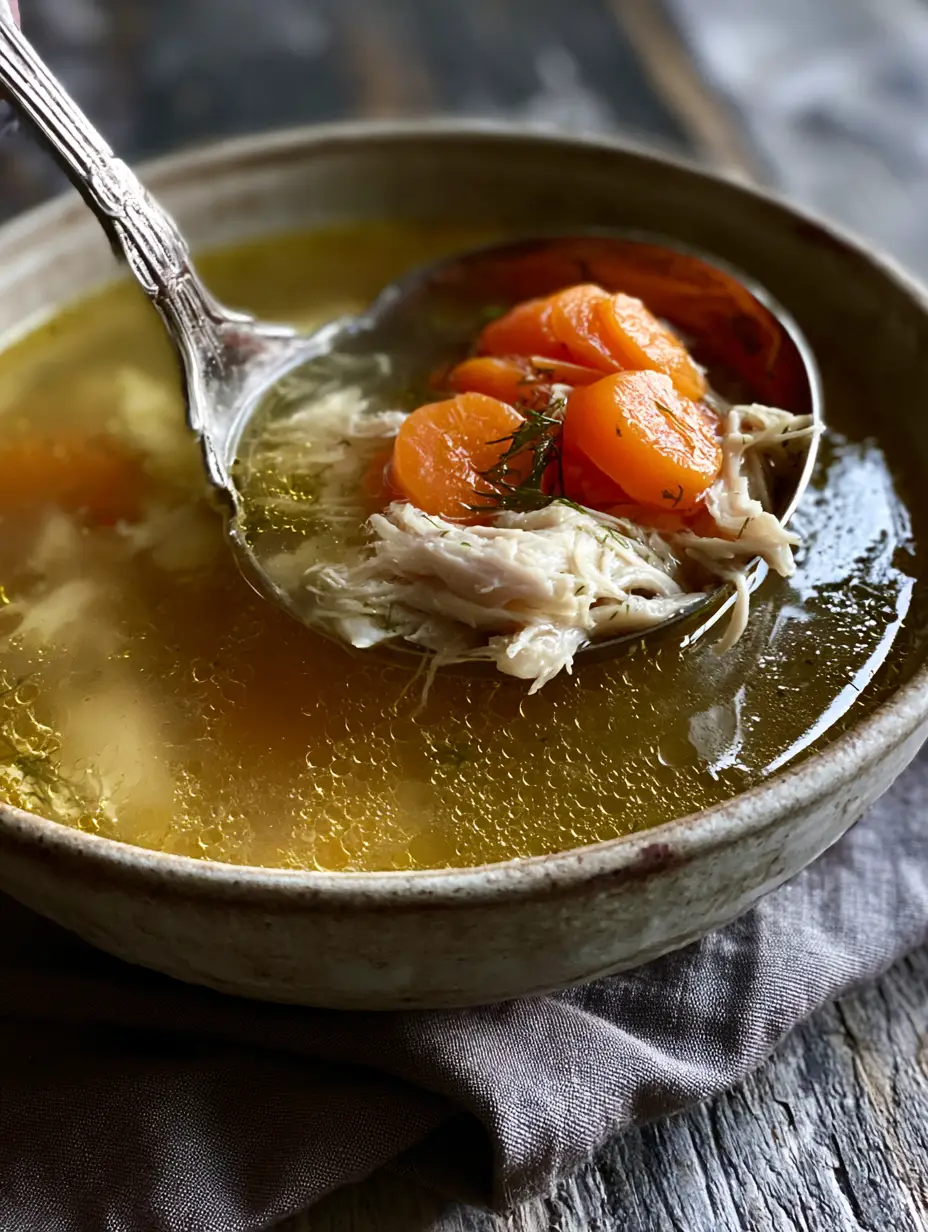
Homemade Chicken Soup with Translucent Golden Broth and Shredded Chicken
Ingredients
Equipment
Method
- Place chicken in stockpot with cold water. Heat to a gentle simmer on medium, never allowing it to boil.
- Meticulously skim the gray foam from the surface for the first 20 minutes to ensure a translucent result.
- Add celery and peppercorns. Simmer on the lowest setting for 45 minutes until shimmering oil droplets form.
- Add carrot circles and simmer for an additional 30-40 minutes until carrots are soft and chicken is cooked through (165°F).
- Remove chicken, discard skin/bones, and hand-pull into shards. Return meat to the pot.
- Stir in fresh dill and season with salt. Serve in bowls with a final crack of black pepper.
Notes
Add dill only at the very end to preserve its vibrant green color.

Closing & Call to Action
Mastering homemade chicken soup is a rite of passage for any home cook. The combination of the translucent golden broth, the tender hand-pulled chicken, and the aromatic dill creates a dish that is as beautiful as it is delicious.
If you enjoyed this deep dive into culinary clarity, please leave a comment below and let me know how your shimmering schmaltz turned out! Don’t forget to share your photos and pin this recipe to your favorite boards on Pinterest so you can find it the next time you need a bowl of liquid gold.