There is a specific, almost architectural beauty to a perfect cookie that most home kitchens fail to capture. This homemade chocolate chip cookies recipe is designed to bridge that gap, delivering a thick, bakery-style result that looks like it was plucked straight from a professional pastry case. We are moving beyond the flat, sugary discs of childhood and entering the realm of caramelized edges and molten centers.
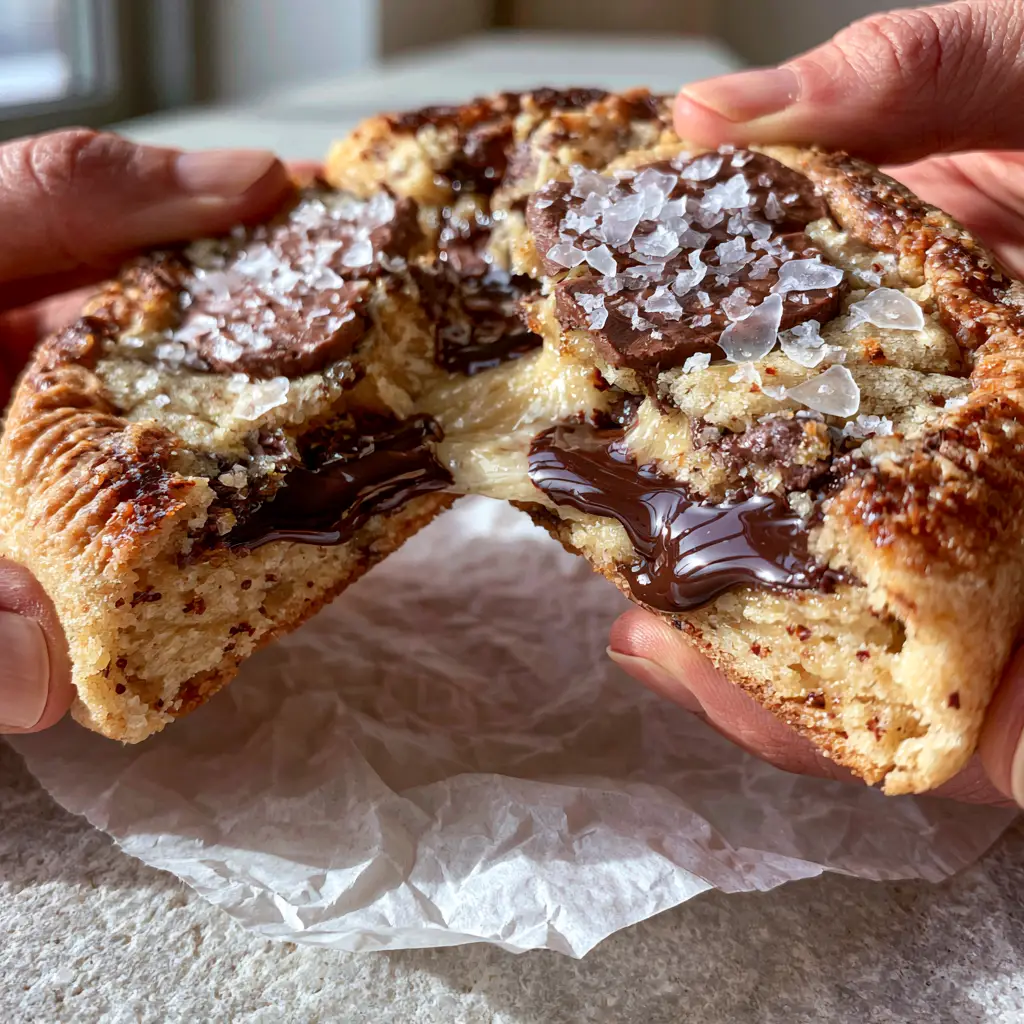
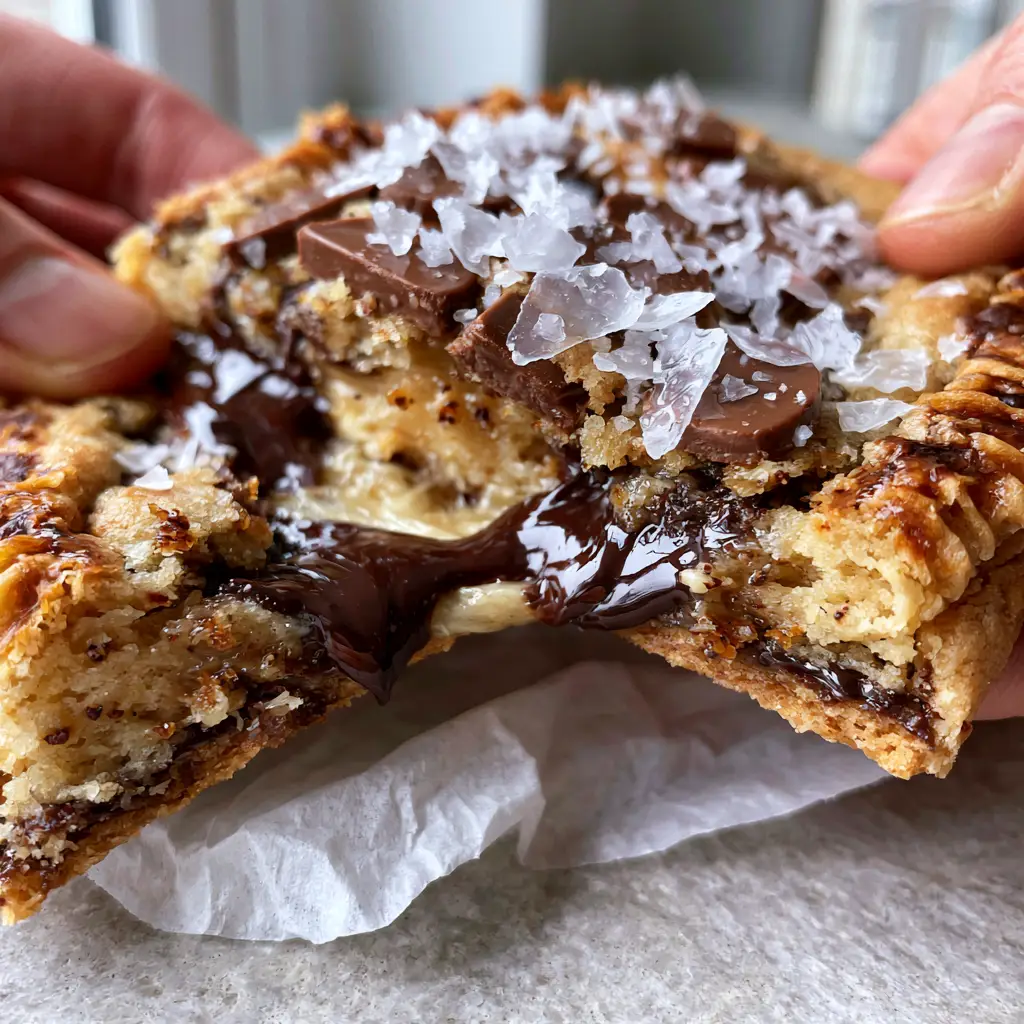
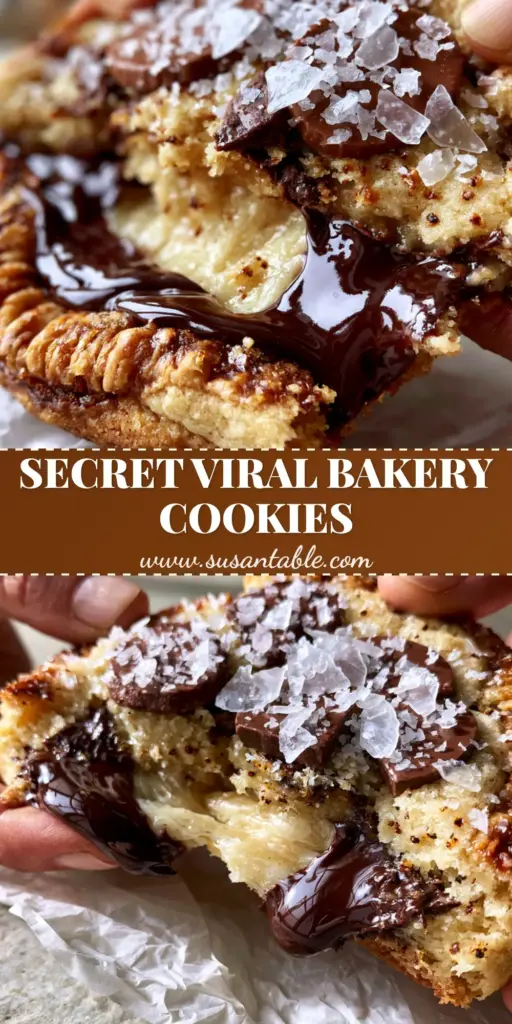
Imagine breaking open a cookie to reveal an ultra-gooey, pale-gold underbaked center that contrasts against a crisp, rippled exterior. The aroma of toasted milk solids from brown butter fills the air, while huge, glossy pools of dark chocolate stretch between the halves. This is not just a snack; it is a masterclass in culinary textures and temperature control.
By mastering the science of the Maillard reaction and the behavior of high-fat European butter, you can recreate this handheld smartphone-ready masterpiece. Whether you are a seasoned baker or a curious novice, the sensory cues provided here will ensure your results match the stunning visual profile of a premium urban bakery.
Why This Brown Butter Masterpiece Redefines Cookie Excellence
- The Brown Butter Foundation: Unlike standard softened butter, browning your butter creates toasted specks of flavor that provide a nutty, savory undertone to the dough.
- Dual-Chocolate Texture: We utilize a combination of semi-sweet chocolate discs for structure and high-quality dark chocolate bars for those iconic liquid pools.
- Architectural Rippled Edges: A specific pan-banging technique ensures the edges are caramelized and crisp while the center remains soft and “underbaked.”
- Maldon Sea Salt Garnish: Large, translucent flaky crystals provide a sharp contrast to the rich chocolate, brightening the entire flavor profile.
The Anatomy of Ingredients: Foundational Elements for Success
Every component in this homemade chocolate chip cookies recipe serves a structural or chemical purpose. To achieve the “pale-gold” center and “toasted golden-brown edges” seen in professional photography, we must be precise with our selection.
Unsalted European-Style Butter: 1 cup (226g). We use a high-fat butter because we will be evaporating the water content during the browning process to concentrate the flavor.
Dark Brown Sugar: 1 & 1/4 cups (250g). The high molasses content in dark brown sugar is responsible for the chewy texture and the deep, caramelized color of the rippled edges.
Granulated White Sugar: 1/2 cup (100g). While brown sugar provides chew, white sugar is essential for achieving that crisp, snap-around-the-edge texture.
All-Purpose Flour: 2 & 1/4 cups (280g). A moderate protein content ensures the cookie has enough strength to hold the “huge, glossy pools of chocolate” without becoming cakey.
Semi-Sweet Chocolate Discs: 1 cup (170g). Discs maintain their shape better than chips, providing “chunky” bites throughout the dough.
High-Quality Dark Chocolate Bar (70% Cacao): 4 oz (113g), roughly chopped. Chopping a bar creates uneven shards that melt into liquid pools, unlike stabilized chocolate chips.
Large Egg + One Egg Yolk: The extra yolk provides the fat necessary for that “ultra-gooey” center that stays soft even after the cookie has cooled.
Baking Soda: 1 tsp (5g). This is our primary leavening agent which reacts with the acidic brown sugar to create lift and browning.
Fine Sea Salt: 3/4 tsp (4g). This is the “invisible” seasoning that balances the dough from within before we add the garnish.
Maldon Flaky Sea Salt: 1 tbsp (15g). These translucent crystals are added post-bake for the signature visual and textural “crunch.”
Essential Equipment for Bakery-Style Results
To achieve the “thick, bakery-style” look described in our visual blueprint, your choice of tools is just as important as your ingredients. You will need a heavy-bottomed stainless steel saucepan to brown the butter, as this allows you to see the color change clearly to avoid burning.
A light-colored, heavy-gauge rimmed baking sheet is preferred to prevent the bottoms of the cookies from scorching before the centers are set. You will also need crumpled white parchment paper; not only does this prevent sticking, but the texture of the paper helps slightly aerate the bottom of the cookie.
Finally, a large (3-tablespoon) cookie scoop is vital for consistency. Uniform size ensures that every cookie in your batch reaches that perfect state of “toasted golden-brown” at the exact same time.
Step-by-Step Instructions: Mastering the Brown Butter Technique
Achieving the Perfect Beurre Noisette
Place your 1 cup (226g) of butter in a small saucepan over medium heat. Melt the butter, then continue to cook, whisking constantly as it begins to foam and crackle. Look for the “toasted brown butter specks” to appear at the bottom of the pan and listen for the crackling to subside. Once the butter smells nutty and turns a deep amber, immediately remove it from the heat and pour it into a heat-proof bowl, scraping all the brown bits in.
Building the Dough for Maximum Chew
To your warm brown butter, add the 1 & 1/4 cups (250g) of dark brown sugar and 1/2 cup (100g) of granulated sugar. Whisk vigorously for about 2 minutes; the mixture should look like wet sand. Add the room temperature egg and egg yolk, along with 1 tbsp (15ml) of vanilla extract. Whisk until the batter lightens in color and becomes ribbony—this creates the “rippled” texture later on.
The Folding Process and Chocolate Integration
Sift in your 2 & 1/4 cups (280g) of flour, 1 tsp (5g) of baking soda, and 3/4 tsp (4g) of fine sea salt. Use a spatula to fold the ingredients until only a few streaks of flour remain. Now, fold in your 1 cup (170g) of semi-sweet discs and the 4 oz (113g) of chopped dark chocolate. The dough should be thick and heavy, with visible chunks of chocolate throughout.
The Critical Chill and Bake
For the best homemade chocolate chip cookies recipe results, you must chill the dough for at least 2 hours, or ideally overnight. This allows the flour to fully hydrate and the fats to solidify. When ready to bake, preheat your oven to 375°F (190°C). Scoop large mounds (approx. 3.5 oz or 100g each) onto your parchment-lined sheet.
Visual and Sensory Cues During Baking
Bake for 10-12 minutes. At the 8-minute mark, perform the “pan bang”: lift the tray and drop it against the oven rack. This collapses the air pockets, creating those “caramelized, rippled edges.” Remove the cookies when the edges are a deep toasted golden-brown but the center still looks slightly “pale-gold” and underbaked. They will firm up as they cool.
Expert Tips for Success
- Room Temperature Eggs: Cold eggs can cause the warm brown butter to seize, resulting in a clumpy dough. Submerge your eggs in warm water for 5 minutes before using.
- The “Ring” Trick: If your cookies spread unevenly, place a large circular cutter or a glass over the hot cookie immediately after it comes out of the oven and move it in a circular motion to reshape it into a perfect circle.
- The Salt Timing: Always apply the Maldon flaky sea salt while the dark chocolate pools are still liquid and glossy so the crystals adhere to the surface.
- Don’t Overmix: Stop folding the moment the flour disappears. Overmixing develops gluten, which will turn your “soft underbaked center” into a tough, bread-like texture.
Storage, Reheating, and Freezing
These cookies are best enjoyed within 4 hours of baking when the chocolate is still molten. However, you can store them in an airtight container at room temperature for up to 3 days. To restore the “liquid dark chocolate pools,” microwave a cookie for 10-15 seconds before serving.
For long-term storage, freeze the pre-scooped raw dough balls. You can bake them directly from frozen; just add 2 minutes to the total baking time. This ensures you always have a fresh homemade chocolate chip cookies recipe ready for guests.
What to Serve With These Bakery-Style Cookies
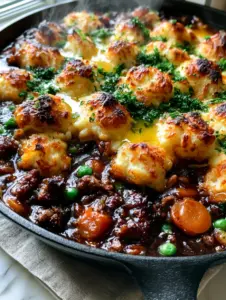
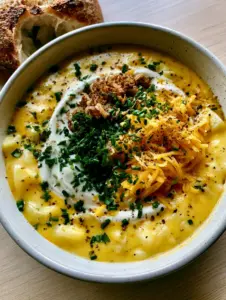
While a cold glass of milk is traditional, these rich, salt-topped cookies pair beautifully with sophisticated flavors. For a full dessert spread, consider serving them alongside our decadent brownie cookies for a study in chocolate textures. If you are hosting a brunch, these cookies provide a sweet counterpoint to a savory chicken shawarma or a hearty vegetarian potato soup.
If you love the “bakery-style” height of these treats, you might also enjoy the structural perfection of our NYC-style thick cookies or the nostalgic flavors of our homemade samoas.
Frequently Asked Questions
Yes, but the cookies will be slightly less chewy and have a lighter color. Dark brown sugar provides more molasses, which is key for the caramelized edges.
Use a chopped high-quality chocolate bar instead of chocolate chips. Chips contain stabilizers that prevent them from melting into the glossy pools seen in professional photos.
Dropping the pan against the oven rack collapses the dough as it rises, creating the signature rippled, caramelized edges while keeping the center thick and soft.
Chilling allows the flour to hydrate and the fat to solidify. This prevents the cookies from spreading too thin and ensures a thick, bakery-style height.
Browning the butter evaporates water and toasts the milk solids, creating a deep, nutty flavor profile and a chewier texture that regular butter cannot provide.
The Master Blueprint: Homemade Chocolate Chip Cookies
Homemade Chocolate Chip Cookies Recipe: The Ultimate Brown Butter Bakery Secret
Ingredients
Equipment
Method
- Melt butter in a saucepan over medium heat. Cook until foaming subsides and nutty brown specks appear. Pour into a bowl and cool slightly.
- Whisk brown butter with brown and white sugars for 2 minutes. Add egg, yolk, and vanilla; whisk until the mixture is pale and ribbony.
- Fold in flour, baking soda, and fine salt until a few streaks remain. Incorporate chocolate discs and chopped dark chocolate.
- Refrigerate dough for at least 2 hours (up to 24 hours) to deepen flavor and ensure a thick texture.
- Scoop 3.5oz balls onto parchment. Bake at 375°F (190°C) for 10-12 mins. Bang pan at 8 mins for rippled edges. Remove when edges are golden but center is pale.
- Immediately sprinkle with flaky sea salt while chocolate pools are still molten.
Notes
Chopped chocolate bars are essential for 'pools'; chips will not melt the same way.
Closing & Call to Action
Creating the perfect homemade chocolate chip cookies recipe is an act of culinary love. By focusing on the quality of your chocolate and the depth of your brown butter, you transform a simple pantry staple into a world-class dessert. The combination of the “soft underbaked center” and the “flaky sea salt garnish” creates a balance that will have your friends and family convinced you bought these from a high-end boutique.
Did you achieve those glossy chocolate pools? We want to see your results! Leave a comment below with your baking experience, and don’t forget to follow us and share your cookie photos on Pinterest. Happy baking!